


After over five long years of Early Access, Satisfactory has finally received a full release. As a simulation game, Satisfactory has deeply complex systems which can be daunting for new players. Even returning players may find themselves puzzled as the game has evolved through iterative updates over the last half decade.
This starter guide has all the critical information players need as they begin their journey into Satisfactory’s gameplay loop, from free starting materials, to fast map traversal.
Do Not Skip Intro
If you are a new player, or even one returning after a long break, it is highly recommended that you do NOT check the box ‘Skip Intro’, as it helps guide you along fundamental gameplay concepts. As an open-world sandbox game, it can be easy to get distracted and miss the importance of certain mechanics that are mentioned in the early game.
Do Not Enable Advanced Game Settings
The primary reason for not making use of Advanced Game Settings is that it prevents the completion of Achievements. It is the equivalent of ‘Creative Mode’ in similar games in the simulation and survival genres. While this can be activated during a session playthrough, it becomes a point of no return, and the only way to return to the default game mode is to revert to saves created before the switch.
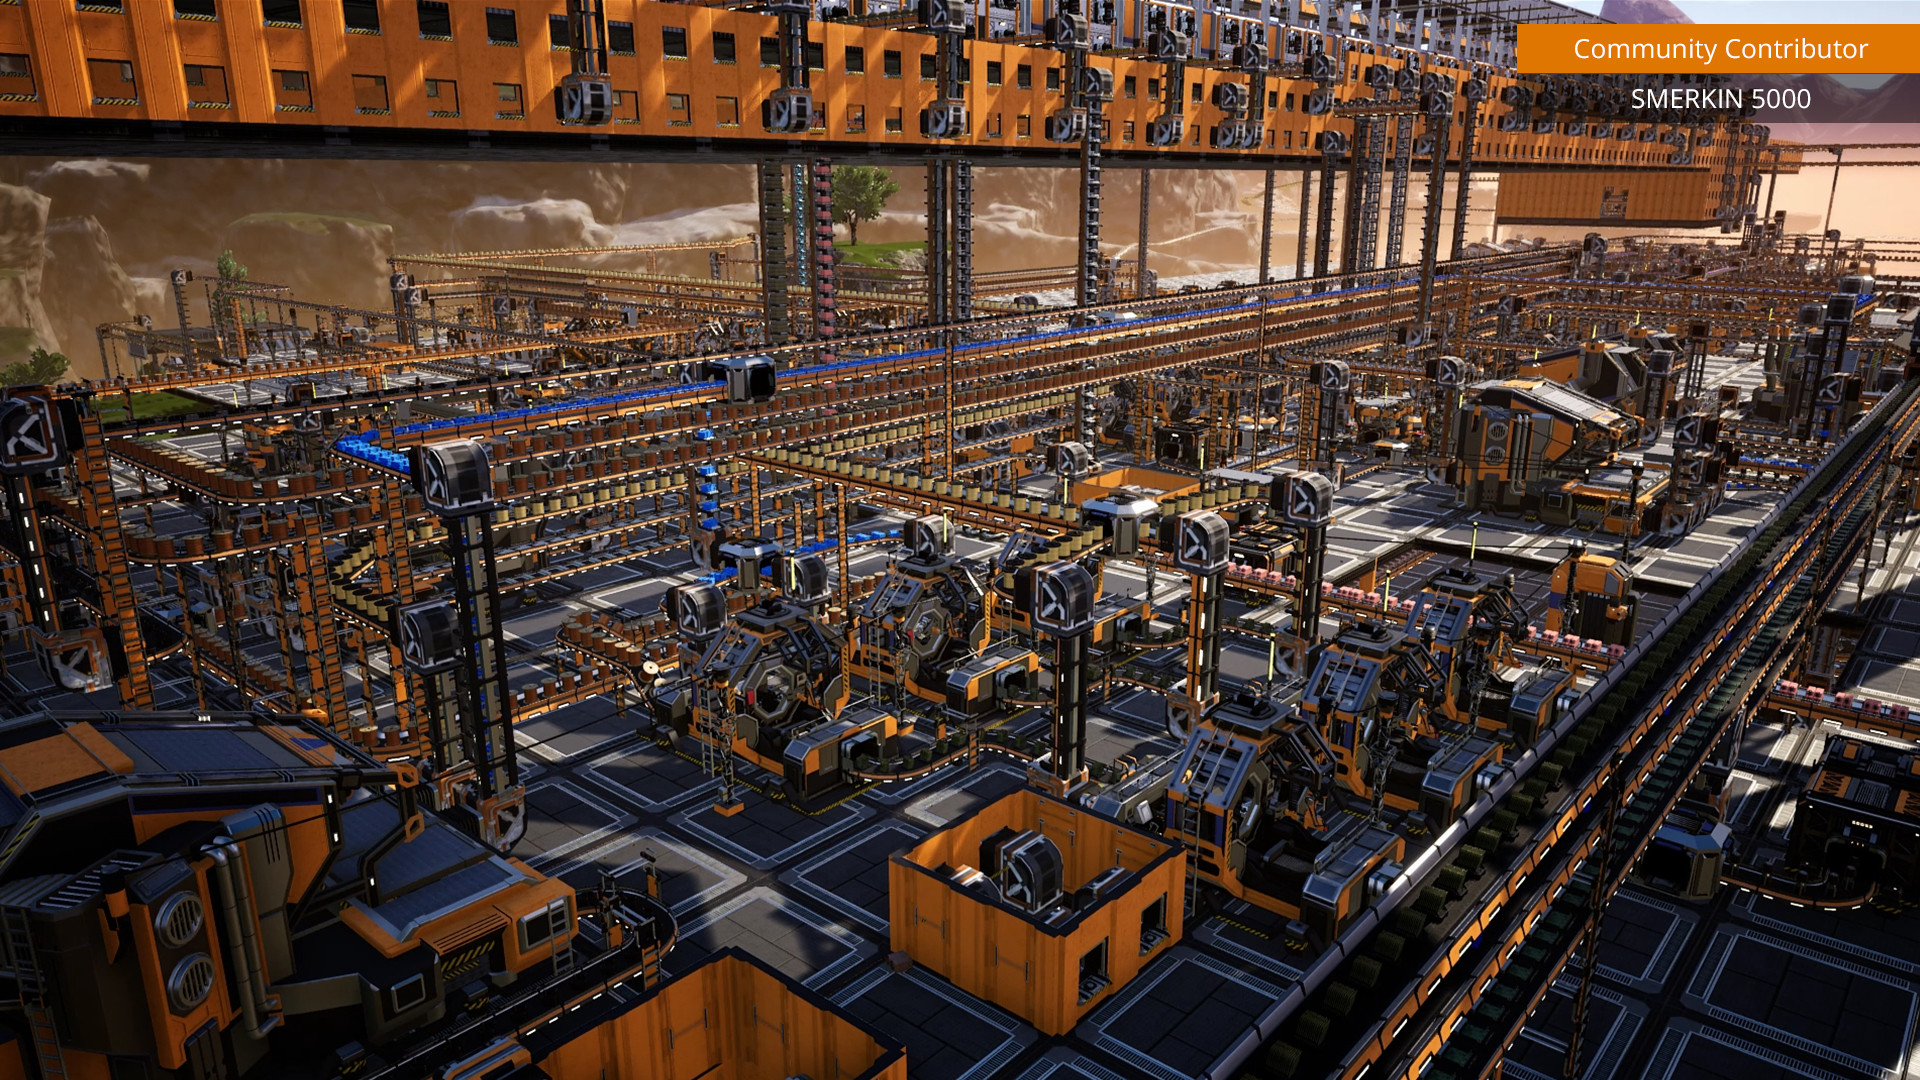
Drop Pod Free Materials
Every starting location has a drop pod with a varying number of Reinforced Iron Plates contained within. These will come in very handy for skipping through some construction phases that yield Reinforced Plates the hard way. The drop pods are usually located in the vicinity of the initial landing location.
Peaceful Mode
As you begin exploring the map and collecting resources towards the completion of your objectives, you will encounter hostile alien creatures that will attack you by default. If you prefer a relatively serene experience, you can navigate to the Pause menu, then Options -> Gameplay -> Creature Hostility at the very top, and select Passive from the drop-down menu. You can also opt for Retaliate, which will cause creatures to only attack you if you initiate combat.
Key And Button Prompts
Most world actions have a set of key and button prompts allowing you to do everything from rotating buildings for perfect placement, to automating crafting at the Bench. These prompts can be easy to miss since they are displayed at the very bottom of the screen, outside the focus of the menu you may be viewing.
Hotbar Customization
Almost any menu function can be bound to a key in the hotbar. Simply mouse over the menu button, such as Power Line, and press a hotbar key (default ‘1’ through ‘0’) to bind it. To use that particular function, simply press the associated key, saving you the trouble of navigating through multiple menus.
HUB Placement
Once you have gathered your first Iron ore, you will be ready to start putting down roots with the construction of a HUB. While it can be moved later on, an ideal start would see you place it as close as possible to an Iron Node, or between multiple clusters of them if applicable, for maximum efficiency.
Resource Storage
Remember that the HUB contains a Personal Storage Box for all the pickups that you have been gathering by hand. If you are running out of inventory space, offload it here as often as possible.
Moving Stacks
As a heavily menu-based game, Satisfactory will have you moving resources around between sections. Rather than laboriously dragging and dropping, use Double Left Click or Shift + Left Click to move entire stacks of items directly into the relevant slot, for example, a large quantity of ore into the Smelter for the production of ingots.
Node Purity
The rate of ore mining is determined by the purity rating of the Node, which you can plainly see as a tooltip when looking at the ore site. Impure is the slowest, followed by Normal, and lastly Pure. One way to mitigate slow ore production is to produce and place multiple Portable Miners atop the same ore deposit.
Flashlight
Night will fall upon your base, well before you can establish a power grid and base lighting. Use your flashlight (default ‘B’) to be able to see in the darkness until you can put up some power lines.
Snap Mode
While you will initially be manually portering resources between production buildings, eventually you will want to construct Conveyor Belts between them to automate production. Aligning the buildings correctly during construction can simplify the process. Use the Snap Mode function (default: Left Ctrl) to get immediate visual feedback from the building hologram: rotate the building until it displays a green and orange dashed line connecting it to the output structure.
Rapid Biomass Collection
Before you can truly automate ore refining and production, you will have to construct the relevant buildings, all of which require power from the Biomass Generator. That in turn requires the laborious collection of biomass of the ground by hand. As you scour the map for leaves and wood, hold the collect key (default ‘E’) while the prompt is active, and from that point you can simply scoop up fuel while you run around. This method will spare you the need to manually focus and tap the key on every leaf and bit of wood you find.
Power Poles
The singular Biomass Generator that initially comes with your HUB can only support one powered structure at a time. While you could viably detach and attach the power cable between multiple buildings, you are better off constructing a Power Pole which has four distribution points for your use. You will be obliged to reserve at least one of those four to connect another Power Pole as you extend your power grid.
Second Biomass Generator
Once you have reached Hub Upgrade 5 and unlocked the second Biomass Generator, be sure to connect it to the same Power Pole as the first Biomass Generator, thus keeping your power grid efficient and always running. You may have to reorganize some of the already present connections on Power Poles in order to accommodate the connection.
Miner Placement
At this point you will have also unlocked the production of the Miner, which can be placed on ore Nodes to automate the mining that you initially performed by hand or Portable Miner. If you are puzzled about why you are unable to place Miners on some Nodes, it is because the ore heap atop it MUST be mined and demolished by hand in order to place the larger automation.
Fast Map Traversal
While you can full sprint in Satisfactory, a gameplay mechanic involving sliding and jumping is actually a much faster way to cross long distances.
Those are all the critical tips and tricks you need in the early game for Satisfactory.


