Saros isn’t exactly the easiest game to get into, but as you gain a foothold on Carcosa, the sheer number of tactics and systems opens up in some fascinating ways. This is especially true during the late game, where certain abilities allow for unique builds or when you fully begin to harness the game’s movement. Let’s delve into 15 advanced tips here, starting with…
Dashing in Mid-Air While Shielding
When you’re not shielding, dashing or jumping over projectiles, you’ll often end up having to do all three. For instance, the enemies in the Ancient Depths, which disperse waves of blue projectiles that you need to jump over yellow bullets to absorb if you’re not willing to take on Corruption, though there are some benefits to it that we’ll go over in a bit.
Perk Effects and Their Duration
Not all weapon perks are simply about different kinds of damage. Some can have specific requirements, like weapon damage directly generating Power. Others are less obvious, and it can often be easy to miss their effects in combat. So pay attention to the upper left of your screen – a small icon will indicate their activation and how long it lasts, allowing you to take advantage of it at the best times.
Attribute Volatility
As you rapidly approach the endgame, you’ll start to notice something called Attribute Volatility on different Artifacts. These let you break the cap on different stats, thus allowing something like, say, Integrity to go much higher than intended. There are drawbacks, however. Breaking the cap on Integrity means that you can’t see enemy health, so when fighting a enemy, their HP bar is just grey (until it’s fully depleted and removed). Be especially careful of Drive Volatility, since that will cause all Lucenite to be lost if you die. No exceptions.
Parry Energy and Aiming
Parrying is more than just a defensive mechanism, meant to swat away Nova or red-colored projectiles. It’s also an offensive tool, as the energy from a parry travels in a straight line towards your target, obliterating them through red shields. However, it can be aimed with the reticle, so if a enemy launches red projectiles at you, simply aim directly at them to send the parry energy their way. It may not deal the most damage, but it’s excellent for building up stagger, even on Elites.
Overdrive
Your Ultimate, and what an Ultimate it is. Overdrive is built up over time and unleashes a powerful area of effects attack that can outright kill Elites and heavily damage enemies. You’re invincible while casting it, and best of all, any enemies slain by it will drop Aether, making for a good snap response when overwhelmed. But it can be even better with upgrades (many requiring Halcyon) that can increase its damage, blast radius and even build up from damage dealt.
Turning Corruption into Damage Resistance
Contrary to what Coldplay says, yellow isn’t the nicest color on Carcosa, especially when you’re taking on too much Corruption. The risk vs reward aspect is obvious, especially after taking the upgrade that lets you absorb yellow projectiles to feed your Power weapon. However, if you find an Artifact that increases damage resistance based on the amount of Corruption, then it can become a valuable tool for survival. Just don’t go overboard with it – you can’t die from Corruption, but no amount of damage resistance will save you at 1 HP.
Shield Upgrades
Whether you’re adamant on tanking damage through Corruption or not, scope out the Armor Matrix for upgrades to your Soltari shield, including those that reduce the damage taken from it. Parries reducing Corruption is also recommended, especially in later enemy fights when you’re facing a barrage of different colors.
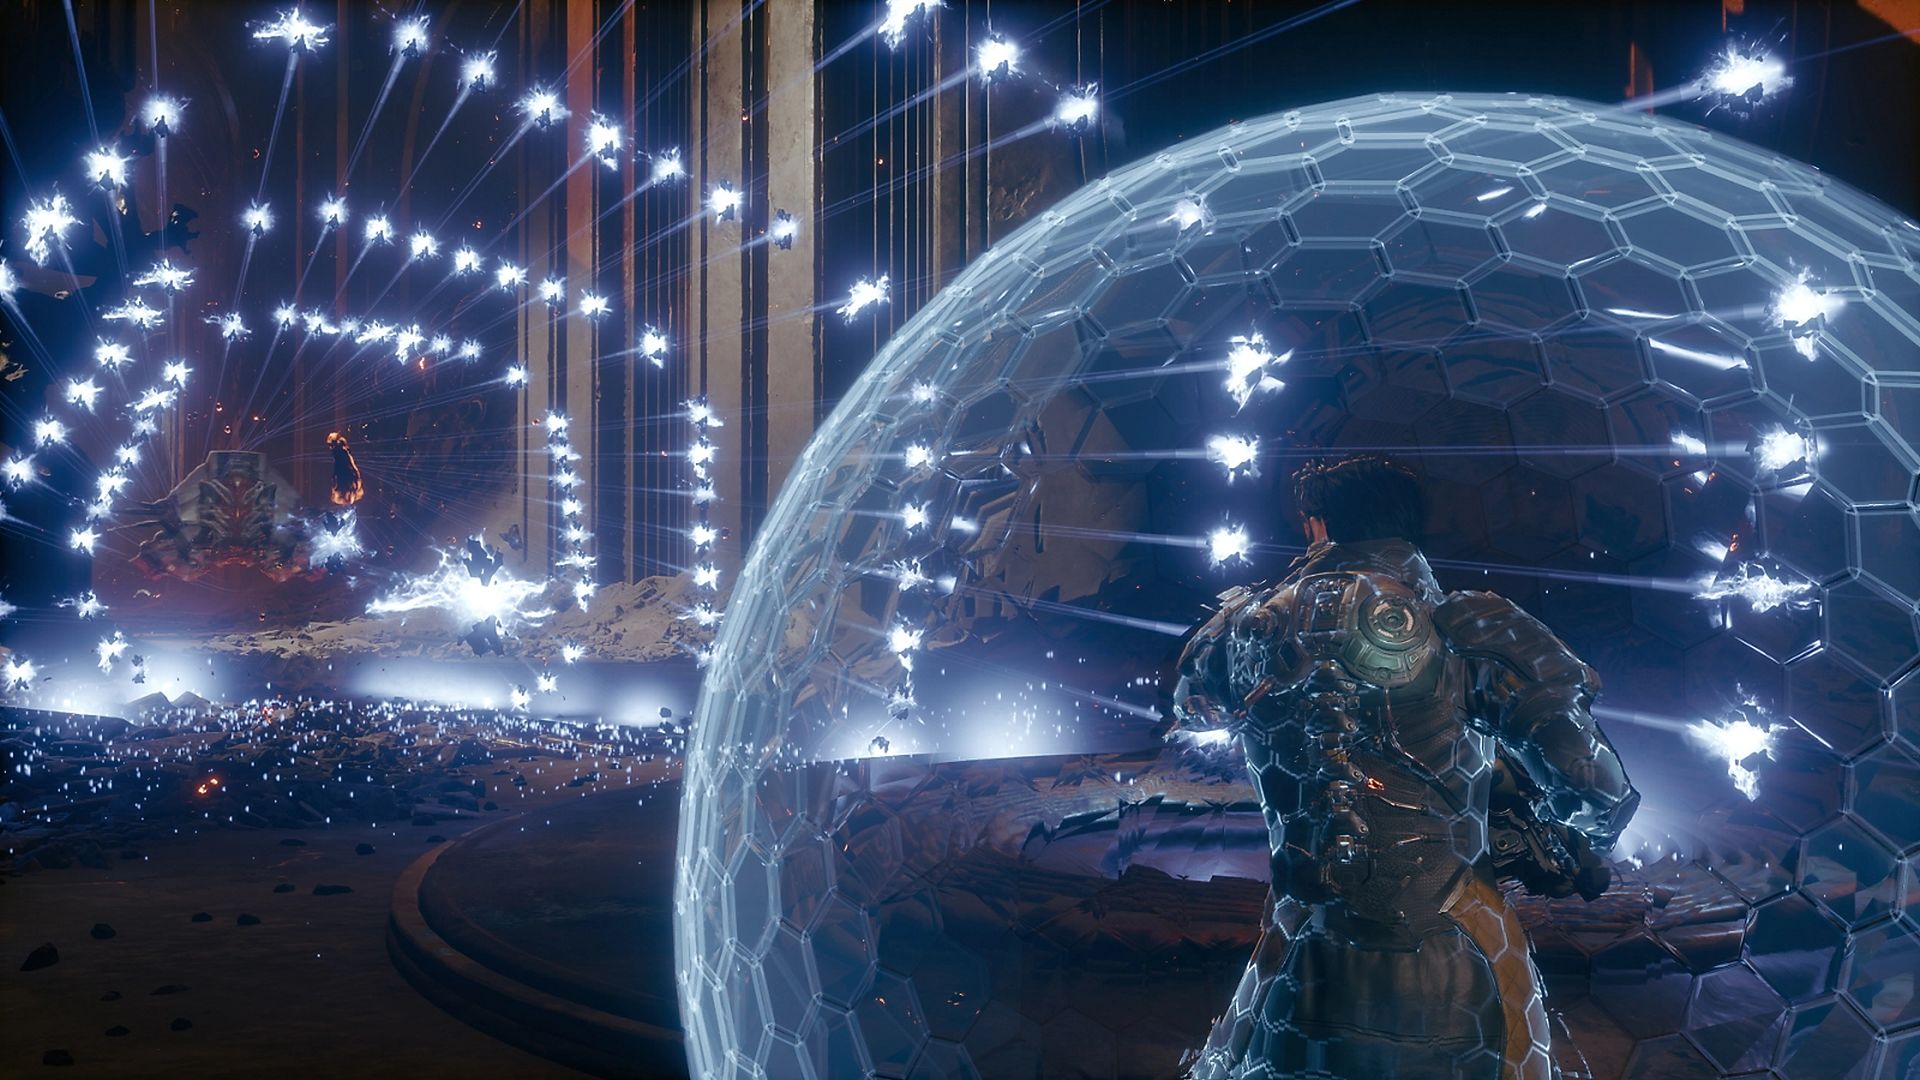
Quick Shield Activation
The Soltari shield is tied to your melee button, and it won’t take long for you to realize that you can activate it at the last second to absorb projectiles. With such low activation time, it isn’t difficult to absorb waves of blue projectiles, unleash a Power shot at a enemy, and then immediately absorb the next wave. Such windows for absorption become even tighter in future enemy fights, so learn to juggle between activating your shield and then quickly transitioning to damage.
Staggers and Executions
At first glance, pistols and shotguns aren’t all they’re cracked up to be; the former is held back by low ammo and constant reloading, while the latter lacks range (even though incendiary rounds can be good). However, they are good at building stagger, especially with perks like Cover Fire. Once you obtain an upgrade to your melee attack, which allows for teleporting to enemies after they’ve been staggered, you can initiate gory kills, complete with health regen if you increase the chances of Aether dropping.
Weapon Stats Scale to Attributes
Attributes don’t just dictate your overall health, shield or Lucenite gain – they can also influence the scaling of weapon stats. This can be checked whenever you’re picking up a new weapon, so if you want to spec into a higher clip size or damage accumulation, it may help in build planning, especially when looking at which Artifacts to prioritize.
Weak Points and Turning Off Auto Hit
Auto Hit can be great if you want to focus on dodging projectiles while ensuring consistent damage. But there are benefits to turning it off, which vary on a weapon-to-weapon basis. All enemies have a blue weak spot, which takes more damage from direct hits, and there’s no better method than with weapons that turn off Auto Hit. Prioritize as per your preference, but if you want to up your damage potential, then it’s worth a shot.
When to Reduce Lucenite Gain
The Carcosan Modifiers allow for highly customizing the level of difficulty that you want out of Saros. Picking higher damage dealt and reduced damage taken is always ideal, but with how many points they cost, it can be difficult to balance the appropriate Trials. Well, if you’ve hit a wall with your current upgrades, which usually happens because you need to kill a enemy, go ahead and enable reduced Lucenite gained when returning to The Passage. This cuts back on the amount of Lucenite earned from a cycle, but it’s worth so much as a Trial that it offers enough wiggle room for protection modifiers.
Unlimited Protection Modifiers
If you don’t want to bother with the whole balancing act whatsoever, good news: You can enable all protection modifiers without any consequence. Just go to the settings under gameplay and enable Unlimited Protection Modifiers. Is it essentially Easy Mode? Yes, but for those who simply want to get on with the story and surpass a super difficult enemy, it’s always an option.
Choosing Your Favorite Weapon
Returning to The Passage – be it through death or teleportation – will result in Arjun keeping his current weapon. It won’t have all the unlocked perks for balancing reasons, but if you enable the Weapon Symmetry protection modifier, then the next found weapon is more likely to be similar to the current one. Wait for a better version to pop up with the desired perks and then resume slaughtering at a leisurely pace.
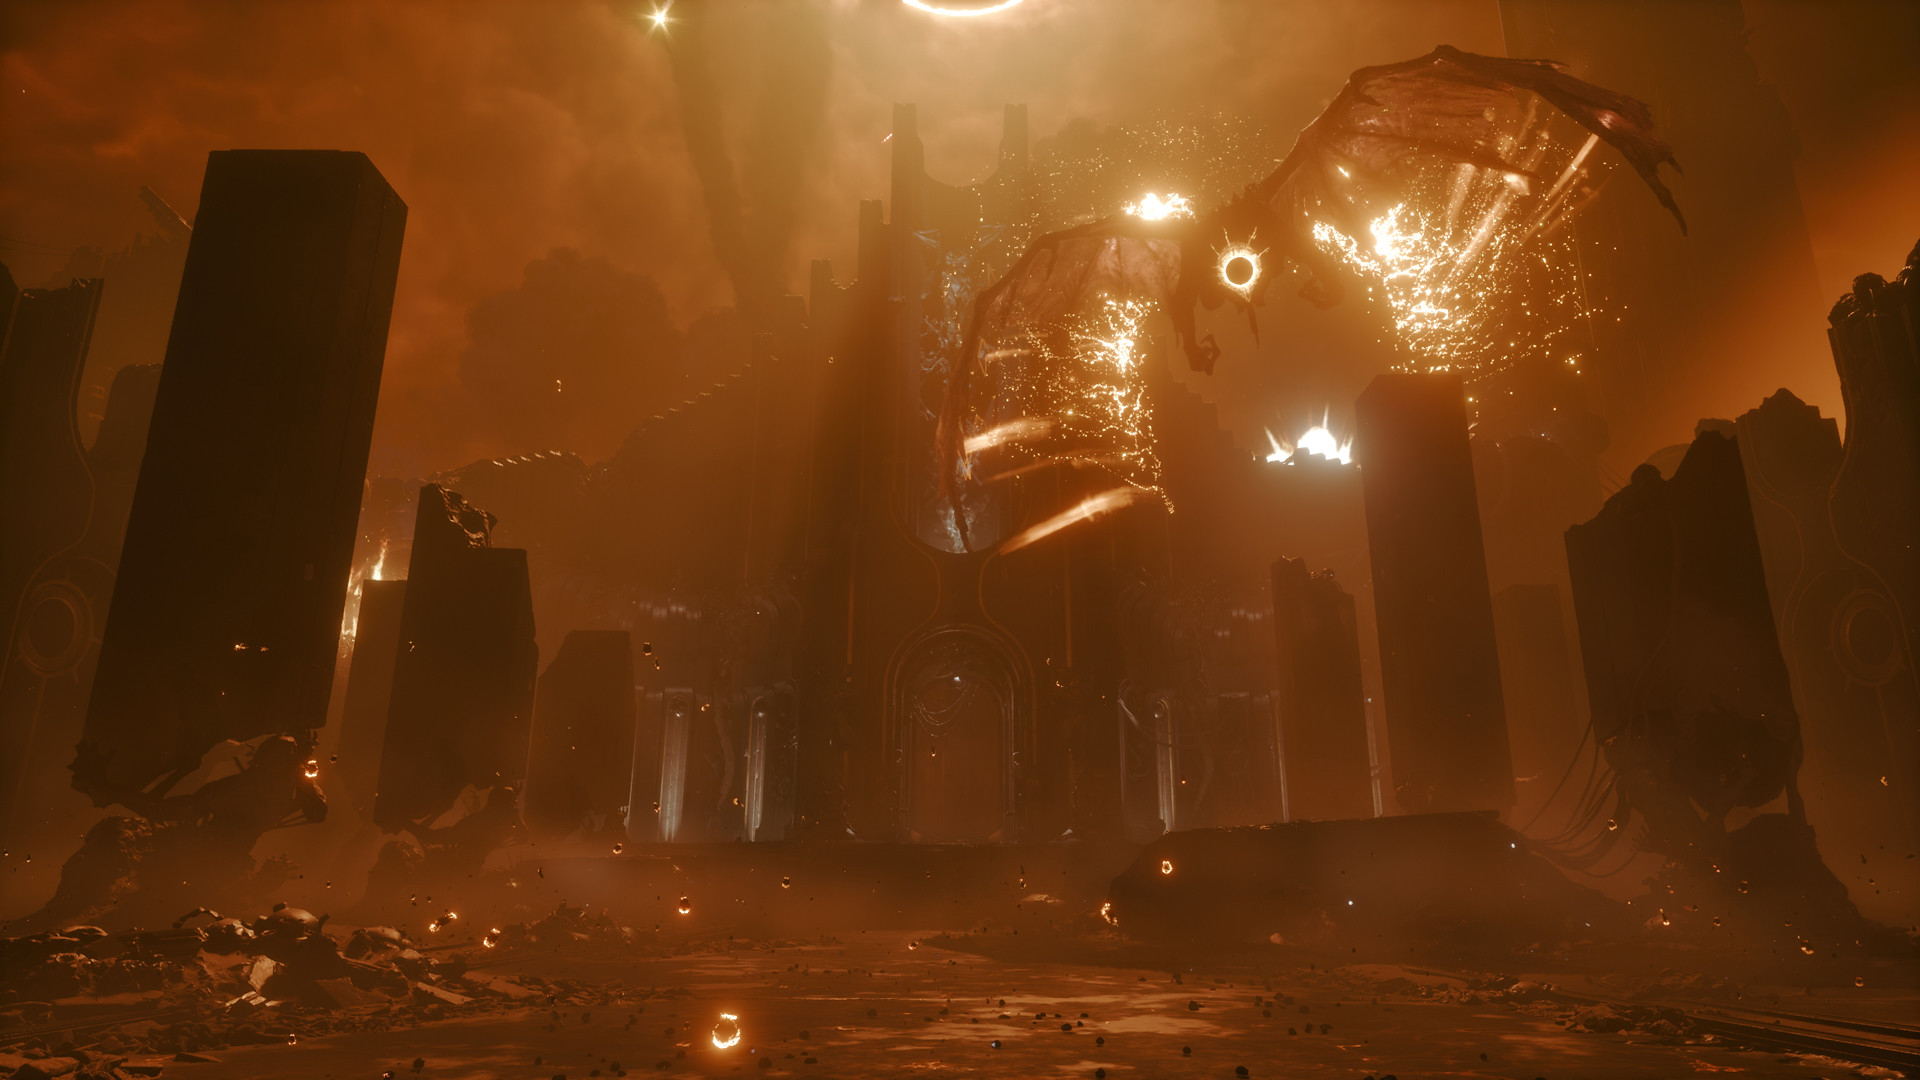
Optional Eclipse
The Eclipse is a game-changing effect, transforming Carcosa and resulting in more corrupting projectiles. And while it’s mandatory for the first few biomes, or depending on the story, you don’t always have to enable it. If you’re just looking for a stroll by the coast, feel free to ignore the outstretched hands, although you’ll miss out on Corrupted weapons and Artifacts (which are worth pursuing despite the latter’s negative effects).