


The sequel to ice-themed city builder Frostpunk has finally been released, over six years after its predecessor. While the general concept of the game has remained intact, Frostpunk 2 introduces a number of new gameplay features and mechanics. This guide offers a distilled tutorial on the best initial steps you can take while gearing up your city for survival in Frostpunk 2.
Start Generator
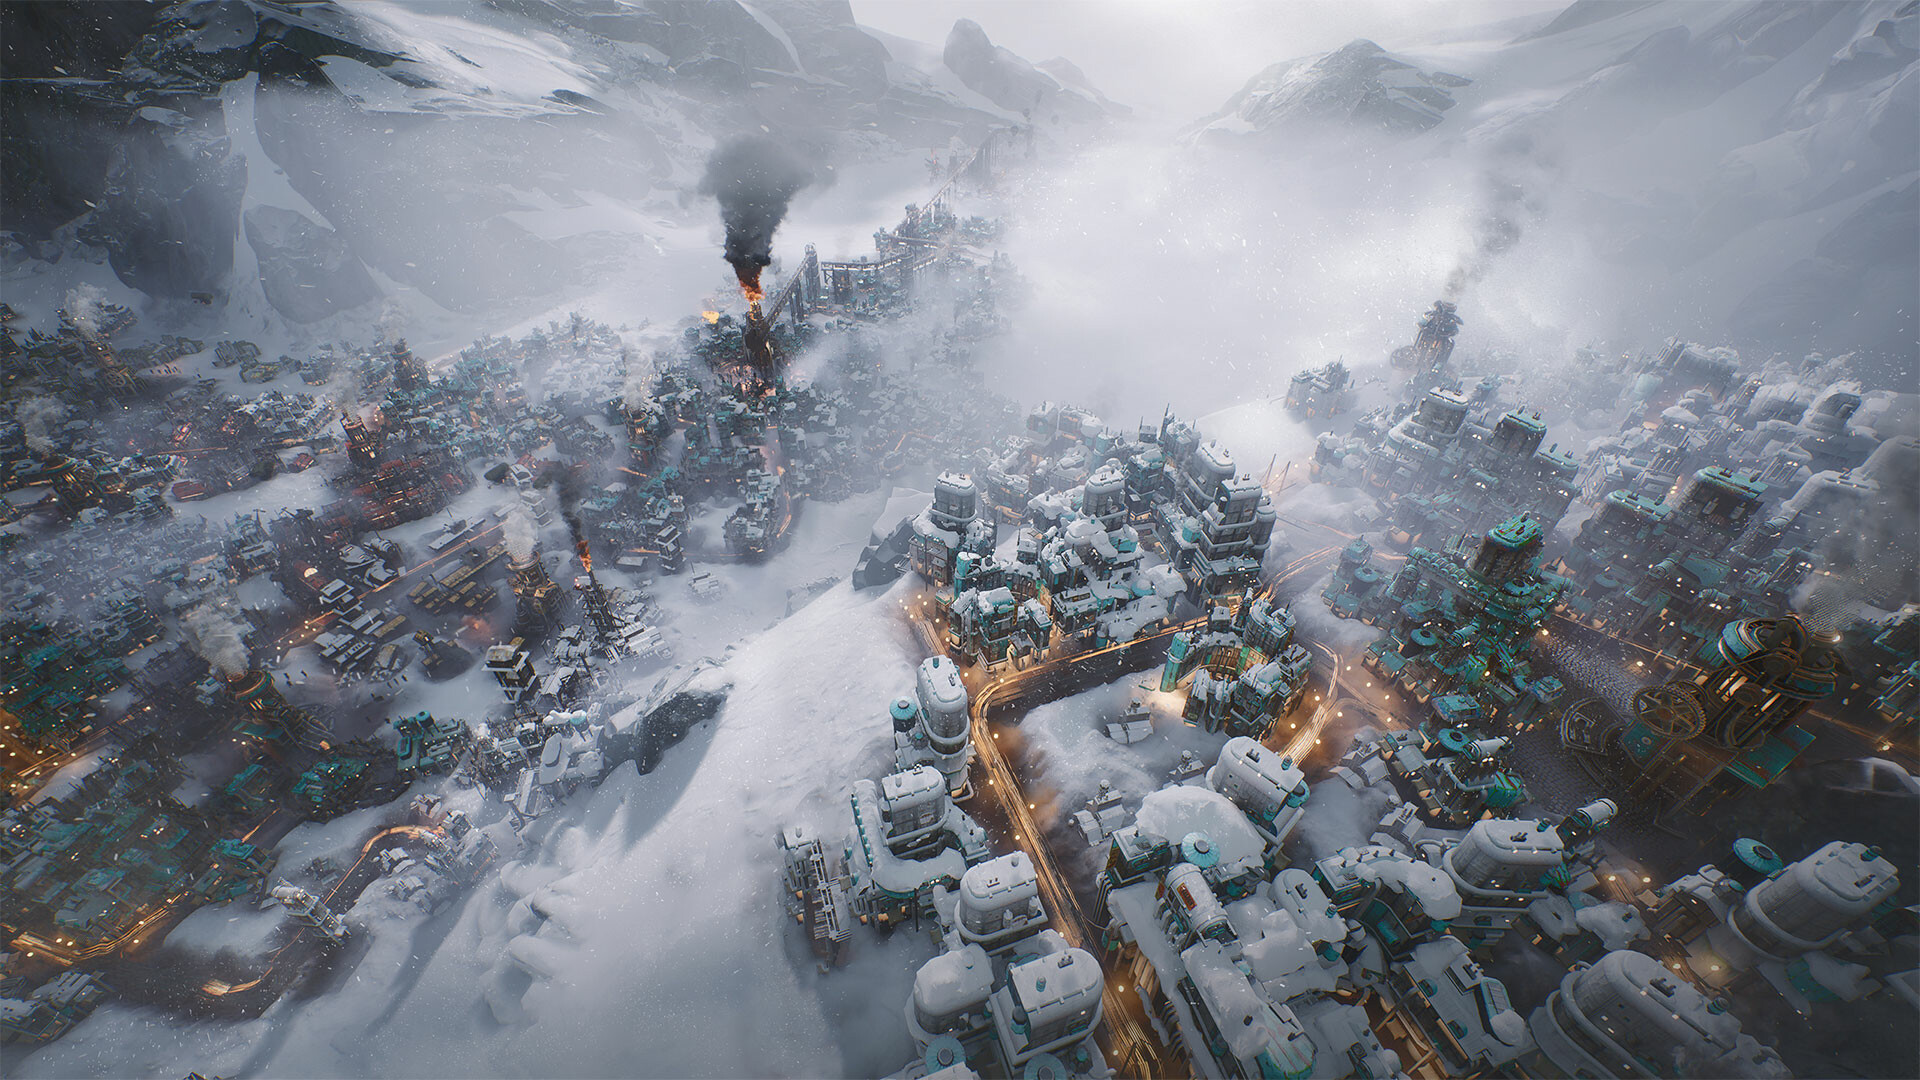
Your city’s Generator is off by default, so switching it on should be your very first step when you begin a game.
Pause Control
Right off the bat, you should be ready to use the Pause function while strategizing. Since the game is constantly ticking away, it can quickly get away from you as you ponder your next moves, or carefully plot out your districting zones.
Fast Forward
Once you have issued all the commands that your populace can possibly fulfill, do not hesitate to make use of the fast forward functionality. It can maximize your active playtime, which would otherwise be wasted passively watching your frostbreakers and builders slowly complete their tasks.
Tooltips
Almost all on-screen elements have pop-up tooltips. Not only do they greatly expand on the basic information provided and offer additional insight into game mechanics, but they may also have associated tutorials that are worth the read.
Frostbreaking Priority
With so much of the map to explore, and resources spread out far and wide, it is important to prioritize your frostbreaking forays. Always begin in the direction of the nearest Coal deposits, because Heat is the difference between life and death for your icy city. Avoid creating single hex paths as much as possible, since this can lead to navigation issues.
Heat Conservation Zoning
When zoning districts that have a significant Heat demand, such as Housing, it is important to place them as close as possible to the Generator or Food Districts for maximal efficiency, using the blue Heat overlay as a guide. Connecting three hexes to another district will offset the Heat cost.
Stockpile Coal
Since Coal is the initial lifeline of your frozen community, it should always be your number one priority when it comes to division of labor and investment. Even after construction of the Extraction District over the Coal deposits, it is important to keep an eye on how much of it actually remains for mining, so that you can plan ahead for your next source of energy. Consider expanding an Extraction District in order to increase total output as soon as the resources to do so become available. The resulting building slots that will open up grant access to structures that can also improve efficiency. Exhaust these before venturing towards the next energy deposit.
Resource Extraction Speed
Extraction and Food Districts that are placed in the vicinity of multiple resource deposits will NOT double the speed of extraction. Instead, the quantity of mined resources will be increased, after being extracted at the regular rate.
Food Production
As soon as your energy production is up and running, the next priority is food production via zoning Food Districts which are best placed in proximity to Housing Districts for the heat bonus. Where possible, also try to spare enough hexes around the zone for expansion, which will eventually help increase total output.
Politics
You can avoid it for a while, but eventually you will have to delve into the political aspects of your city, and construction of the Council Hall will facilitate this.
Faction Negotiations
With multiple distinct factions vying for your attention, you will be walking a political tightrope when passing new laws. Be wary of consistently siding with a single faction, especially if they do not constitute a significant majority of your city’s population. Never leave votes to chance, as it is entirely possible to lose a winning proposal, tanking your reputation with it, and possibly leading to your overthrow.
Faction Promises And Compromises
Promises to factions made in exchange for their affirmative vote on a given law, absolutely must be delivered within the time frame agreed upon, but not necessarily at the very next session. Even so, if the promised law is something you would rather not pass, you can still attempt to negotiate your way out of it, since a successful outcome itself was not what was promised. Try to make promises count by postponing or timing them to coincide with your own needs, thus currying favor with a faction for free essentially.
Industrial Districts
Eventually your city can spare the resources towards the production of goods. These Industrial Districts should be placed at a medium distance from the city center, ideally in the vicinity of Extraction Districts. Never place them in the vicinity of Housing Districts, as they contribute to Disease and Squalor.
Research
The Research Institute is essential for progression, and at least one should be built as soon as the resources can be spared. Doing so will unlock the Idea Tree which is simply another term for the tech tree in similar games. Additional Research Institutes will improve research speed, but are not critical in the early game.
Random Events
Every now and then, a random event pop-up will appear for you to interact with, presenting you with choices that can affect faction trust either positively or negatively. These can be used to balance out issues with factions outside of regular legislative events.
District Expansion
When the time comes to construct specific buildings within a district, you may find yourself blocked from doing so. This is because the district does not yet cover enough hexes to unlock the necessary building slot, of which there can be a maximum of two. Provisions for expansion must be made well in advance, so remember not to cluster different districts too close to each other, but leave sufficient room for growth.
Emergency Shifts
Sometimes, not even an increased total output can meet the demands of your city. So do not hesitate to make use of the Emergency Shifts function for a given district. While this does cause a small baseline drop in trust, having a worker die during an emergency shift can lead to an even bigger drop. Use with caution.
That is everything you need to know to get ahead in Frostpunk 2.


