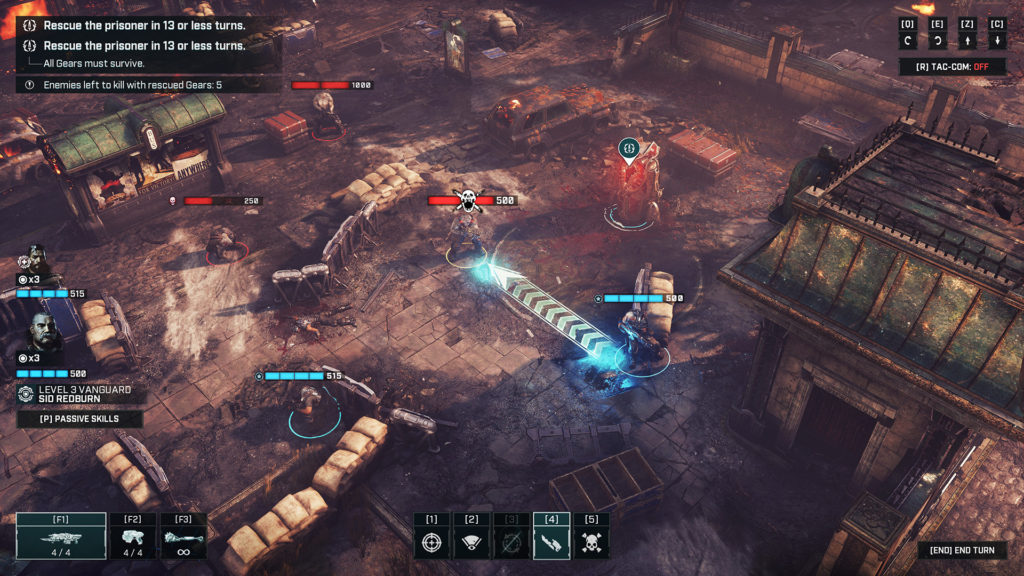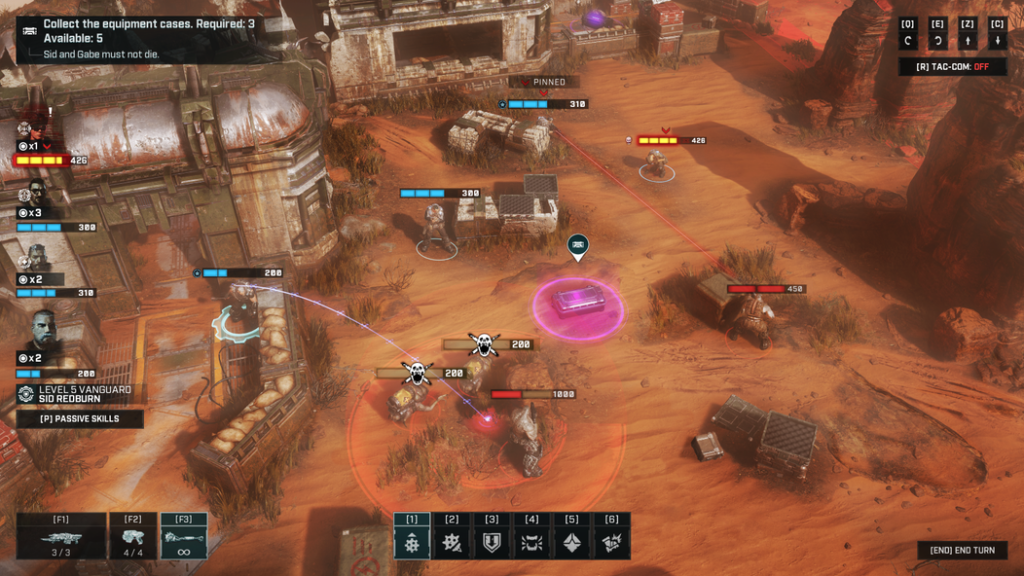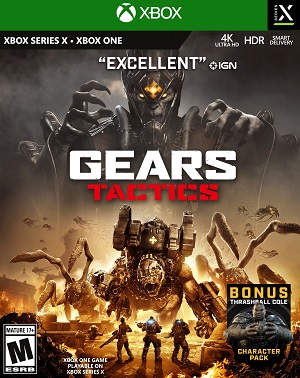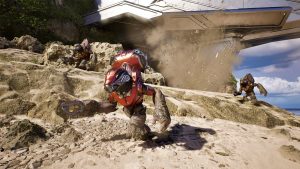
Gears Tactics is here, and it’s very, very good. Who knew mixing Gears of War and X-Com would work so well? Microsoft, apparently. Still, Gears Tactics is its own beast, and there’s plenty about it that make it unique. You’ve got some learning to do, whether you’re a Gears of War vet who’s green as grass when it comes to tactical games, or a strategic mastermind who doesn’t know a Lancer from a Gnasher. Either way, we’ve got you covered with knowledge straight from the frontlines. So prep your squad and grab your gear, because we’re going grub hunting.
Overwatch Early and Often
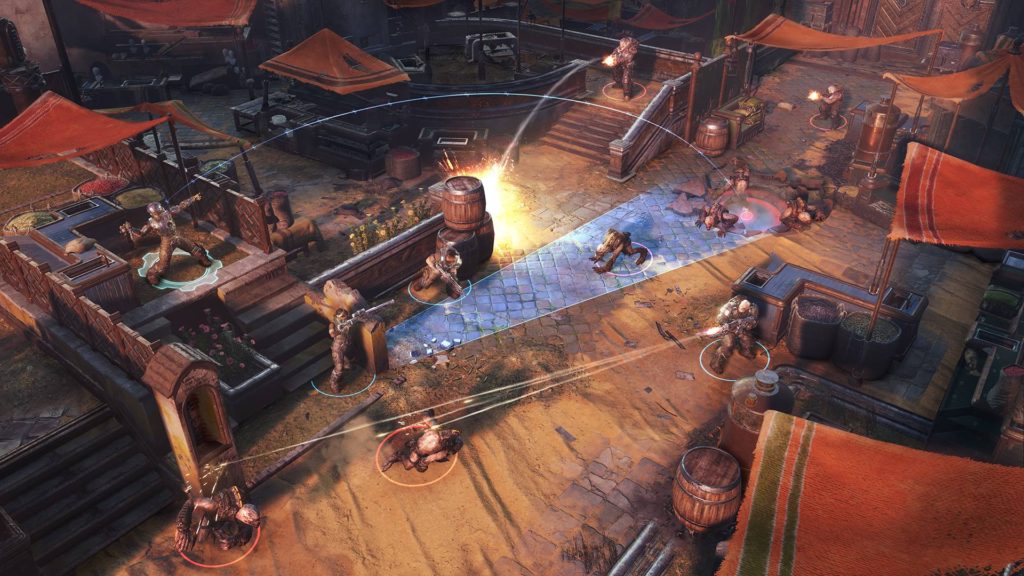
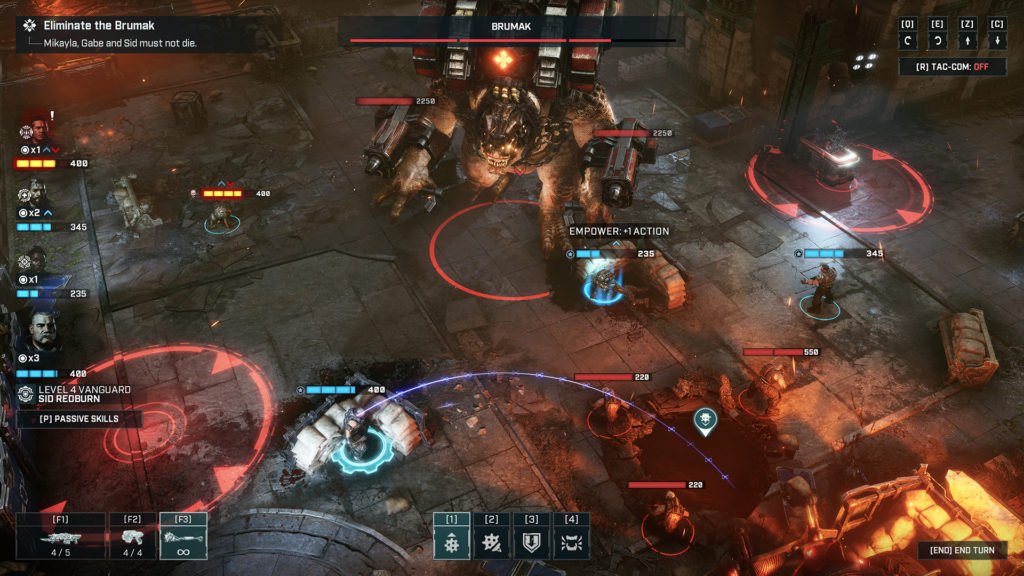
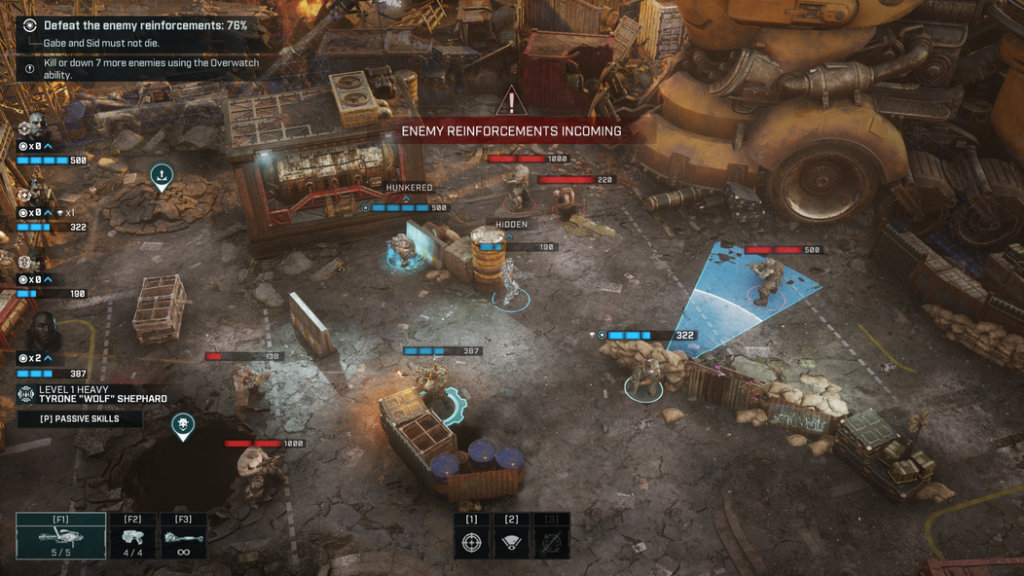
Overwatch might be the most useful ability in Gears Tactics. By sacrificing a character’s remaining AP, you can have them set up a cone of fire that covers an area of your choosing. They’ll fire on any enemy that moves into or within that cone and have a chance of disrupting their actions. The more AP you have while you overwatch, the more times they’ll shoot. Each weapon provides a different cone of fire. Heavies are the best at it because of their Mulchers, while Lancers and Retro Lancers provide good all-around cones, with the former favoring accuracy and the latter damage. Gnasher shotguns provide wide cones with limited range, and Longshots have absurd range, but little width. Whether you’re protecting an vulnerable ally, holding a point against oncoming enemies, pinning down an enemy squad, or covering an emergence hole before it pops, overwatch is always useful. You can even overwatch while being overwatched, though it won’t be quite as good. Pretty neat, right?
Execute Enemies When You Can
In classic Gears of War fashion, any enemy you down can be executed. This doesn’t just get you a cool animation, though. Executing an enemy in Gears Tactics rewards every character in your squad one AP, save for the person doing the executing. That means more moving, more shooting, more abilities, more grenades, and more overwatch. Downing multiple enemies means you can chain executions together, providing even more bonus AP. Executions can be a bit risky for the character performing them because it often puts them in open, vulnerable spaces, so be careful. The reward, however, is almost always worth it.
Revive Downed Allies As Soon As You Can
Allies that go down are in a vulnerable state. Attacks from nearby enemies can finish them off for good, resulting in either the death of the character or failing the mission. In some cases, however, it might be tempting to leave allies that aren’t in immediate danger to wait until you clear out nearby enemies. After all, running over to them and reviving them costs AP that could be spent doing other things. Don’t do that. Reviving as soon as you can gets your soldier back on their feet and refunds any action points they haven’t spent. Since most damage is dealt on your enemy’s turn, this often means more AP you get to spend. Be careful, though. Characters that go down rejoin the battle with lower maximum HP, and if a character is downed too much, they’ll be killed outright.
Use Second Wind As A Last Resort
Every character also has access to the Second Wind ability when they go down. This ability can only be used once per mission and allows the character to pick themselves up. When they stand, they’ll have a single action point to spend. It’s tempting to let characters do this instead of spending the AP of another character to revive them, but Second Wind comes with costs. Units that use it will have less maximum health than they would if they had been revived normally, and they won’t be able to use it again if they get in trouble. And trust me, there’s nothing worse than having a character who can’t pick themselves up again when you can’t get to them and they’re surrounded by enemies. Second Wind is useful, but it should only be used as a last resort.
Use Your Grenades
It’s normal to want to save your grenades, but don’t be afraid to use them because of their long cooldowns. Frag grenades have a large blast radius that will take out most basic enemies, even if they’re at full health, and they deal massive damage to bigger enemies like Boomers and Kantus. Got an enemy that’s overwatching you and no other good way to reach him? Consider a grenade, especially if you’re in a tight spot or near the end of the mission. Don’t forget about stim grenades, either. These little beauties can revive downed characters from a distance and provide your whole squad with health if they’re grouped up, all for one AP.
Close Emergence Holes Quickly
Remember emergence holes? Well, they’re back in Gears Tactics. You’ll see where they’re going to be a turn before they pop, but after that, they’ll spew enemies every turn until you close them or they naturally expire. Worst of all, enemies that pop out of e-holes can attack the same turn they spawn. A well-placed grenade will solve this problem, but you’ll have to be fairly close. If you’re really quick, you can plant a grenade on them before they pop, and they’ll close as soon as they open.
Don’t Sleep on the Pistol
Use your primary weapons as much as you can, but don’t sleep on your sidearms. They may not do as much damage as your other weapons, but they have longer range than any weapon except the Longshot, and unlike the Longshot, they’re accurate up close. Better still, the Disabling Shot ability will knock enemies out of overwatch and disable snipers who are pinning you down. Switching weapons doesn’t cost any AP, either, which is handy if you have an enemy to finish off and your primary needs a reload.
Choose The Right Weapon (and Firing Order) for the Job
This may seem a little obvious, but it’s easy to forget. Retro Lancers and Shotguns are lousy at range, and the Longshot is terrible up close. When you’re firing, make sure you’ve got the right weapon and character for the job. If your enemies are far away, start firing with your Snipers and Supports, who carry Longshots and Lancers, before you send in your close-range guys. Use your Assault and Scout classes first if the opposite happens. Heavies can do both, but they’ll be less accurate against smaller enemies like Wretches and Tickers, so save them for the big guys. Also make sure your characters have the right weapon equipped. If you switched to a pistol or grenades last round, your characters will still be holding them. You don’t want your Scout to run into a group of enemies and fire with her Pistol instead of her Gnasher, or your Assault to fire at range with his Retro Lancer instead of his Pistol.
Watch Your Ammo
There’s nothing worse than getting into a firefight and running out of ammo or setting a character with 3 AP to use overwatch before you realize they can only fire once. Make sure you keep an eye on your character’s ammo counts as you fight. Some characters, like the Sniper, have abilities that allow them to fire and reload in the same action. Others have gear you can equip that ups their maximum ammo. If you have an extra action point you don’t plan to use, get into the habit of having your characters reload instead of skipping it. If worst comes to worst, don’t forget about your pistols and grenades. They can bail you out if ammo for your primary weapon is low.
Use Your Abilities Early
Like anything that goes on cooldown, it’s tempting to try to save your abilities for the moments you think you’ll need them, but don’t be afraid to use them. Abilities like Empower (give another unit an action), Fast Fingers (shoot and automatically reload if you kill or down an enemy), Cloak, and your trusty chainsaw can turn the tide in any engagement, and it’s better to use them when you think you need to rather than hoard them. The sooner you use them, the sooner they’ll be off cooldown. Most missions last a few turns, so your abilities should come back before they’re over.
Grab Those Cases
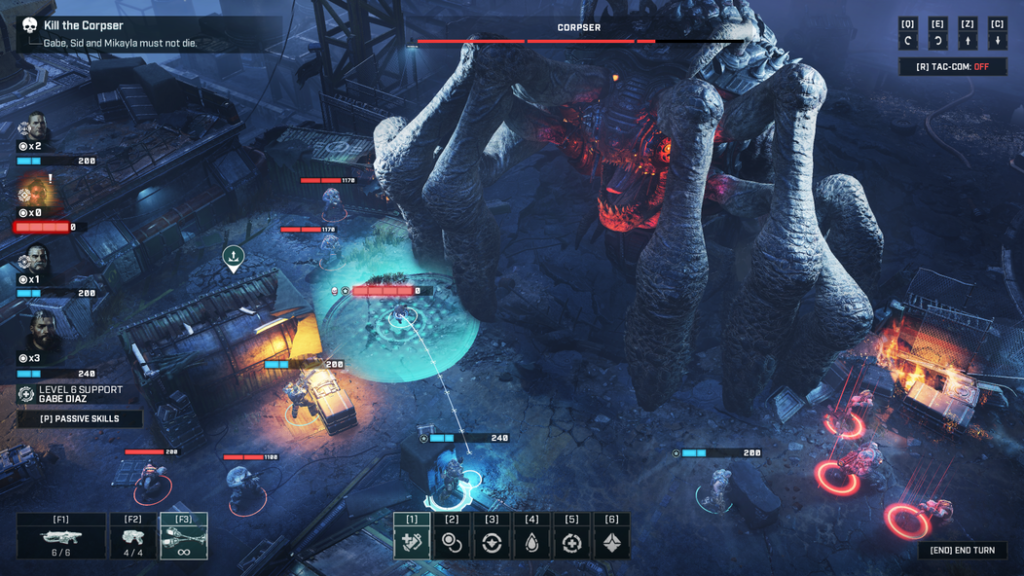
Every map has at least a couple cases scattered around for your characters to collect. These contain weapon and armor upgrades you can equip at the barracks, and the bonuses they provide are essential if you want to survive. Before you move out on any mission, do some quick recon and see if there are any chests on the map. Get a feel for where they are, and how many of them there are, and keep that in mind as you move. You can see their locations even in the fog of war, so plan how to get them, and which characters you’ll send to do it, ahead of time. Completing optional mission objectives also rewards cases of at least rare quality, so try to do them. If you have to choose between grabbing a common (white) case and completing an optional objective, do the latter.
Keep Up With The New Recruits
Recruits appear at your barracks between every mission, providing a quick and easy way to fill out your squad. They won’t stick around forever, however. Each will only be available for a certain number of missions. Recruits you rescue during missions will stick around longer than those you don’t, so keep that in mind when making your selections. You’ll get more slots for squadmates as you progress, but if you’re at the max, you’ll have to dismiss someone to recruit someone new. Choose wisely.
Spend Some Time in the Barracks
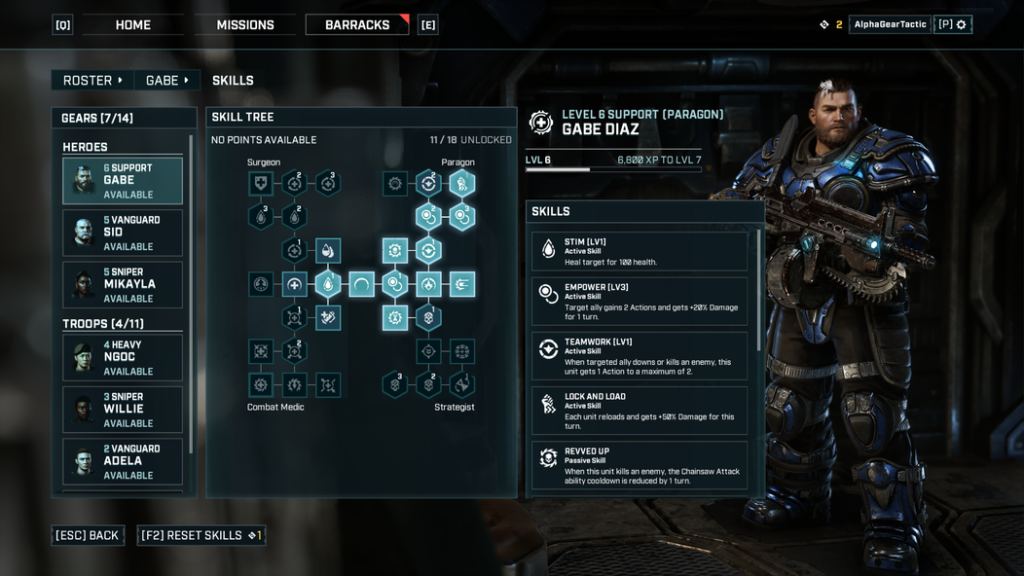
The barracks is where stuff happens between missions, so you’ll want to get familiar with it. You can swap out gear, spend skill points, respec your characters, open cases you found on the battlefield, customize the appearance and names of your soldiers, and recruit new units here before the next mission. You can also see the next missions you have available, as well as any optional objectives they have, allowing you to prepare and equip your squad accordingly.
Choose Side Missions Wisely
You can only go on so may side missions, which means some of them will inevitably left undone as you progress. Before you choose which to do, check out their descriptions and rewards. You’ll probably want to choose ones with Legendary cases over Epic ones and look for ones that seem to suit the soldiers you have available. Remember that characters can only go one on side mission per chapter, so if you send them on one, they won’t be able to help with another until you’ve progressed. Some missions will help you out by giving optional objectives that reward you for taking certain classes, but most won’t. Pick your teams wisely, and don’t be afraid to abandon the mission and retry it with a different composition if your squad can’t handle it.
Don’t Just Use Your Heroes
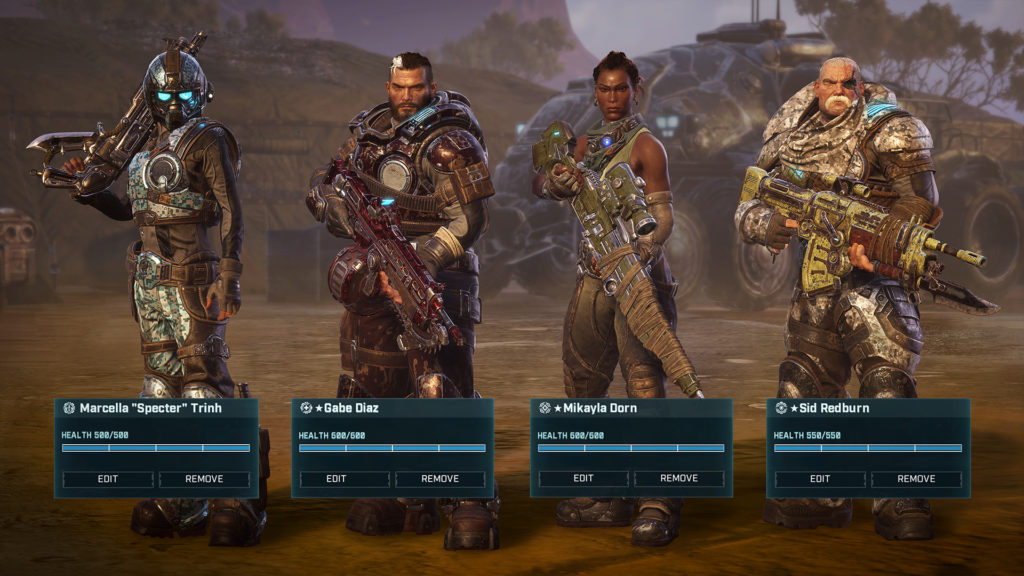
Gabe, Sid, and Mikayla are far and away the best units in your squad, so you’ll be tempted to take them everywhere, even on side missions. As the game goes on, however, you’ll often have missions where you can’t use one of more of them, which means you’ll have to fill in the gaps with units you’ve recruited. Support (Gabe’s class) and Sniper (Mikayla’s class) are essential for almost every mission, so you’ll want to make sure you have other units that can fill in when they can’t come along. You’ll also want at least two of every other class – Assault, Scout, Heavy – because certain missions and side missions will favor them, and you might have to use more than one. By mixing your squads up early, you’ll ensure you have characters who are the right levels to support your Heroes later on.


