


The Legend of Zelda: Ocarina of Time Remake Announced, Coming to Switch 2 in 2026
Nintendo's timeless classic is finally getting a modern remake, with further details to be revealed in the coming months.
Nintendo's timeless classic is finally getting a modern remake, with further details to be revealed in the coming months.

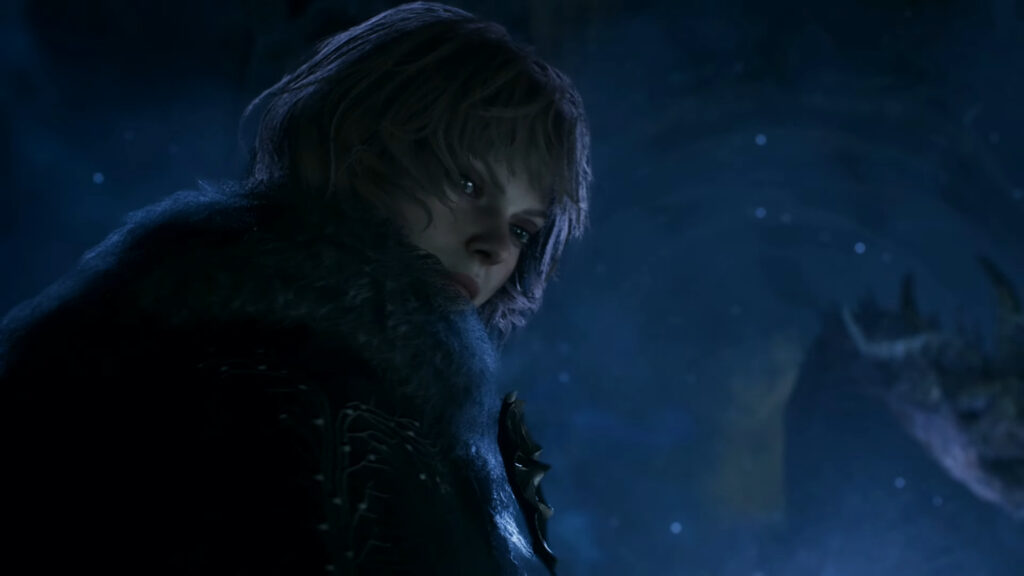
Some new playable Bloodsworn appear in the new trailer, but a release date for the Switch 2-exclusive PvEvP title is still pending.
Capcom's 2024 action RPG is getting the enhanced edition treatment with a new region, Norgan, to explore and fresh challenges.
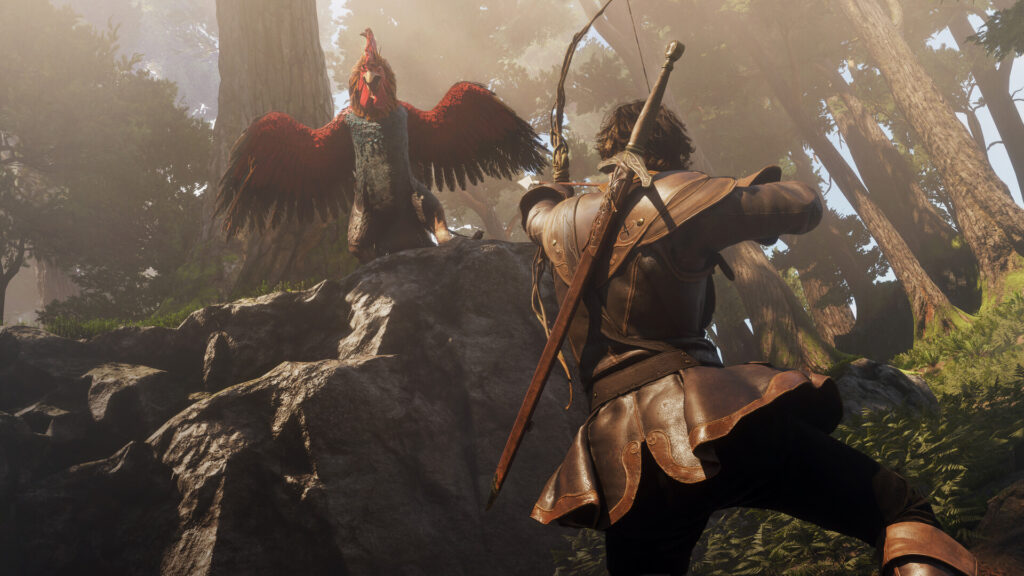
Order of the Hero promises a dangerous new locale in Albion with beautiful sights, an ancient cult, and a mysterious new power.
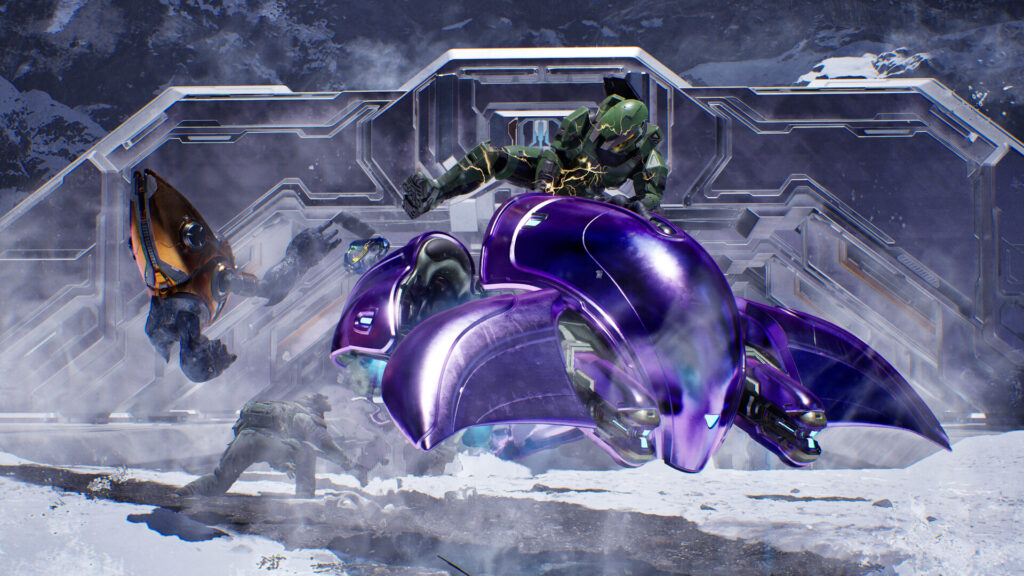
The remade intro cutscenes, appearance of weapons like the SMG and stunning locales have us excited for its launch on July 28th.
It’s time to grab a few marshmallows because Dante, Nero, and Vergil are bringing the fire to the Nintendo Switch 2 this month.
Players explore an extensively sprawling new world where Anima is the source of everything, as a Vesselai-in-training at Leukos.
Lies of P puts players in the shoes of a puppet created by Geppetto, exploring the city of Krat, which has fallen to madness and bloodlust.

Nintendo's timeless classic is finally getting a modern remake, with further details to be revealed in the coming months.
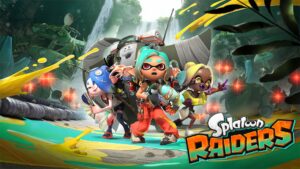
With everything we got to see in the new trailer, more details about Splatoon Raiders will be revealed in a special Direct on June 30th.
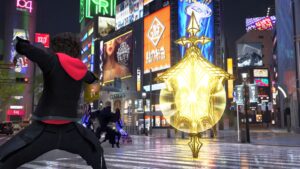
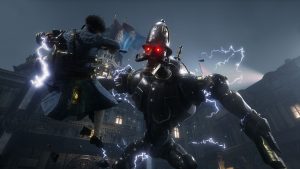
The trailer for Kingdom Hearts 4 has confirmed that the title will feature the same fast-paced actions that the series is known for.
Some new playable Bloodsworn appear in the new trailer, but a release date for the Switch 2-exclusive PvEvP title is still pending.
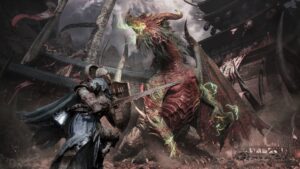
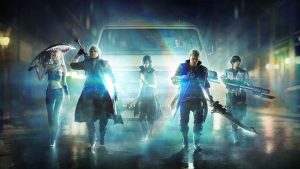
Switch 2 players can finally jump into the cataclysmic world where the living and the Umbral collide alongside other platforms.

Nintendo Switch Sports Resort will feature 12 distinct sports that use the JoyCon 2's hardware features to offer intuitive motion controls.
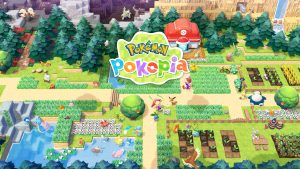
The expansion pass will include three major DLCs, with the first one bringing in an entirely new underwater town called Bubbly Basin.

Capcom's 2024 action RPG is getting the enhanced edition treatment with a new region, Norgan, to explore and fresh challenges.

The Nintendo Switch 2 version of Capcom's upcoming title will also include exclusive features, like support for motion controls.

Matthew Ball also noted that, while there might be a demand for more Xbox consoles, memory shortages have been an issue for the company.

The announcement of this new milestone came just a few days after Capcom unveiled its Year 4 DLC plans for Street Fighter 6.

Marketing chief Aaron Greenberg denies claims of a last-minute change to exclusivity, saying only a "very small internal group" knew.
"We have an internal framework and strategy that we are using to approach exclusives on and off the platform," said Matthew Ball.

If last week’s news had you concerned, Jeff Gattis is here to allay your worries about a sequel to Bond’s rise to glory and IOI’s role.

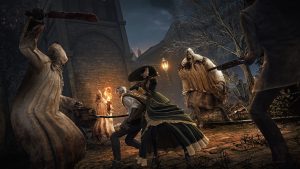
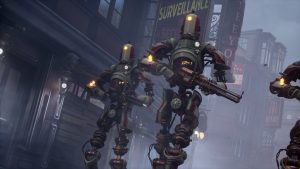
Port Desire’s neon lights belie a city whose innate darkness and fragile peace are primed to explode in a messy fashion.
XBOX's Matthew Ball confirms that the hikes didn't sit well with much of its player base, though things have stabilized since.

Order of the Hero promises a dangerous new locale in Albion with beautiful sights, an ancient cult, and a mysterious new power.
