





Who knew a road trip across post-apocalyptic Japan where almost everything is trying to kill you could be so endearing? Game Freak’s Beast of Reincarnation offers more than just Sekiro-style parrying or extensive exploration, and it can take some time to wrap your head around the different systems. Fortunately, we have 15 tips and tricks that will make life on the road easier – absolutely spoiler-free. So without further ado, let’s dive into one of the most essential tips.
Revisit the Cleanse Walker Often
The Cleanse Walker is your home away from home. It won’t be available immediately, but progress far enough through the first Chapter and you can fast travel back to it. You should return whenever possible to talk to companions, raise Rapport (more on that shortly), and deposit anything in your backpack. It’s also great for selling Ancient Books and Golden Eggs, and for researching new recipes, skills, ingredients to grow, etc. And if you’re only keen on revisiting when a new companion cutscene is available, the camp sites littering the world will keep you notified.
How to Upgrade the Cleanse Walker
Occasionally, you’ll pick up Golem heads of different colors which don’t really do anything for Emma or Koo. They’re actually used to upgrade the Cleanse Walker’s facilities with each color corresponding to a different function. For example, Blue allows you to further upgrade melee and ranged weapons. It’s another excuse to return to the Cleanse Walker, but it’s downright essential for progression, especially if you can add a +1 upgrade to any weapon before a boss fight.
Collect Facility Modules
The same goes for Facility Modules. You can often find them on top of the dilapidated walkers littered throughout each region, and they’re uised increase the number of spots for rearing chickens or growing ingredients. Since Koo calls out their locations at every turn anyway, they’re worth going out of your way for.
Building Rapport With Koo
When petting Koo, taking a shower to rinse all the blood and dirt off, or feeding him regularly, you build Rapport. It may be enough to just see the giant fluff ball happy, but Rapport goes even further, increasing the number of skill slots. Just take care that he doesn’t fall in battle since that will reduce Rapport (though it won’t ever drop below the current rank).
Koo’s Equipment and Skill Slots
You’ll collect decayed charms throughout your journey, which can be refurbished back at a campsite. These can be equipped on Koo and include a primary stat increase, a minor benefit and a perk, like turning attacks into ranged blasts or causing hits to drench enemies. However, you can also equip other skills in those slots unlocked from building Rapport, like having him lay down landmines, taunt enemies, toss recovery potions, and more without explicit commands. Keep an eye out for destructive skills and whatnot, as they can be sold by merchants or obtained after defeating vicious Malefacts that roam the world.
Kagura’s Rapport
The other companion on your journey is Kagura, who prepares meals and tends to the garden and chicken farm back at the Cleanse Walker. The meals can provide temporary stat boosts, which are more potent the first time you eat them, but there are other reasons to build Rapport. She provides you with rations when setting out that fill the hunger bar for both Emma and Koo. When full, they’ll passively regenerate health. The higher the Rapport Rank, the more Rations provided, allowing you to save any ingredients found for future meals.
Researching Items and Recipes
Of course, Koo and Emma also have other purposes, namely research. Any recipe, destructive skill and whatnot acquired needs to be researched by them before it can be used. They’ll perform this automatically, but you can head back to the Cleanse Walker and manually assign them to certain research, depending on the need. Sadly, we never see Koo actually attempting to read through a manual. One for the post-launch roadmap, hopefully.
Full Bloom
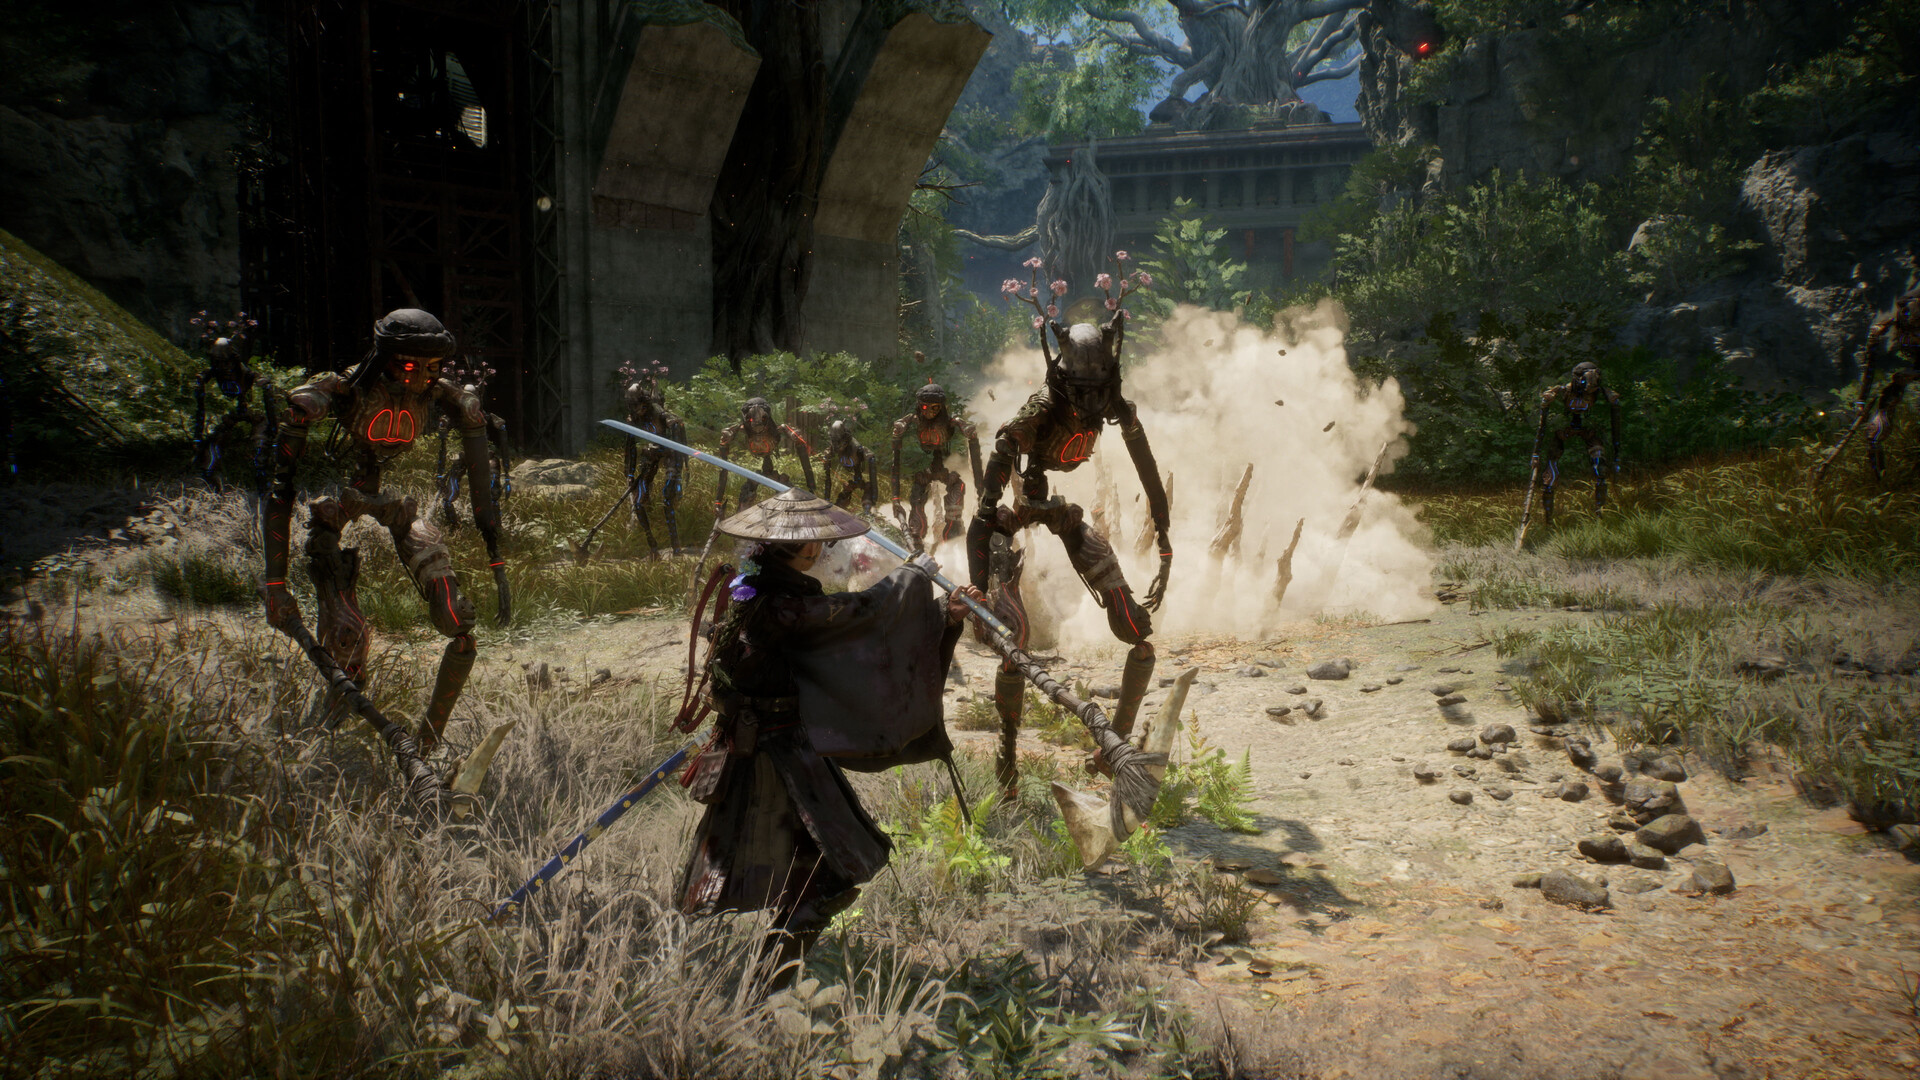
Now let’s talk about combat. You already know that Koo wields Bloom Arts and each one has different benefits, like inflicting status effects, staggering shield-wielding enemies, binding foes, and so on. But what happens if Koo is full up on Fluorescence Points? The next Bloom Art will deal more damage, which may not seem all that great initially, but it also gains increased stagger. This is definitely worthwhile, especially when dealing with multiple enemies, and using Bloom Arts that can launch smaller enemies. Set them up with Koo and knock them down with Emma’s executions.
Elemental Interactions and Skill Combos
What happens to a drenched enemy when they’re hit by Shock damage? The same thing that happens to everything else. Some of Koo’s unlocks also benefit from certain interactions – like bestowing more Vigor to Emma when attacking a Shocked enemy or increasing Fortitude, leading to more defense, against burning enemies.
Bloom Art Mods
But it gets even better. Among Koo’s skill tree unlocks are mods that can be equipped to different Bloom Arts, such as restoring FP when using them on a burning enemy. You can also combo certain effects like binding foes and inflicting slow within that area – a double whammy of crowd control. Combining these in the early going can be tricky, but once you’ve unlocked more elemental ranged attacks and weapons, they can produce some interesting results.
Don’t Neglect Ranged Weapons
When the enemy has numbers, it’s time to pull out the rapid-fire crossbow. Beast of Reincarnation’s ranged weapons, especially the Zangetsu Bow, aren’t cheap to upgrade, but their benefits are undeniable. Want to inflict Corrosion or Burn from a distance, and combo with a Bloom Art? How about causing a single bolt to ricochet between multiple targets, thinning them out quickly while you focus on the main threat? Heck, you could even execute a Nushi Skill to create a grapple point and, while airborne, aim with a ranged weapon. This slows down the action, allowing you to pick off targets with little fear of retaliation (though it consumes the Entanglement Gauge). Best of all, the arrows and bolts refill automatically at campsites, so go wild.
Get Entanglement Gauge Upgrades Early
Speaking of the Entanglement Gauge, it’s the bar at the bottom center of the screen, used to execute Emma’s Nushi Skills. But the real beauty of it is Entanglement Overdrive, wherein everything slows down, and you can attack to your heart’s content. Or until the gauge runs out. So upgrade your Strength Attribute early on, spend Skill Points to unlock the node and then upgrade the number of segments on the gauge to make it last longer. With Spirit Stones and Koo’s mods making it all the easier to obtain Entanglement, you’ll want to abuse Overdrive whenever possible, especially when stacking status effects on enemies.
Also, as a side note: When facing Golem enemies, don’t just attack them immediately after activating Overdrive. Instead, circle and attack their backs for bonus damage. The yellow portion of the gauge refills automatically, so use it with the Blade Art: Shakuyaku to quickly close the distance and take down weaker enemies.
Split Some Helms
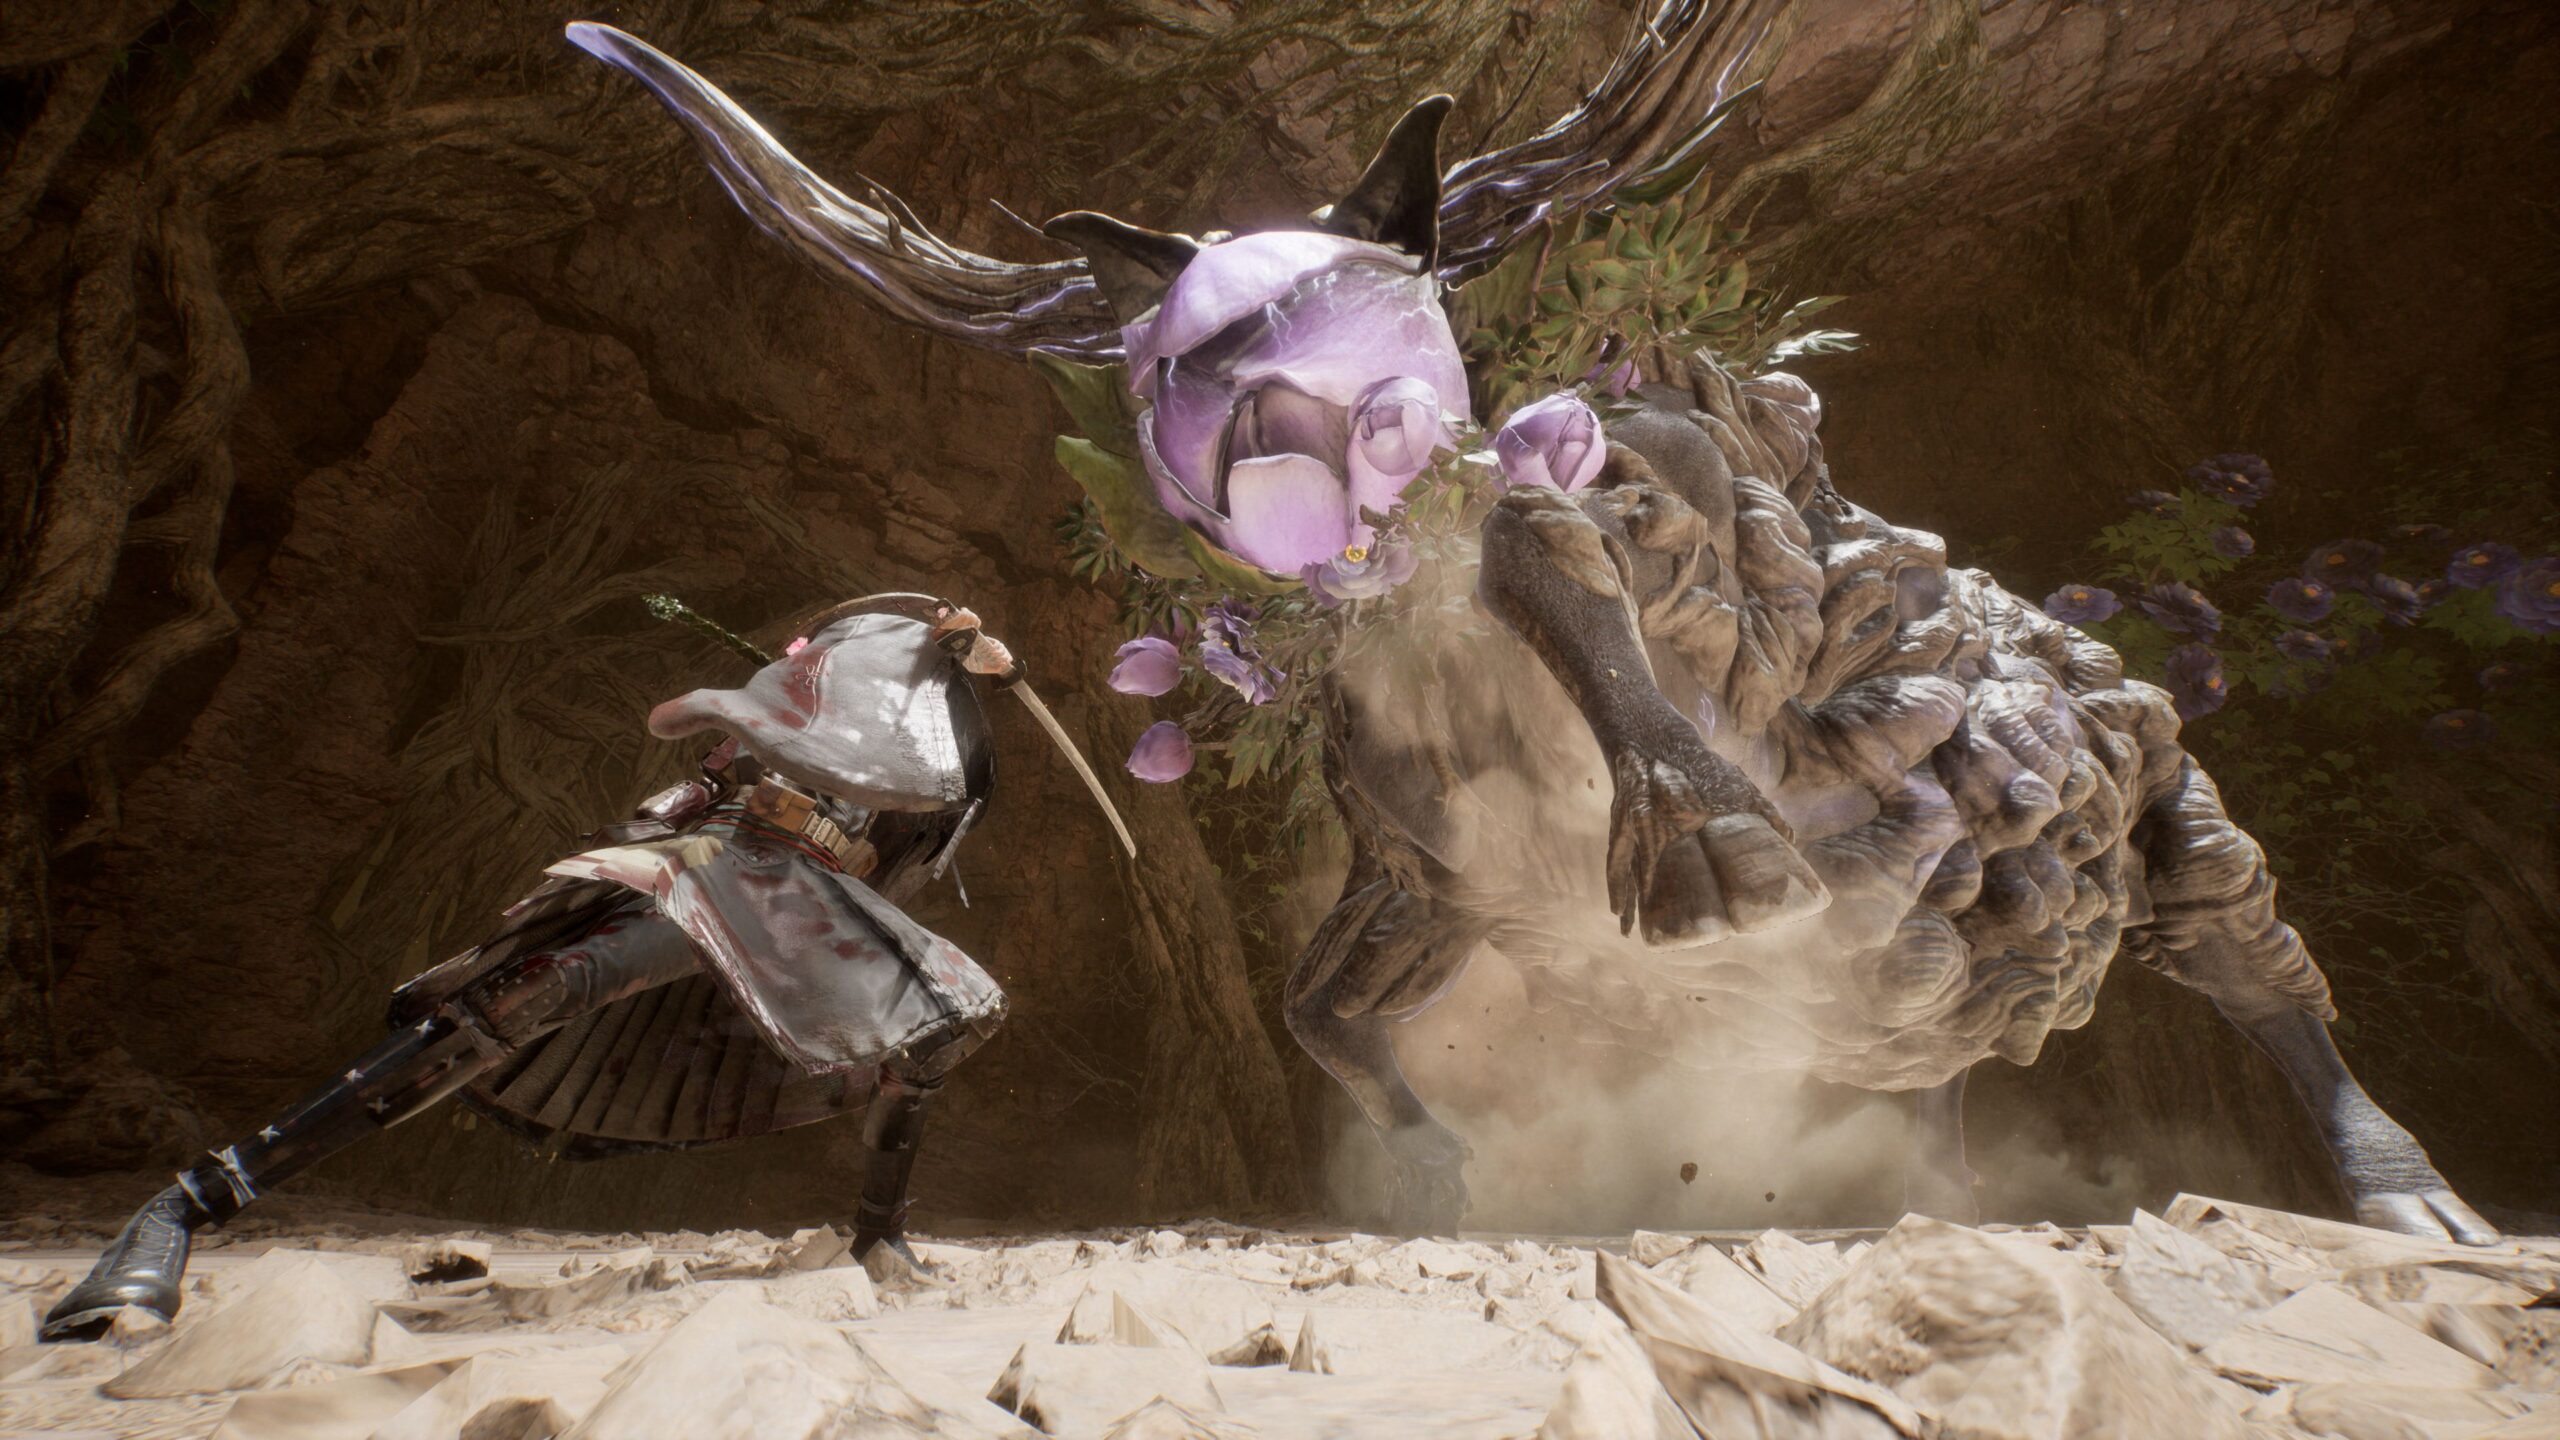
Life without Helm Splitter is…awkward, to say the least. All these grapple points and yet, Emma simply slashes in the air, sometimes overshooting a target. So after Overdrive, get Helm Splitter as soon as possible by leveling up Vitality. It allows Emma to slam down and deal damage in an area – perfect against crowds of enemies, especially when building stagger.
Pounce, Koo, Pounce!
Besides Koo’s list of Bloom Arts, you can also command him to pounce on an enemy with L2+R3 or LT+Right Stick. It’s not my go-to tactic against larger enemies – more Fluorescence Points to bring out some Bloom Arts that exploit weaknesses is more ideal – but this works wonders against smaller foes. You could even command Koo to pounce on one enemy while you deliver Death from Above.
How to Reset Attributes
Near the end of Chapter 2, you’ll receive a signal code from a character. Using it back at the Cleanse Walker lets you exchange pleasantries, but it also allows for resetting your Attributes and Skill Points. The process costs some Amber, but if you want to spec into a completely different build – maybe forgoing Vitality altogether for Strength and Fluorescence – it’s a great way to switch things up. The cost increases at higher levels, though, so keep that in mind.