


The most valuable Item in God of War Ragnarok is none other than Artifact. Whenever Kratos comes near the Artifacts, they start glowing purple. You can also sell these Artifacts for some Hacksilver. Artifacts are divided into two types: Ones that are found only in a single Realm, and others that are divided across Realms, which are Kvasir’s Poems.
All Artifacts Locations in God of War Ragnarok
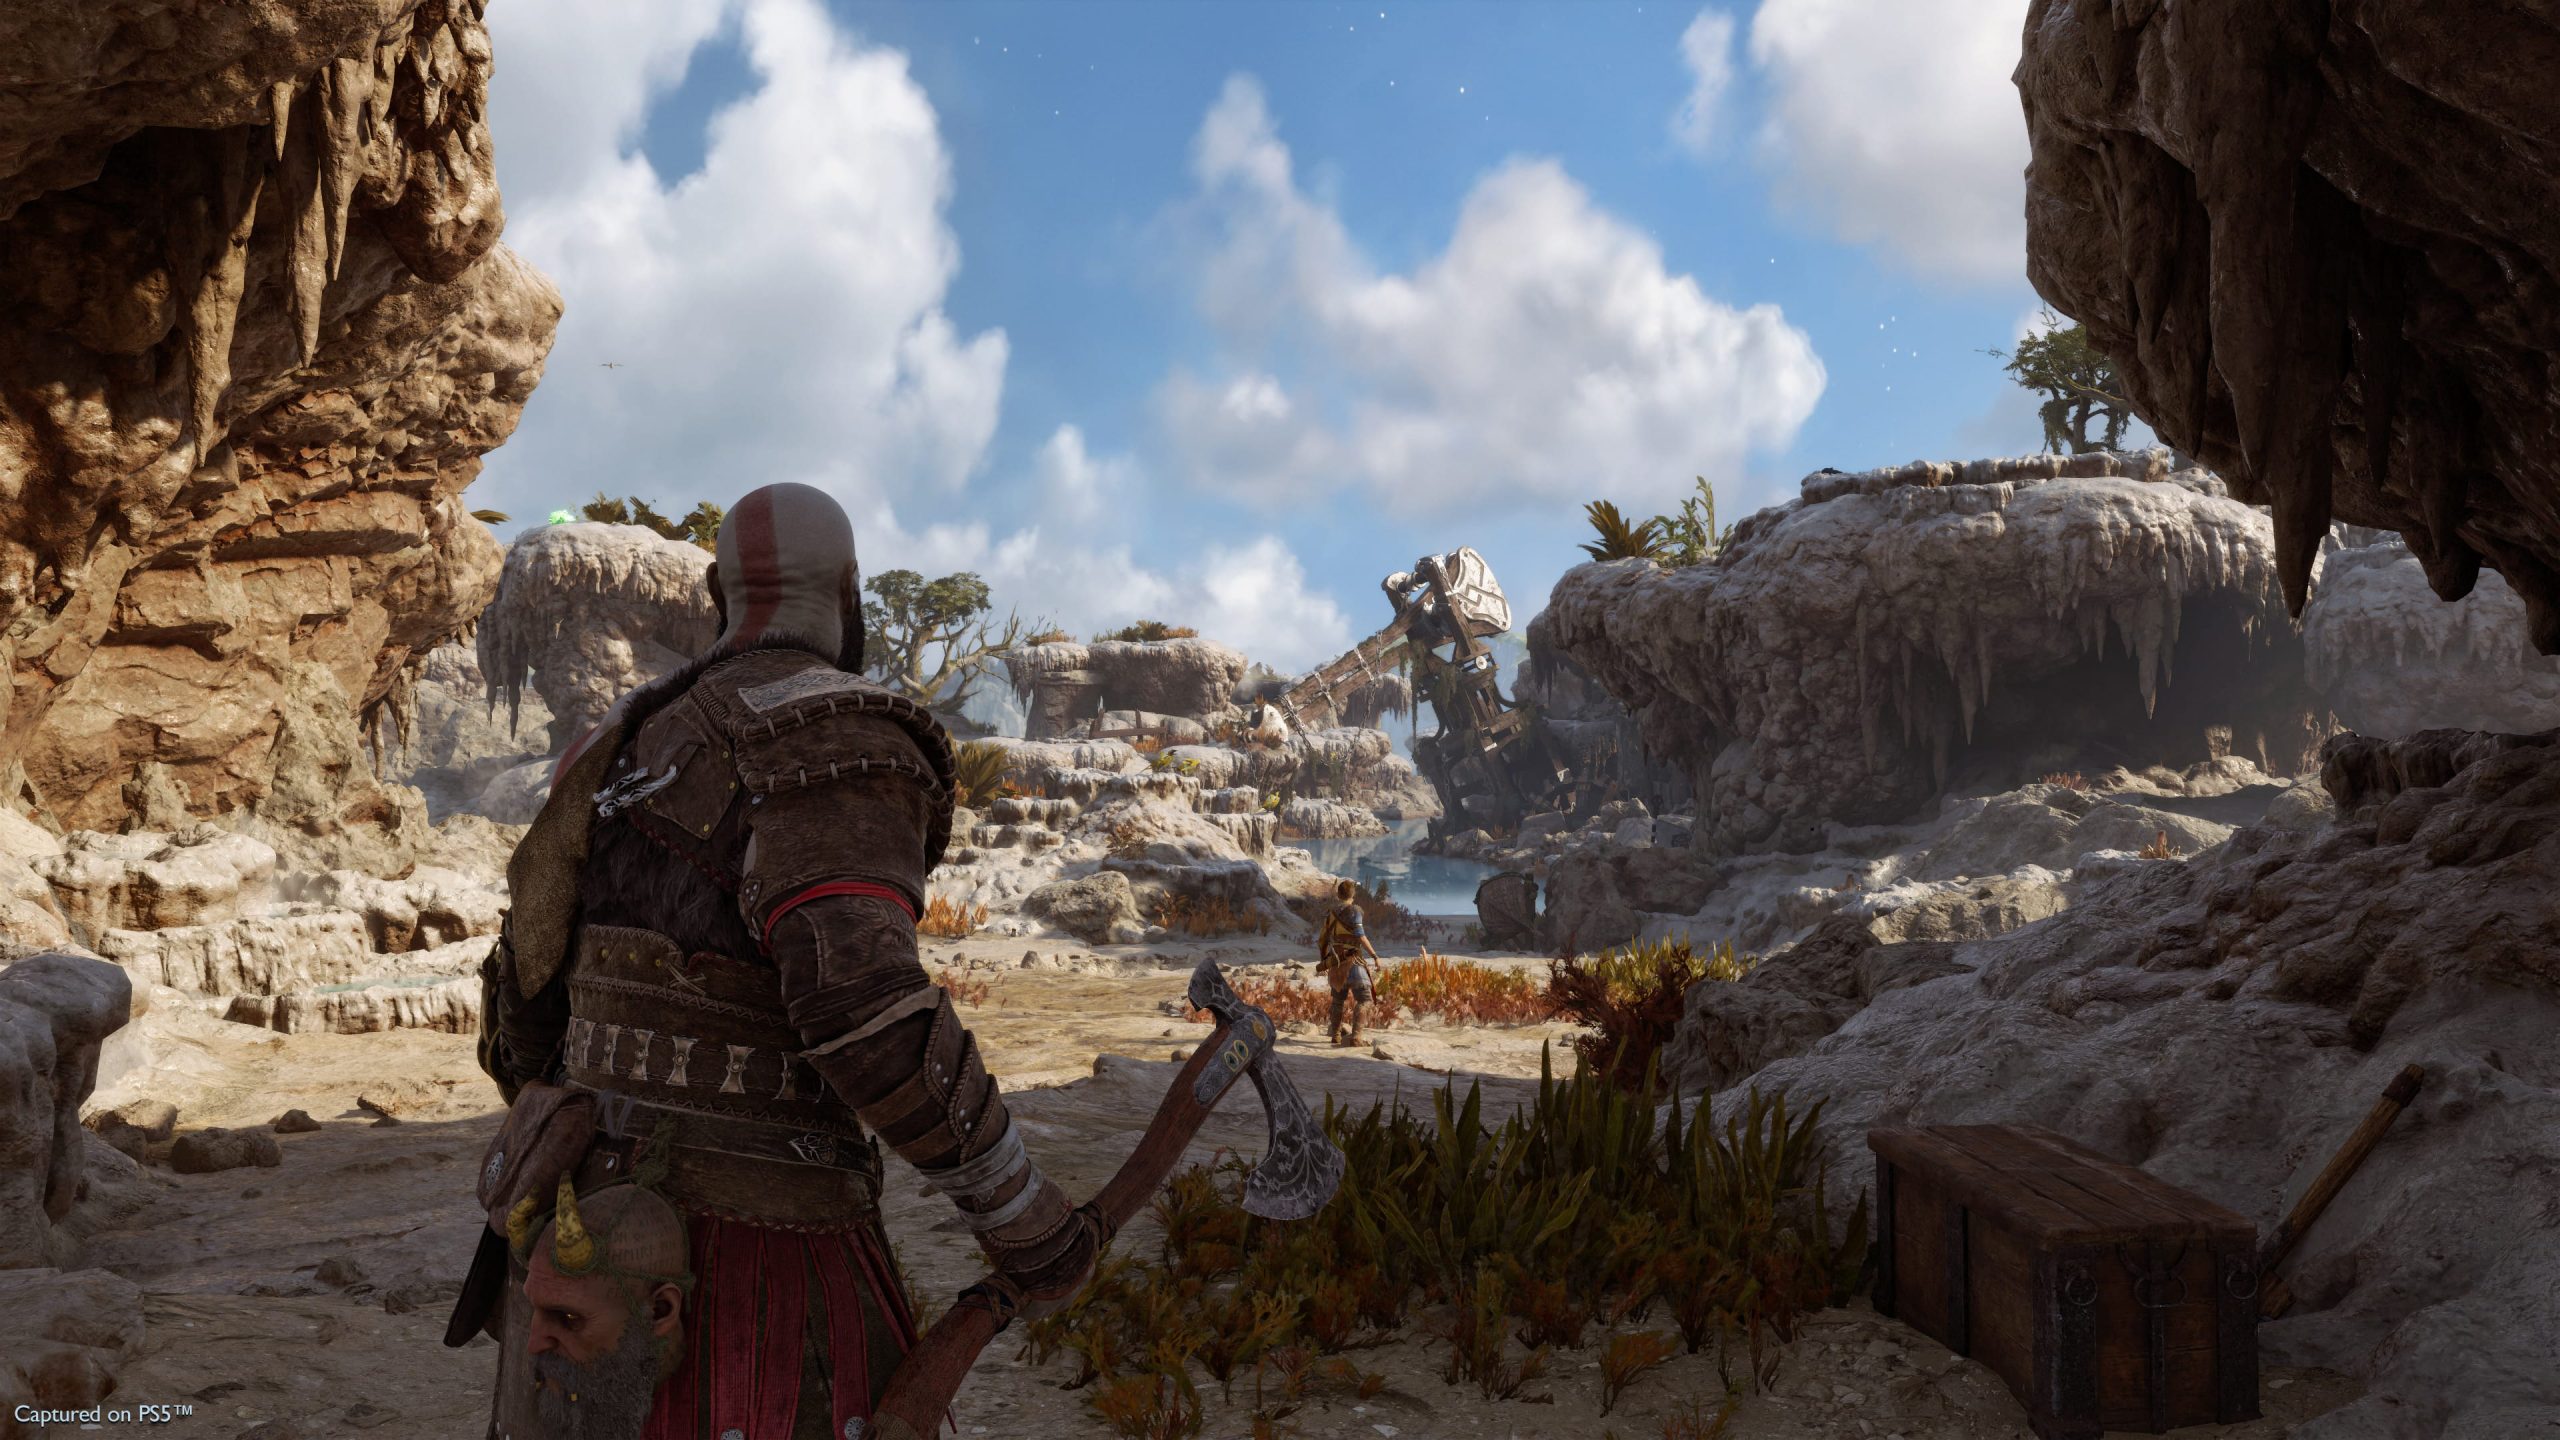
Artifacts in Svartalfheim Realm
Aurvangar Wetlands – Hreidmar’s Brassard
In the area of Aurvangar Wetlands, when you stop the boat at the shore, you will find a geyser. Freeze that geyser and move onwards from it. There is another one on your right, which you also have to freeze and move onto a higher ground by grappling. On the right side, you will find the Artifact
Aurvangar Wetlands – The Sunrise of Nothingness
On the main path, you will find a geyser. Before you can even open the main gate, it is important that you pull up the blocks of metal using the geysers. There is a red Chest and on the table, you will find this Artifact
Nidavellir – Large Society Ground Orb (The Performance)
After you put your steps for the first time in Nidavellir, there is a person named Sindri who gives Atreus an upgrade to the bow. After getting it, go back to the boat and there you will find a barrier just on your right side. Use Atreus to destroy it and behind you will find the Artifact
Nidavellir – Griep’s Firebomb
After the upgrade, there is a new area that is revealed after crawling in the sewers. There is a passageway on your left that is lit by torches. On our way, there is a barrier that you have to destroy and you will find an Artifact on the ground.
Lyngbakr Island – We Who Remain (Part the Second)
In Lyngbakr Island, there is a second binding and after going through it, you will see something to climb on towards your left. After climbing, you will have to go left and at the end, you will find a red Chest. Don’t go left, rather look to the right and you will find the Artifact there.
The Forge – Bari’s Grenade
In the Forge, you need to simply walk the path, and when you see the stone ledge, climb it up. From left, follow it around and when you see a drop-down, take it and look for a scaffolding. The Artifact is underneath it.
Jarnsmida Pitmines – Lofnheid’s Whetstone
In the Jarnsmida Pitmines, when you are going to the mines through your second train, you will find some enemies. Here you will find a chain that leads you to the platform alongside the water. When you go down the route, you will find an Artifact.
Jarnsmida Pitmines – Tool and Bang
Sindri will give you a letter in Jarnsmida Pitmines and after receiving it, you need to go right. Here you will find a stream of water that you can actually interact with. After the interaction, you will pull the stream and a huge crane appears.
The block of stone can actually be used to grapple and afterward, you need to freeze water. Use the block to go back and there is a grapple point that takes you to the new path. After going onwards the route, you will find an Artifact here.
The Applecore – Althjof’s Statue
Here in Applecore, you will find a puzzle that has water channels and elevators. To the right of that puzzle, you will find gold debris. You simply have to take the route that takes you to the elevator and from there you will have to take a turn. Blow up the pot and you will find a new path.
Take that path and on the other side, you will find a grapple point towards your left. It will take you to the top of the ledge and there you will find a door. After opening the door and looking left on the other side, you will find an Artifact.
The Applecore – Durinn’s Stone Statue
In the mines of Applecore, you will find grappling points. Using this will take you past the falling water. Go left and then down from the other side. You will find glowing debris, which you have to blow and then you will find an Artifact there.
The Applecore – Sanguinity
Take the Mystic Gateway towards Applecore. Remember, you are using the Mystic Gateway from the Aurvangar Wetlands, using a ferry. There is a lift on which you will descend and take the same path, you will get to the points for embedding the spear. Take the route to the top and then go left. Here, you will find a rock that you can actually blow. After blowing it, you will find an Artifact on the right side.
Artifacts in Alfheim Realm
The Strond – Afterlife Abandonment
When you get to know the Twilight Stone, there are a few enemies you have to deal with in The Strond. After you kill them, there is a lower path that you can take. Get down from there and behind some pots on your left, you will see the Artifact
The Strond – Dream Charm
When you meet the Light Elves for the first time and fight them, there is a stone pillar that you will probably lift to make a way further. After you go on that path, there is an Artifact on your right.
Temple of Light – Visions after Rest
There is a light door in the Temple of Light inside a room where on the right side, you will have a broken barrier. From there you will also find a grappling point, take that route to go up, and on the left side of the floor, you will find an Artifact
Temple of Light – Spirits Within Walls
When you open the door made of light, there is a small table on your left. The Artifact is on that same table. Simple as that.
The Barrens – Horn
In the area of the Barrens, there is a building on the corner of the northwest. You can identify it as a Dark Elves-surrounded building. After killing them, you can go right from there, and on the ground, you will find an Artifact
The Barrens – Celestial Construct
In the area of the Barrens, you have to go towards the corner of the northeast. There you will find a giant skeleton and you have to go inside its mouth. There is a grapple point and after taking it, you will face some enemies in a higher area. Take the upper passage after climbing the wall and on the back, you will find an Artifact
The Barrens – Harp
If you have done the Secrets of Sands, only then you can get this Artifact. In the area of the Barrens, you have to go towards the edge of the south. There, you will find a wall that has a cracked passage going through it. Take that and on the right side, you will find an Artifact.
The Forbidden Sands – Token
In the Forbidden Sands, you have to take the north area where you will find a grappling point on a rock. Take that and then destroy a weak wall. There are some enemies you have to fight and take the passage through a small space. Upfront you will find an Artifact
The Forbidden Sands – Trip
There is an entrance that leads you to the Forbidden Sands. On that same passage, you will find a rock with a passage on your right. An indication is that you will come across a structure of small size, which you can obviously climb. Take that path and upfront you will find an Artifact
The Forbidden Sands – Bracelet
In the Forbidden Sands, you need to take the northeast path. Afterward, you will come across a building of large structure. The Elven Sanctum favor is also progressed here and there is a point somewhere that you can use to grapple toward the entrance. But you need to take the path towards the door side, you need to stand there and look right. There, you will find that Artifact
The Burrows – Pipe
Finally, when you are done with the Hafgufa’s Binds, a new passage will come up to get back on the surface. There is a room from which you can go down and take that route. There will be some enemies waiting for you there, which you have to clear, and on the left side you will come across an Artifact
Artifacts in Vanaheim Realm
The Southern Wilds – Upon Pursuing a Place not Marked on Maps
In the Southern Wilds when Freys will transform into none other than a Bird, you will come by a marketplace, which is quite old. From there you need to go straight till a platform appears on which you can definitely climb. Go onwards and then take a left where you can jump towards a rooftop. There are some barriers that you can kick and after smashing you will come across an Artifact on the floor.
Freyr’s Camp – Skirnir’s Crest
After completing Reckoning there will be a completely new path which you can sail toward a new Mystic Gateway. On the right side, you will find a beach and on the sand, you will find an Artifact there.
Noatun’s Garden – Hoenir’s Crest
After the Garden for the Dead favor is completed, you can simply go towards the right side area. There is a wall which you can jump/climb on and next to that you will find an Artifact.
River Delta – Odin’s Crest
At the entrance of the River Delta, there is a passage heading left. Sail down there and you will come across a broken bridge. Before actually getting to that you need to go right and remain with the inner river bank till a place appears when you can leave. Get out of the boat and go to the place with mossy rocks. There you will find an Artifact
River Delta – Freya’s Crest
At the entrance of the River Delta, don’t go left, rather take the right side and stick with it. After some time you will reach an alcove that has that Mystic Gateway. You will also find the workshop of Huldra Brothers there, so that means you are close. Behind the Mystic Gateway, you will find an Artifact lying on the ground.
The Veiled Passage – Kvasir’s Crest
When you are going through the Veiled Passage and enemies appear, on the left corner you will find some wooden boards. Behind these wooden boards, you will find the Artifact.
Vanir Shrine – Hylli’s Crest
At the entrance of the Vanir Shrine, take the right towards a bridge. Burn the vines of red color to bring that bridge down. Pass through it and you will come across some enemies. Go straight into the next area and you will find the Artifact there.
The Plains – Brooch
This Artifact is only unlocked when you do the Casualty of War The Brooch favor.
The Plains – Scroll
You can get this Artifact only after completing Casualty of War The Scrolls Favor
The Plains – Mead Stein
You can only get this Artifact after you completed the Casualty of War The Stein Favor
The Jungle – An Organization (In the Future)
You can only get this Artifact at night time. In the Western Plains, you will find a Mystic Gateway, and using it you can change it to night. Go left from there and on the right you will find a rocky path. Take that path and when you reach the end you have to go left down. There is a bridge which you can cross to get towards a Temple. Take the path to get inside that Temple and go onwards with the path. There is a gap that you can climb and when you look to your right, you will see the Artifact in the room’s corner.
The Jungle – Child’s Toy
The Artifact can only be unlocked by doing the Casualty of War The Toy Favor
The Sinkholes – Eastern Spectres
When you are done with the Crag Jaw, you will find some vines on the wall with red color. You can burn these vines and on the other side of that, you will find stairs. Go up the stairs and on the right side you will find the Artifact
The Sinkholes – Hourglass
You can get this only by doing the Casualty of War The Hourglass Favor.
Artifacts in Midgard Realm
Lake of Nine – Maya
In the Lake of Nine, there is a Tyr’s Temple and this Temple has a bridge. To find this Artifact you will have to go under the bridge itself and it is present on a small platform
Lake of Nine – Kila
To the Tyr’s Temple’s northeast side, there are staircases made up of stone. Take these stairs to go up and you will come across a corpse. The Artifact is present just next to it.
Lake of Nine – Janbiya
Go to Tyr Temple’s northeast side and you will find the helmet of a giant statue there. Just on the opposite of that helmet, on the Temple, there are some blocked archways. You can break them and afterward they reveal an Artifact there.
Shores of Nine – Fert
On the Tyr Temple’s north side, there is a gateway for the Temple. Go to that Temple and you would come across a point that you can grapple. Take that point to go up the Temple and you will come across another point. Use grapple again and go forward from the gap. Just on the other side of that gap, you will come across an Artifact
The Derelict Outpost – Lyre
In the Derelict Outpost, you will come across a stone arch that is quite possibly collapsed to some extent. Here, you can use your chains to make a grapple point that can lead you onward to the gap. When you are ahead of the gap, go right and then drop from there. Just ahead of you, you will find an Artifact
The Oarsmen – Ankh
In the Oarsmen location, when you pull the giant chains, you will find stairs that are actually going down. After you take them, there is a new area revealed. Just at the end, you have to go right and there is a ledge on which you can jump. On the floor ahead, you will find this Artifact
The Oarsmen – The Dead do not Ride
When you are progressive through Oarsmen, you will pull giant chains. Go back to the room you first came from and there will be walls that you can climb. Take the climb and just as in the previous Artifact you can go down from there. Afterward, you will be revealed to a new area and the Artifact is right in that area.


