


Grand Theft Auto 6 Supports PS5 Pro, Confirms PlayStation Store Listing
Further details have yet to be revealed, however, as the open-world title continues its march towards a November 19th launch.
Further details have yet to be revealed, however, as the open-world title continues its march towards a November 19th launch.
From adaptive triggers with dynamic resistance to integrated speaker support, PS5 is seemingly the place to play Rockstar's next.
As many theorized ahead of time, Rockstar's magnum opus is the second title this generation to shatter the $70 price barrier.

Pre-orders go live at midnight local time on June 25th, and players can start pre-loading the open-world title on November 12th.
After reports of poor management, the tactical shooter has reportedly seen "many features stripped" as concerns continue to grow.

Further details have yet to be revealed, however, as the open-world title continues its march towards a November 19th launch.
Plans have seemingly changed, and rumored developer Certain Affinity is now looking at making the title more like Halo 5's Warzone mode.
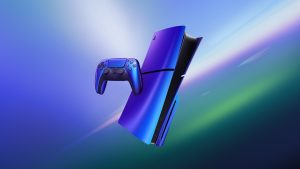
The report comes from a discussion about how Sony can keep the PS6's price reasonable despite the current state of hardware.

From adaptive triggers with dynamic resistance to integrated speaker support, PS5 is seemingly the place to play Rockstar's next.
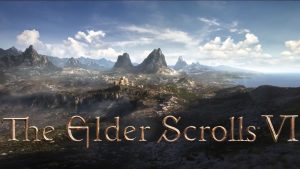
Todd Howard also spoke about how The Elder Scrolls 6 is Bethesda's biggest project right now, and how most of the company is working on it.
Naoki Hamaguchi was asked about whether Crisis Core's Cissnei would once more show up in Revelation after last being seen in Rebirth.

Pre-orders go live at midnight local time on June 25th, but there's plenty of evidence to suggest that the newest trailer isn't far behind.
Since the ending of the show's second season sets up a new location, Howard teased that the characters might get distracted along the way.

As many theorized ahead of time, Rockstar's magnum opus is the second title this generation to shatter the $70 price barrier.

Engineer Pierre-Loup Griffais said, "Those guys... they give us a price every month," and if Valve says no, it never gets called back.

Pre-orders go live at midnight local time on June 25th, and players can start pre-loading the open-world title on November 12th.

A star-studied cast, and a unique way to play are the highlights of this cooperative effort between the Night School Studio and Netflix.

This is right up our alley with its unique premise, dystopian setting, and a hero whose decisions could mean salvation or desolation.
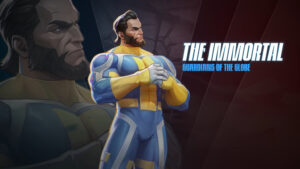
A wise warrior tormented by the ravages of time is kind of a perfect choice for a roster as packed with memorable folks as this one.

The fight for world peace alongside the Great Saiya Squad is looking like a hell of a good time, and West City looks like a perfect stage.

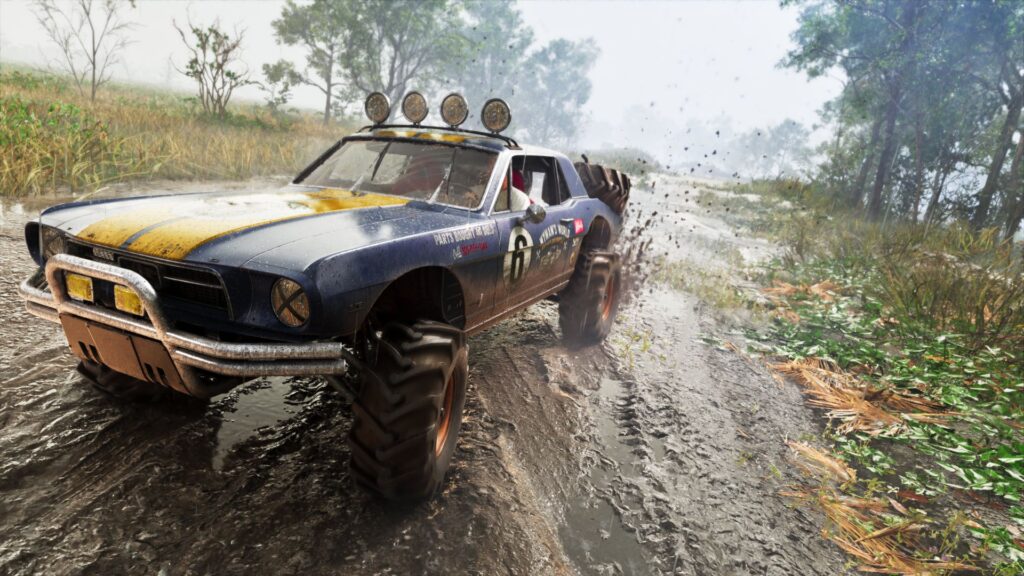
Creative director Mike Brown and art director Ben Penrose will discuss street racing, the Midnight Collective, and more with live gameplay.
Of course, having it "strategically" positioned "outside of a highly competitive holiday period" is also ideal for CI Games.

After reports of poor management, the tactical shooter has reportedly seen "many features stripped" as concerns continue to grow.

The Blue Blur's most recent mainline adventure finally hits the Switch 2 after months of speculation, with every update included.

1047 Games’ upcoming shooter definitely has a lot going for it, but is it the one for you? That’s what we’re here to answer.
