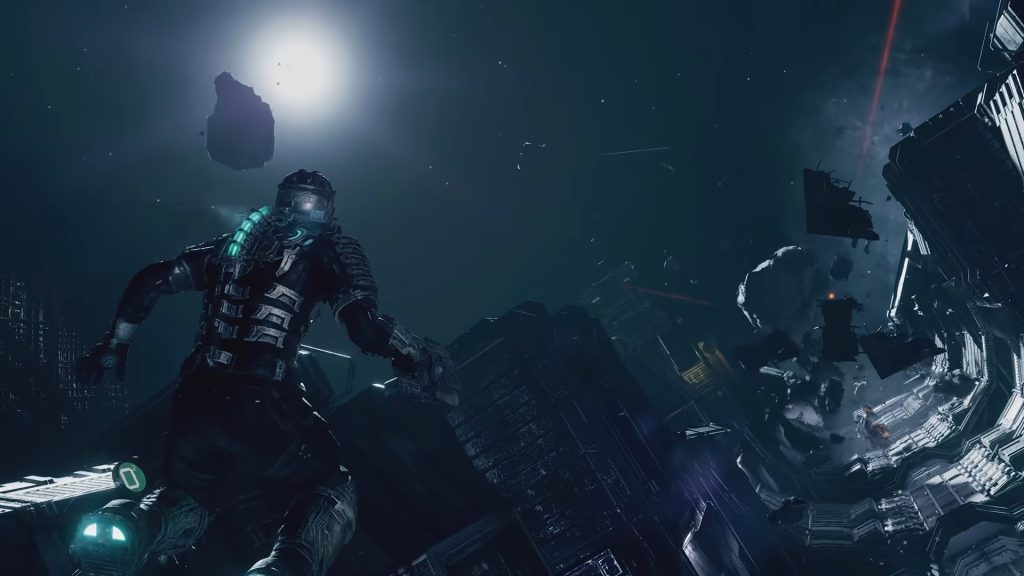
Power Nodes are important in Dead Space Remake because they are needed for upgrading your suits and weapons. Each node costs 10,000 Credits which is quite expensive. However, there are a bunch of free power nodes hidden all over USG Ishimura and in this guide you’ll discover how to get each and everyone of them. Let’s begin!
All Dead Space Remake Nodes Locations
Chapter 1 (New Arrivals)
- Node 1 – When you enter the Tram Repair Room, look towards a nearby wall.
- Node 2 – Return to the Tram Control room, at the exact location where you found Log 5 – Hunted. Once there, go to Cargo and Baggage Hall. activate the circuit breaker at the end of the hall that unlocks another room towards the back of the hall. Avoid entering the Maintenance Bay and instead, return through the hallway, before entering the room where you initially rerouted the power. The node is located in the corner of the room.
- Node 3 – Take the elevator you initially used to enter the Maintenance Bay Office (for rerouting the power) and travel to the lower floor. After exiting the elevator, you’ll notice an office straight ahead. The node is located slightly towards the left of the path.
- Node 4 – Use the elevator to travel up and enter the supply room on your left. You’;ll find the node in the corner as you move through the corridor.
Chapter 2 (Intensive Care)
- Node 5 – The node is located inside Diagnostic Technician which can be accessed after going through Imaging Diagnostics. You can spot it hanging on the wall.
- Node 6 – Use the elevator to travel upstairs and enter Limb Stimulation Therapy where the node is located on a wall in the right corner.
- Node 7 – Hanging on a wall next to Log 33 – Colony’s Problems.
- Node 8 – You’ll need security Clearance Level 1 for this node. It’s located next to where you found the weapon upgrade inside Ishimura Clinic.
- Node 9 – Do not use the Tram. Insead head back through the Imaging Diagnostics Wing and travel through Coolant Pipelines -> Zero-G Access Corridor. Keep revealing until you come across the Patient Locker Room. You’ll need security clearance level 1 and node is located inside the room.
Chapter 3 (Course Correction)
- Node 10 – You’ll need the Fuel Station Keycard to access this node. It’s located inside Fuel Management.
- Node 11 – After obtaining Schematics 3 – Medium Med Pack, head through the next door and take a left. The node is located inside some overgrown matter at the very end of the hallway.
- Node 12 – On the wall of the same room where you first found Log 49.
- Node 13 – Inside the Engine Room there should be another small room below the stairs. The node should be present in this small room.
Chapter 4 (Obliteration Imminent)
- Node 14 – The node is dropped by the Brute within the Main Arium.
- Node 15 – Take the elevator and go to Floor 2. The node is located inside the Storage Room which is right next to the Mining Administration. You can find it near the place where the vacuum was formed.
- Node 16 – You can find it in the same room as Log 59 – Tracking infection where it should be hanging on the wall.
- Node 17 & 18 – This is the last secret you’ll have to find from inside the circle. It’s located inside Captain’s room in chapter 10. Follow this sequence in order to get the node: Melee, Melee, Stomp, Melee, Melee, Stomp, Stomp, Melee, Melee, Melee, Stomp, Stomp. After you’re done, the node appears on the floor.
- Node 19 – The Brute drops the node inside Electrical Systems.
Chapter 5 (Lethal Devotion)
- Node 20 – Hanging on the wall in the same room where you initially found Schematics 7 – Line Racks.
- Node 21 – After traveling down the Chemical Lab you can find it directly in front of you.
- Node 22 – In the same room where you found the Line Gun. The node is located on the back wall.
Chapter 6 (Environmental Hazard)
- Node 23 – Hanging on the wall in the hallway directly next to Cryogenics Control Room.
- Node 24 – Backtrack to the Tram Station and travel to Hanger Cargo Tram Control. After reaching the station, take the left door. Then take a left turn in the hallway and at the end of it enter the Tramway Storage Room. You’ll need Level 1 Security Clearance to open the room.
- Node 25 – You’ll find it in the Refrigeration Tower. After defeating the enemies with explosive arms, you can spot the node on a wall directly opposite the entrance.
- Node 26 – In the East Grow Chamber after you defeat the Brute (dropped by the creature).
- Node 27 – Upon entering the Air Filtration Tower look for it on the wall directly in front of you.
- Node 28 – Hanging on the wall in the same room where you found Log 99 – Technical Manual.
Chapter 7 (Into the Void)
- Node 29 – Continue down the hall where you initially found Log 107 – Hammond’s Return. Keep going until you come across a large area of the room where some crates are stacked against the wall. Move them using kinesis to reveal the node.
- Node 30 – To the left of Log 114 – Dr. Kyne’s Hostage, there is a locked door. To open it, head to the broken window towards the side of the room and shoot the fuse. No go inside to collect the node.
- Node 31 – After going down the same elevator you used to get Log 121 – Find the SOS Beacon, head towards the door and turn around. The node should be hanging on the wall.
- Node 32 – In the same room where you found the Macroliter Fuel Tank, which is a weapon upgrade for the Flamethrower.
- Node 33 – You’ll need Security Clearance Level 3. Head over to Deck C: Mining (Floor 4) and enter the Storage Room that’s located just before Mining Control.
Chapter 8 (Search and Rescue)
- Node 34 – The oxygen tank is on the back wall of the same room where you found Schematics 11 – Oxygen Tank.
- Node 35 – After accessing the Maintenance Goldla, you can spot the node directly towards the left.
- Node 36 – After going down the elevator you used to get to the Maintenance Locker Room, you can find the node hanging on the wall within the hallway.
Chapter 9 (Dead on Arrival)
- Node 37 – Go through the second door in the airlock’s direction. The node is hanging on the wall.
- Node 38 – Within one of the lockers in the Shooting Range. You can get it after living through the onslaught.
- Node 39 – You get it after defeating the Brute in Cargo Bay.
- Node 40 – In the Engine Room past the fire towards the left. You’ll have to switch on the fire suppression system first before returning to the same location for the node. You should notice it as you’ll have to go past it in order to access the elevator.
Chapter 10 (End of Days)
- Node 41 – The node is located in the same room as the High-Yield Grenades, which is a weapon upgrade for the Pulse Rifle.
- Node 42 – Go through Flow Control and enter Rare Specimens where the node should be hanging on the wall right in front of the entrance.
- Node 43 – Use the elevator to go to West Grow Chamber. Now take the elevator to Floor 2 and go into Nutrition Systems. There should be another node to your right. You’ll need to be on the final stage of the Premeditated Malpractice side mission in order to access this room. Also note that Floor 2 is known as Floor 2 on the elevator and as Floor 3 on the map.
- Node 44 – The node is within Locker 6 in the cafeteria. You can access it after completing level 6 of Z-Ball.
- Node 45 – At the very end of the hallway after you’ve exited the Mess hall.
- Node 46 – Past the Standard Quarters inside a Storage Room. it’s in the location where you destroyed the first tendril.
- Node 47 – Get the Exec Quarters Keycard from the Executive Bathrooms and use it to access First Officer D. White’s room (the door is labeled differently according to the map). Now shoot the fuse before entering Captain B. Mathius’s room. The node should be hanging on the wall to the right.
- Node 48 – A set of doors open after you’ve loaded the Marker. You should see the node hanging on the left wall after entering through the doors.
Chapter 11 (Alternate Solutions)
- Node 49 – Hanging on a wall in the south-west corner of the room, next to Log 165 – Last Word.
- Node 50 – Go to the Main Hangar Bay while you’re still in Zero Gravity. The node is on the wall next to the location where the Marker arises from Cargo Bay.
- Node 51 – As you enter the Flight Control Center, you can spot the node on the wall towards the right.
Chapter 12 (Dead Space)
- Node 52 – At the corner of the Main Landing Pad.
- Node 53 – Hanging on the wall within the Landing Pad Atrium.
- Node 54 – Hanging on the wall in Holding Zone 2B.
- Node 55, 56, & 57 – You can find all three inside a Master Override chest inside the Transfer Junction, which lies just across the bridges.
- Node 58 – You’ll have to defeat the Brute in Transfer Junction in order to get the node.
- Node 59 – After you’ve gone through the Access Tunnel, you can spot the node hanging on the wall.


