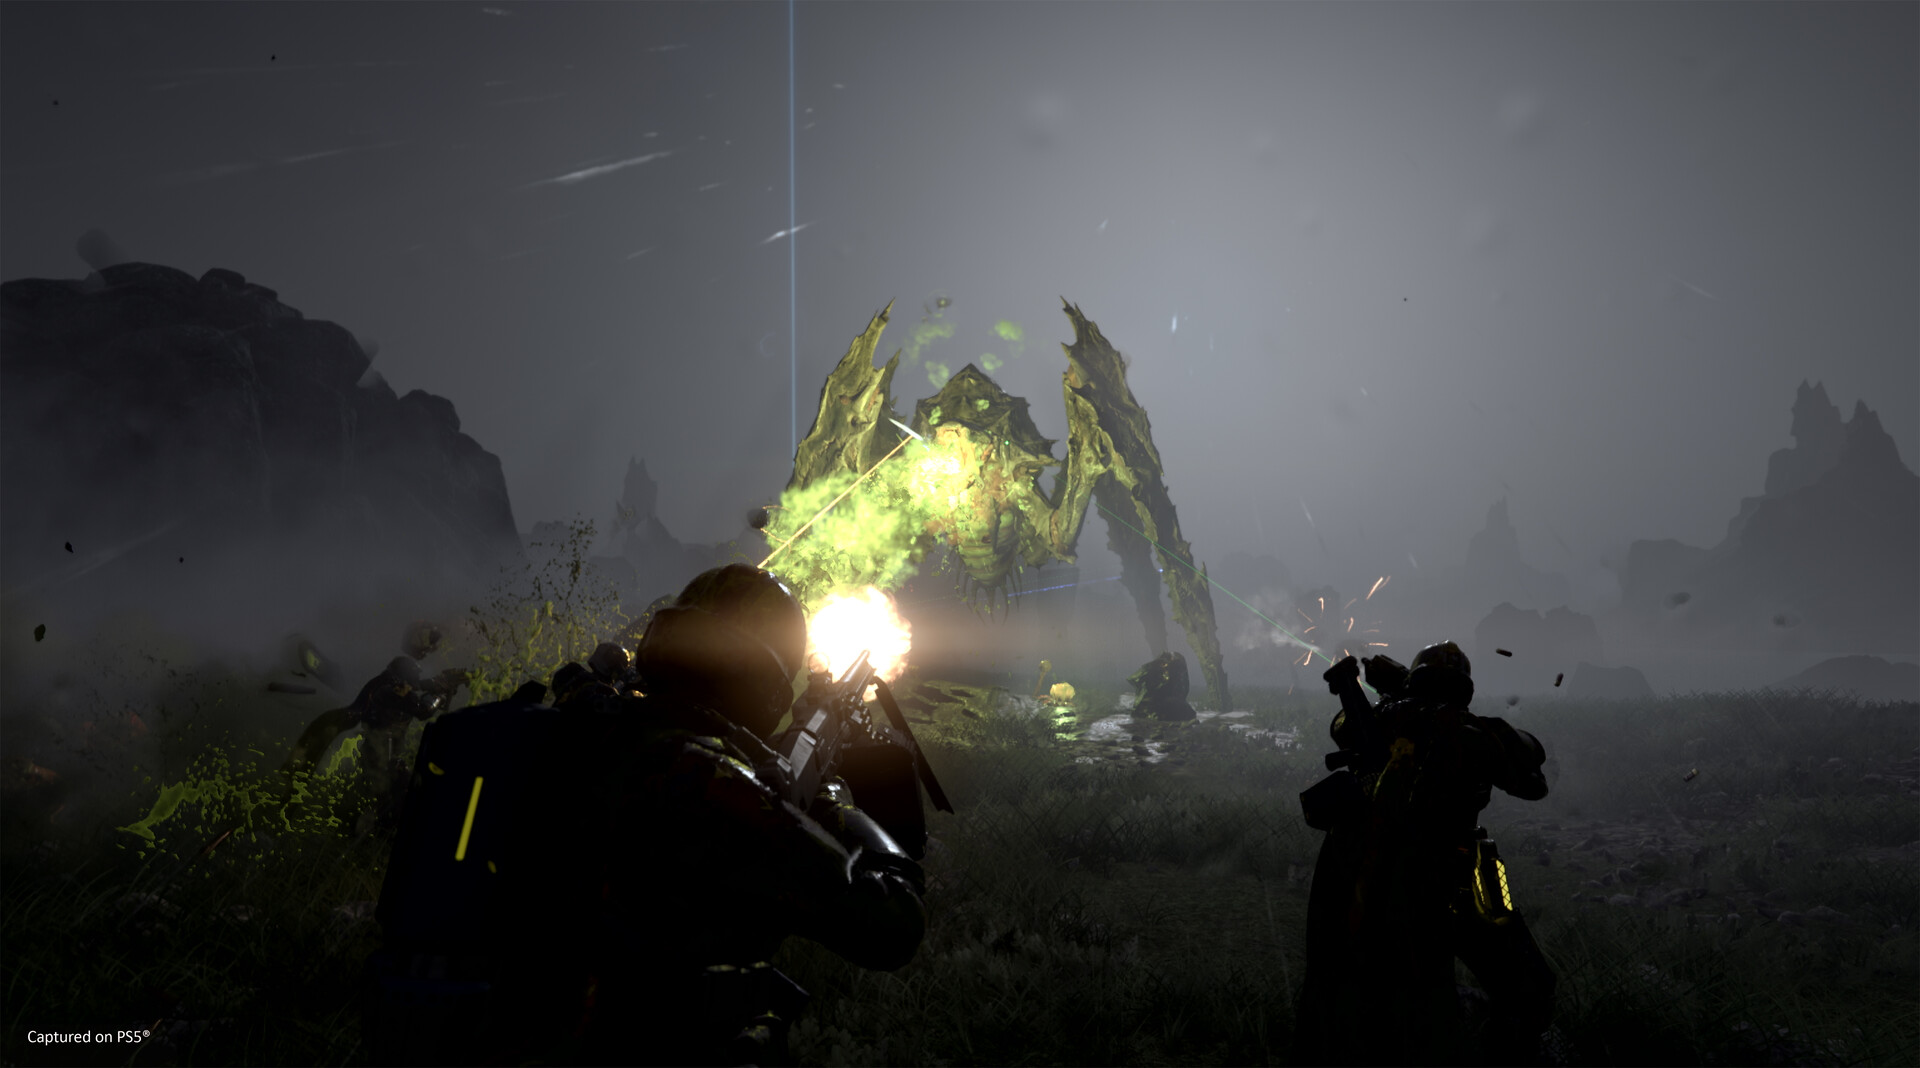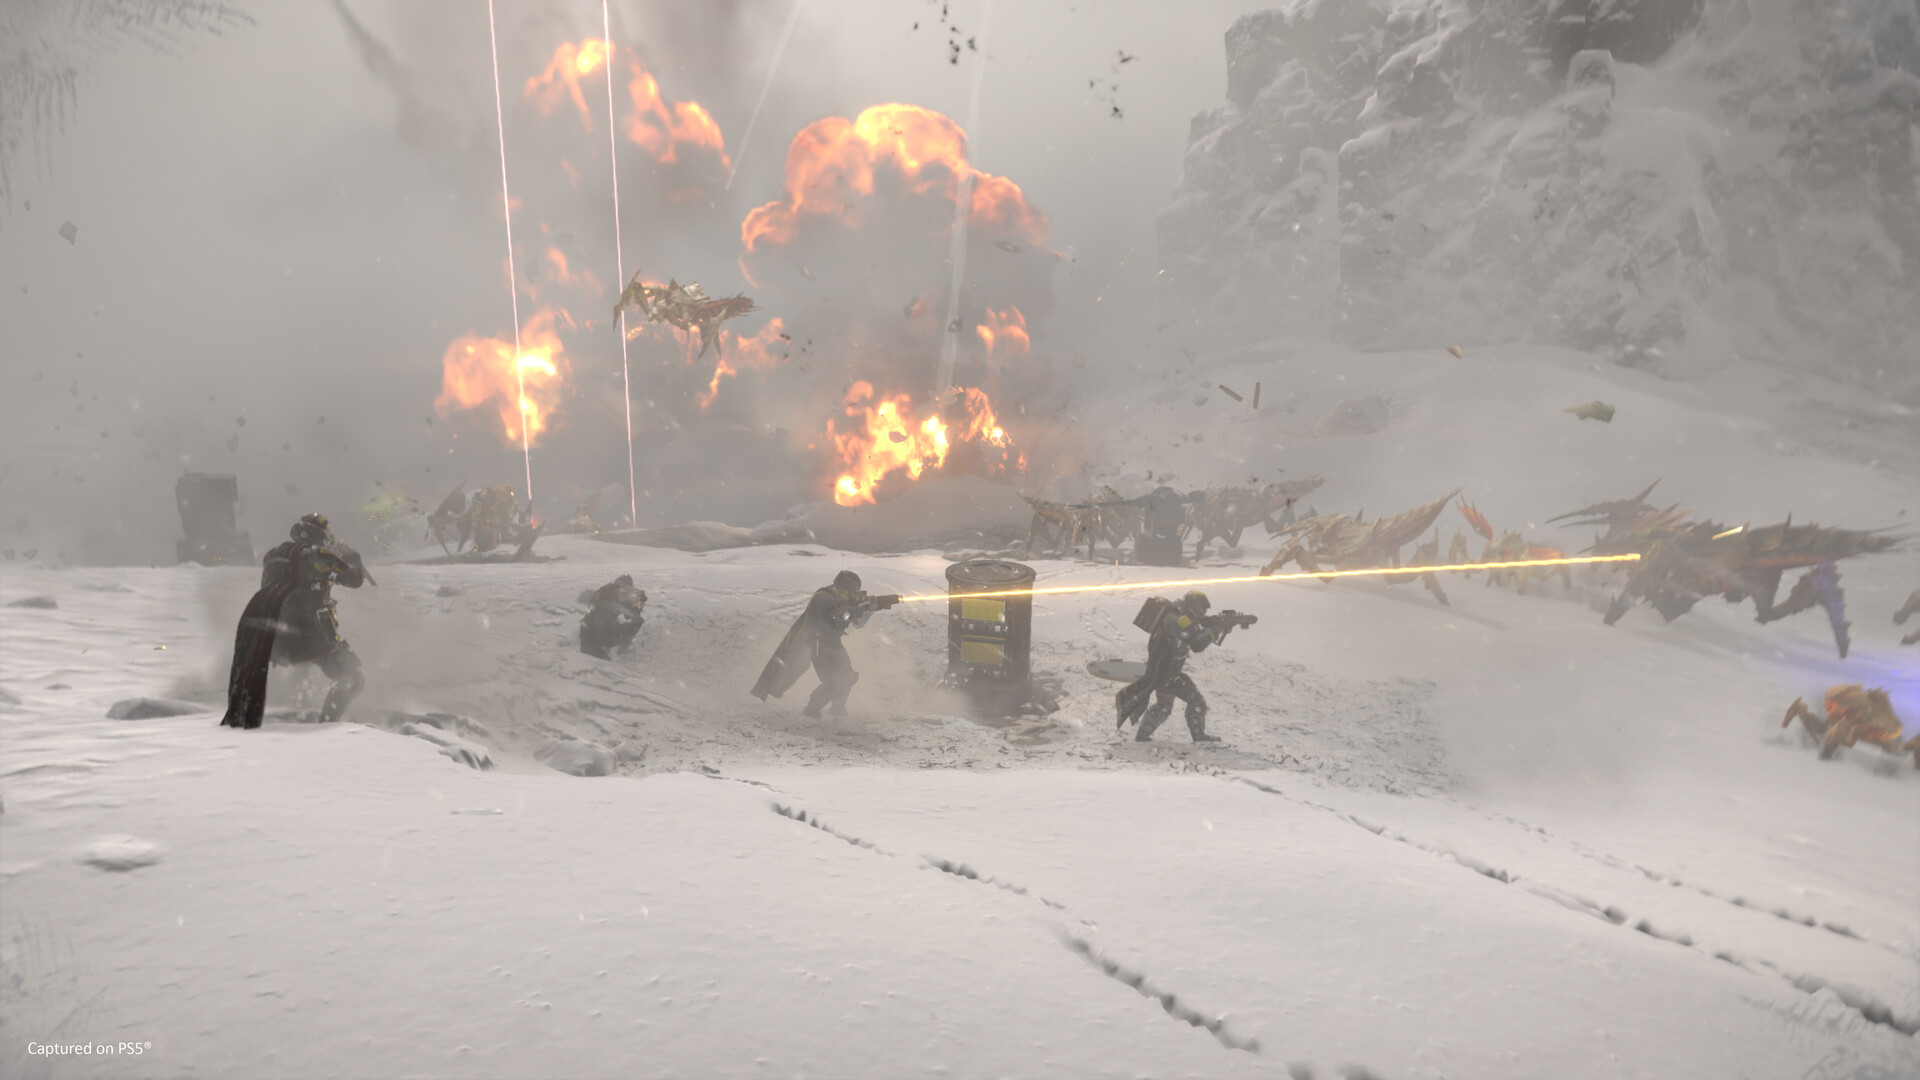
While it’s easy to jump into Helldivers 2, thanks to the tutorial (where you totally didn’t die to the auto turrets), several mechanics can go unexplained. Some you wouldn’t realize without peeking into the control settings or exploring the in-game surroundings. Without further ado, here are 15 things that Helldivers 2 doesn’t tell you and how they can mean all the difference between mission success and failure.
Change Firing Modes and Enable Flashlight
If you hold the reload button (Square on PS5), you can customize several different aspects of your weapons, like changing the firing mode to semi or auto. You can also turn its flashlight on or off if available for a bit more visibility in darker environments.
Ambush Enemy Patrols
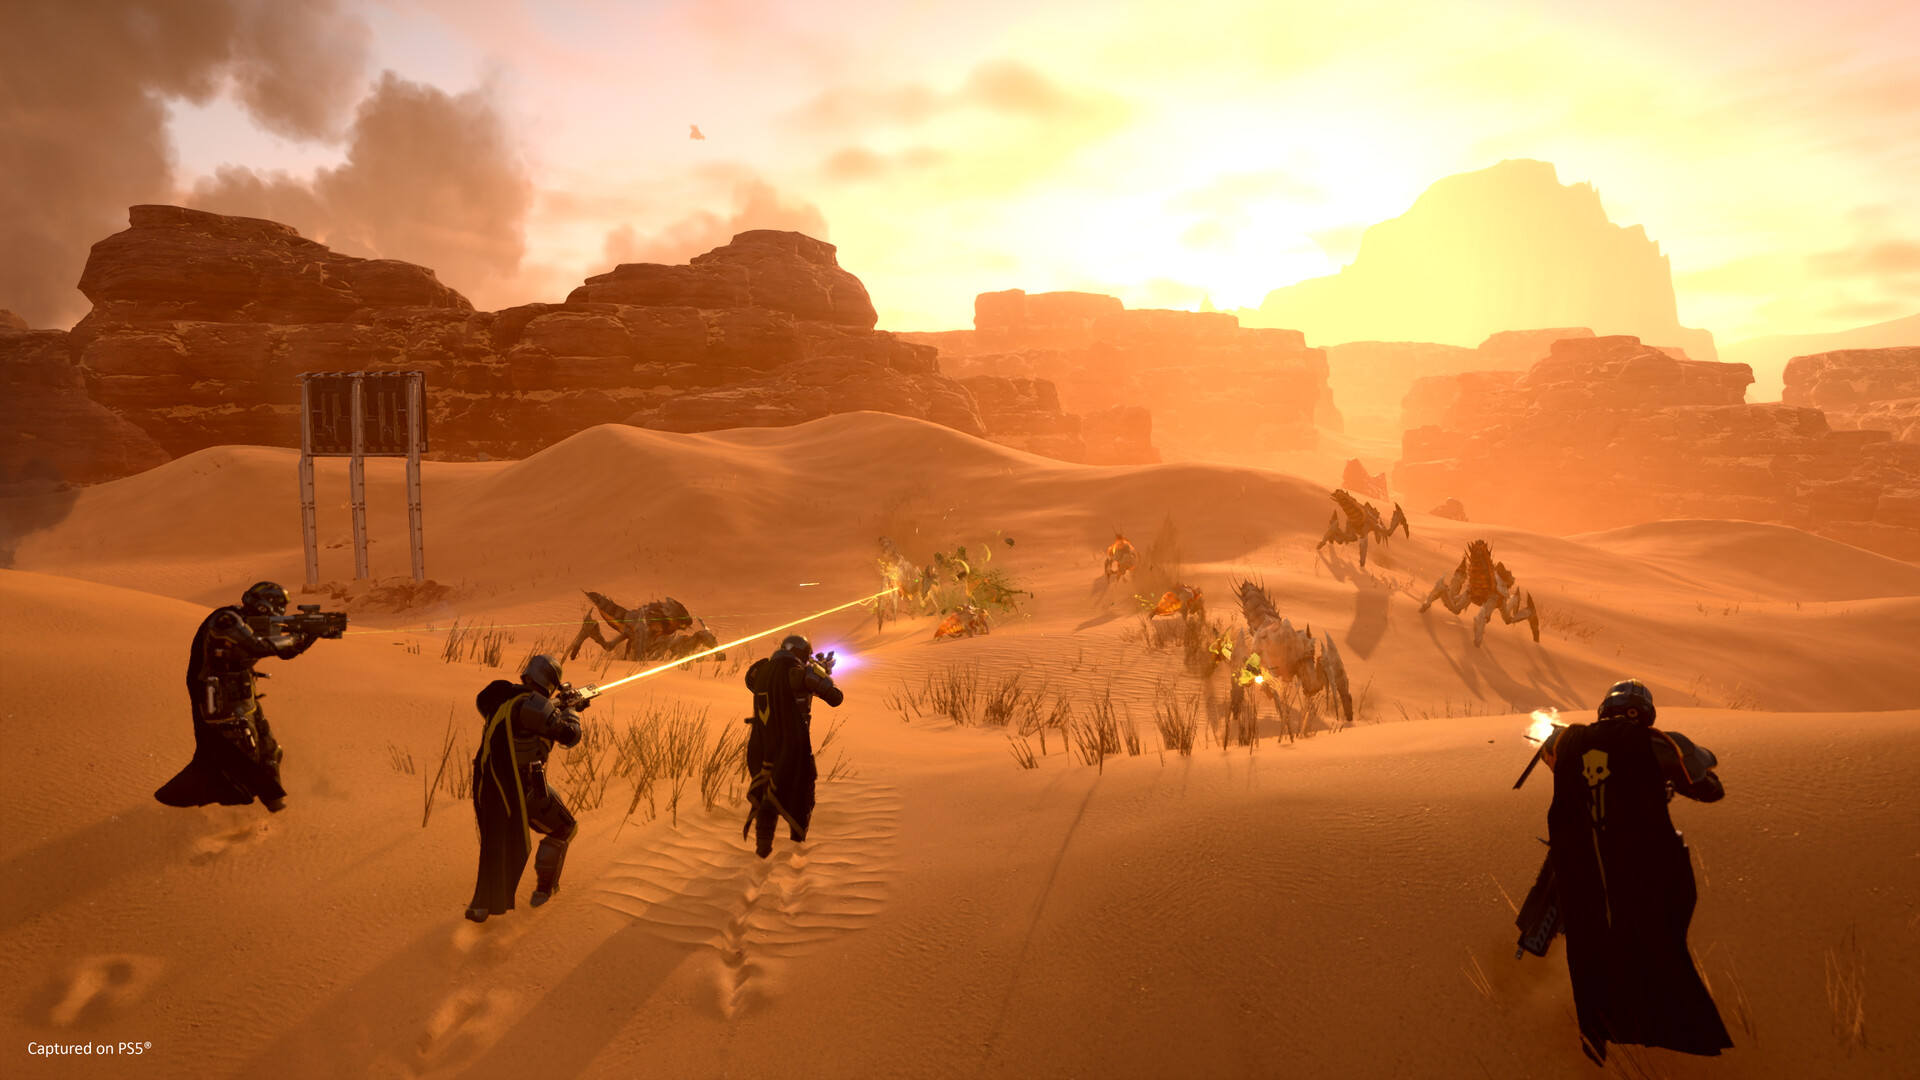
You often see enemies wandering across the map, seemingly minding their own business. The first instinct may be to open fire, but depending on the enemy types (a horde of smaller Terminids poses no threat, for example), not killing them fast enough will cause reinforcements to swarm in. While it’s terrifying on solo, even four-player squads can be caught unawares on higher difficulties. The solution? Call down an Orbital Airburst Strike, Eagle Airstrike or Cluster Bomb, or coordinate with the squad to take them down quickly.
Ping System
Want to highlight specific points of interest in the environment or draw attention to different threats? Use the ping system. Pressing Q on PC or R1 on PS5 will ping something of interest to your team. Hold the button to bring up a context menu to denote specific things with your callouts. You can also look at a ping that someone has set and press the button to acknowledge it.
Destroy Sealed Doors for Medals and Super Credits
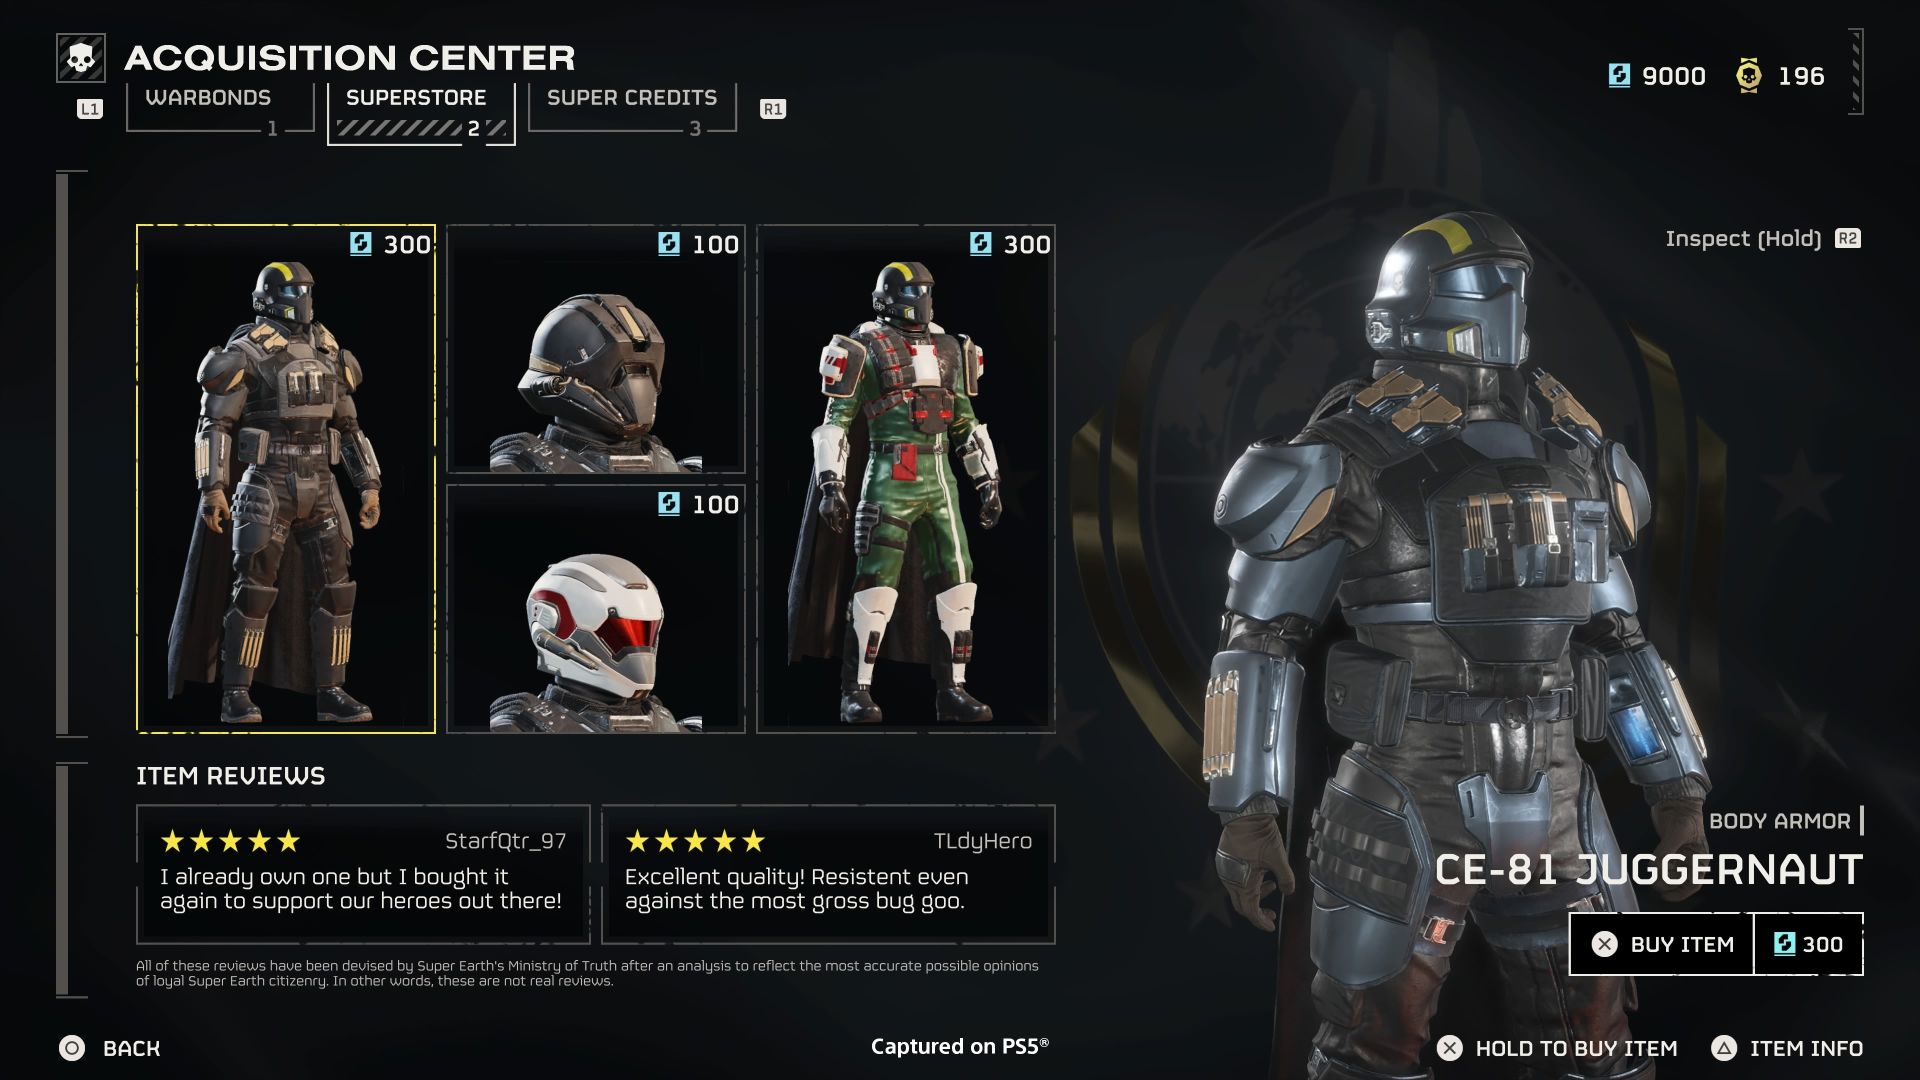
If you find any blue-sealed doors, use a grenade or other explosives to blast them open. Not only will you potentially find weapons, but they’re a good source of War Medals and Super Credits, the former used to unlock items in the War Bonds and the latter for purchasing the Premium War Bond and storing cosmetics. You can also allegedly destroy buried containers with explosives to find them, but I’ve yet to witness it first-hand.
How SEAF Artillery Works
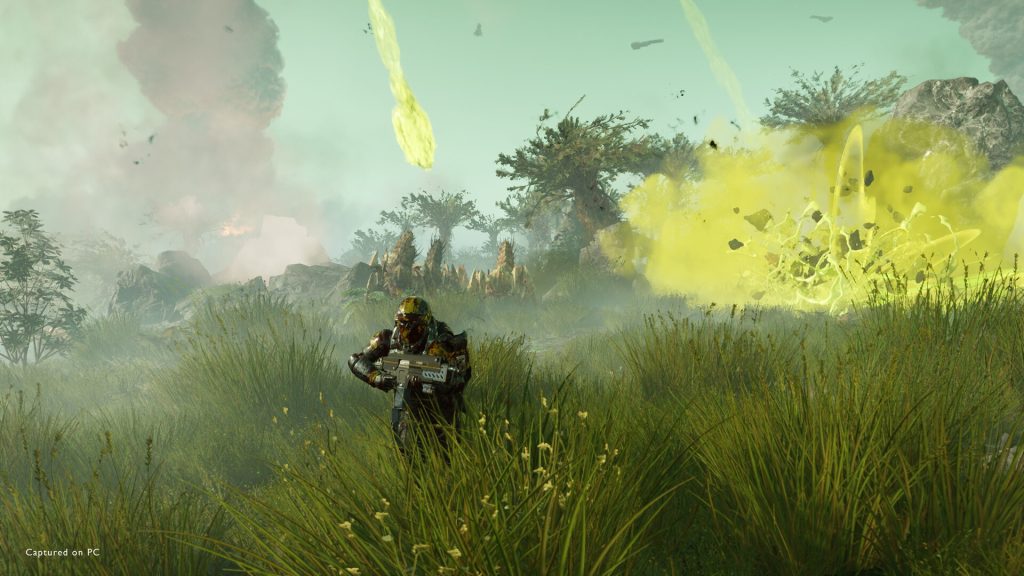
Occasionally, an objective to arm a SEAF artillery gun will come up. Prioritize that as soon as possible – it involves activating the artillery and placing shells inside. Once active, you can call down artillery like any other Stratagem. Some shells include a Mini Nuke, which causes an obscene amount of damage over a large radius. However, you can also deploy EMP and Smoke for more tactical purposes. Be careful since shells will drop in the same order they’re deposited in the artillery gun.
Faster Movement with Artillery Shells
One of the more annoying parts of the SEAF artillery objective is slowly carrying shells to the chamber. Fortunately, there’s a fix – the good ol’ Halo flag sprint technique. Press X on PS5 to pick up a shell and then press it again to drop it. Pick it up almost immediately again and repeat, essentially juggling it to the objective.
Grenade Launcher for Bug Nests
If there’s a mission to destroy Bug Nests, bring the Grenade Launcher. It’s generally very good at handling swarms of enemies but can also destroy nests from a safe distance compared to simply throwing grenades when close. Of course, you need a good angle on the opening, but since you have way more shots to work with than carried grenades, missing a few isn’t as punishing.
Undetonated Hell Bombs
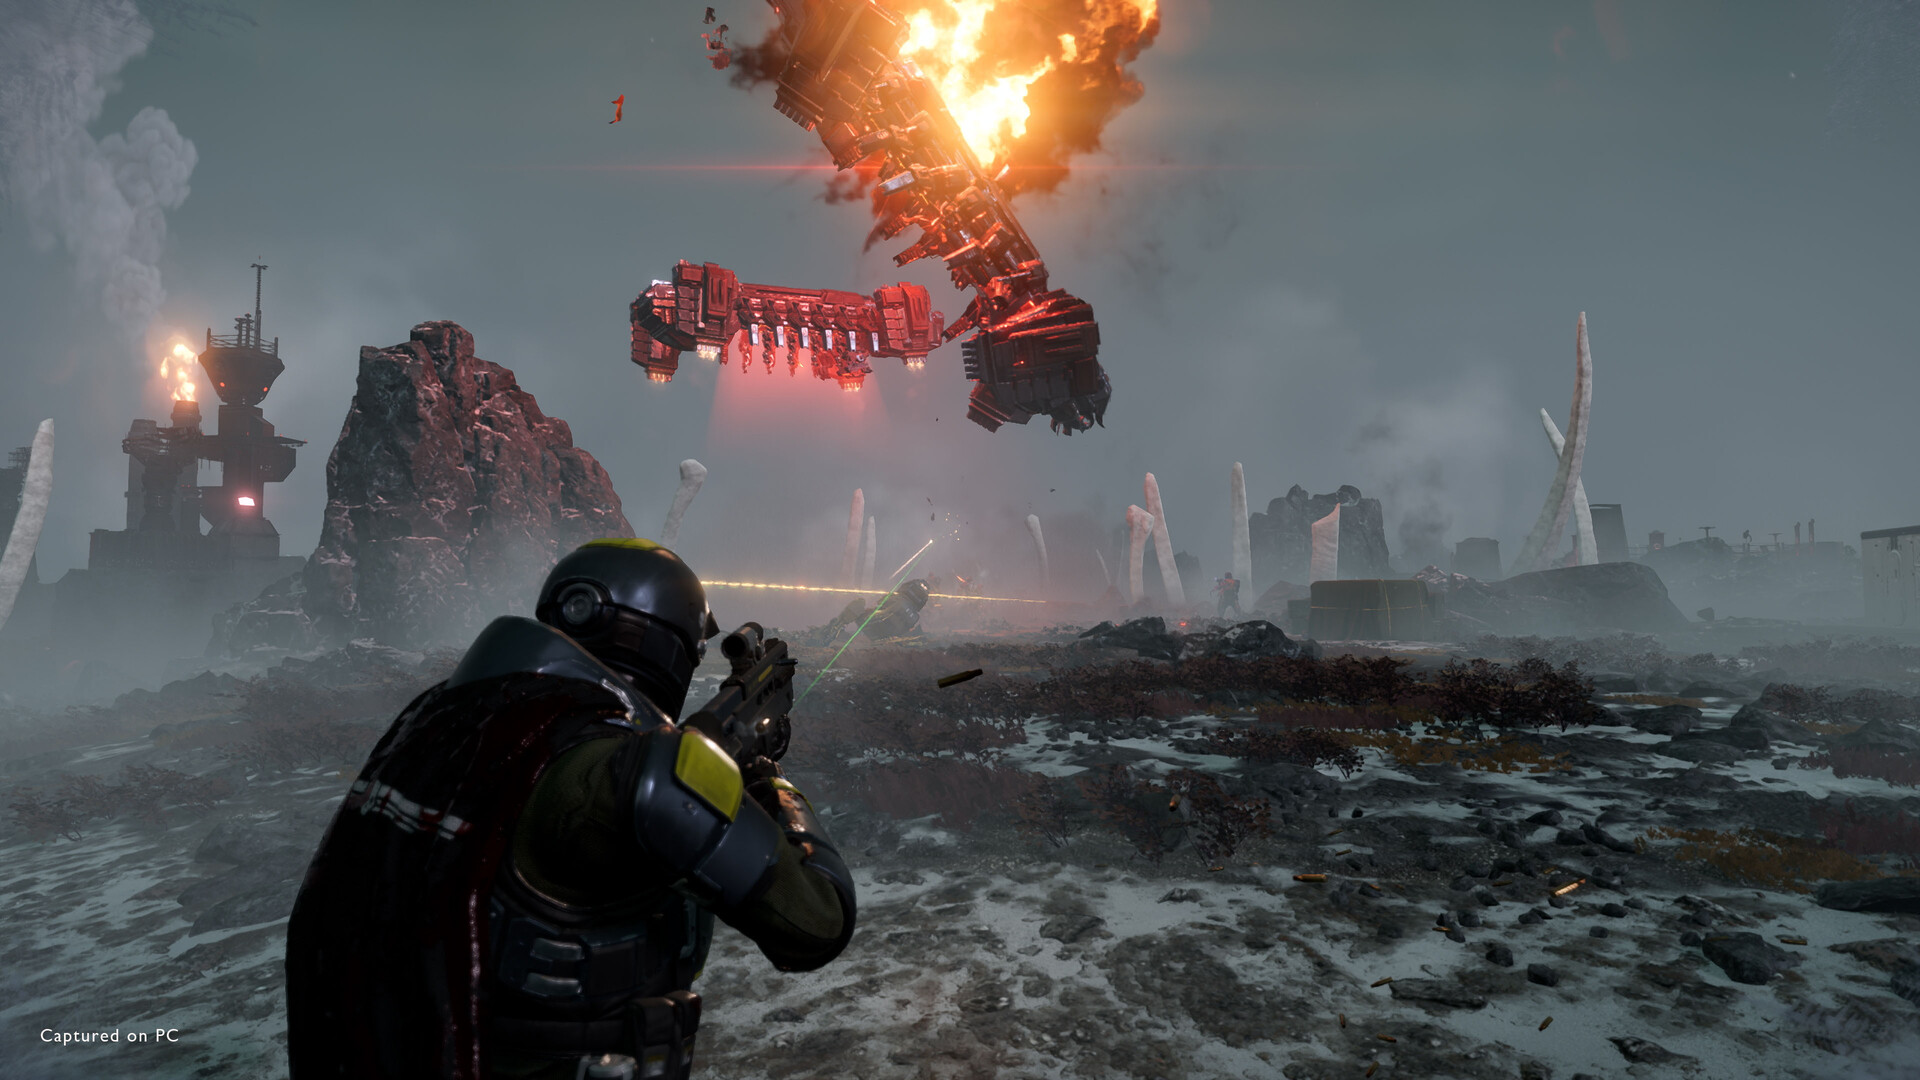
Have you ever encountered rockets that seem to be sparking? Do not shoot them under any circumstances. These are undetonated Hell Bombs with a massive radius. However, if you manage to lure any enemies to them, shoot them to wipe out the horde. Even better, have one player play the role of bait, detonate it from a distance and then bring them back into combat.
Drop Pods Can Destroy Bug Nests
Drop Pods are great for annihilating enemies like Charges and even Bile Titans if they land accurately enough. However, you can also use them to destroy Bug Nest openings if needed. Unfortunately, aiming too accurately while in the Drop Pod can cause you to fall straight through the opening, which destroys it but kills you, so keep that in mind if you have limited Reinforcements.
Rearming Eagle Stratagems
The Eagle Stratagems look pretty good until you notice that some have “uses.” So, while the Eagle 500 kg Bomb may be worth it, the fact that it’s only one use may turn some people off. However, this isn’t the case. You get a set number of uses for the Stratagem at a time, after which you have to use the Eagle Rearm Stratagem to restock them (which takes about two and a half minutes and restocks all of the Eagle Types you have equipped). Save up to get the Ship Upgrade, which adds another use to Eagle Stratagems, and you can drop five Eagle Cluster Bombs, two 500 Kg Bombs and maybe three airstrikes for good measure.
Easy “Terminate Rogue Broadcast” Completion
Another objective that occasionally pops up is “Terminate Rogue Broadcast.” You could fulfill the objective by walking up to it, inputting the instructions and waiting for it to shut down. Alternatively, fire a rocket to destroy it immediately. It’s especially great when trying to farm side objectives as quickly as possible.
Stims Recharge Stamina
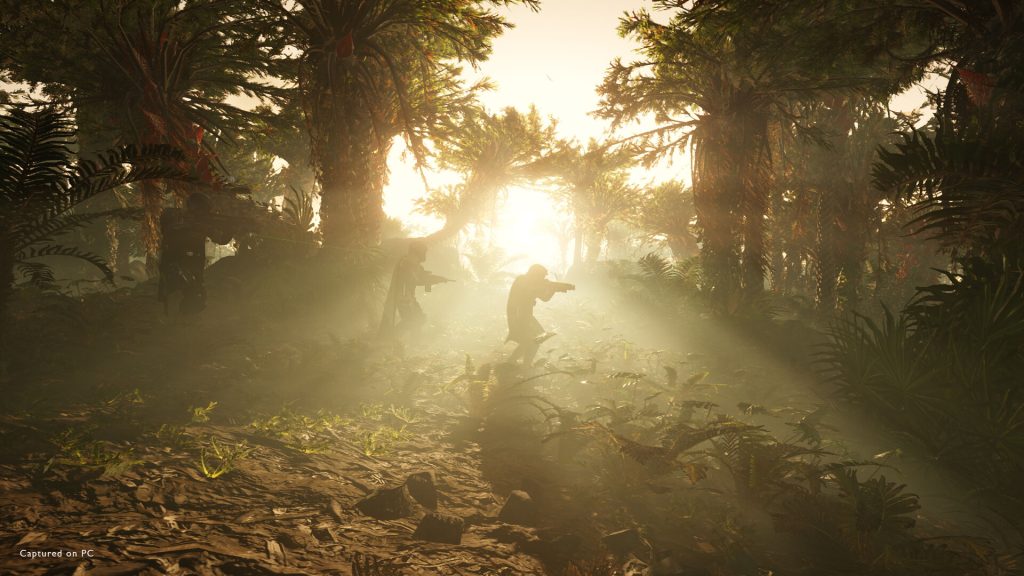
When pursued by enemies and stamina is running low, your first instinct may be to die or slow down briefly to regenerate. Instead, pop a Stim. It’s meant to refill your health but can also recover stamina. Even better, stamina won’t deplete for a short period after using a Stim, offering that much more for sprinting away from any and all threats.
Extraction Not Required
You’re always encouraged to explore the maps and complete any side objectives en route to the main objectives. However, it’s a good idea to secure the latter first and then start exploring for Medals, Super Credits and other side objectives. Even if you can’t extract, the mission will still count as completed, adding to the Galactic War campaign.
You miss out on some XP and Requisition Points from not extracting. However, this is also useful when it seems your team is overrun with no chance of escape – as long as the main objectives are complete, Super Earth still recognizes your efforts.
Recoilless Rifle Back Blast
When another teammate uses the Recoilless Rifle, don’t stand behind them – the back blast will knock you off your feet. As hilarious as it can be, wasting precious seconds to get back up as Automatons and Terminids close in is not ideal.
Easily Killing Chargers
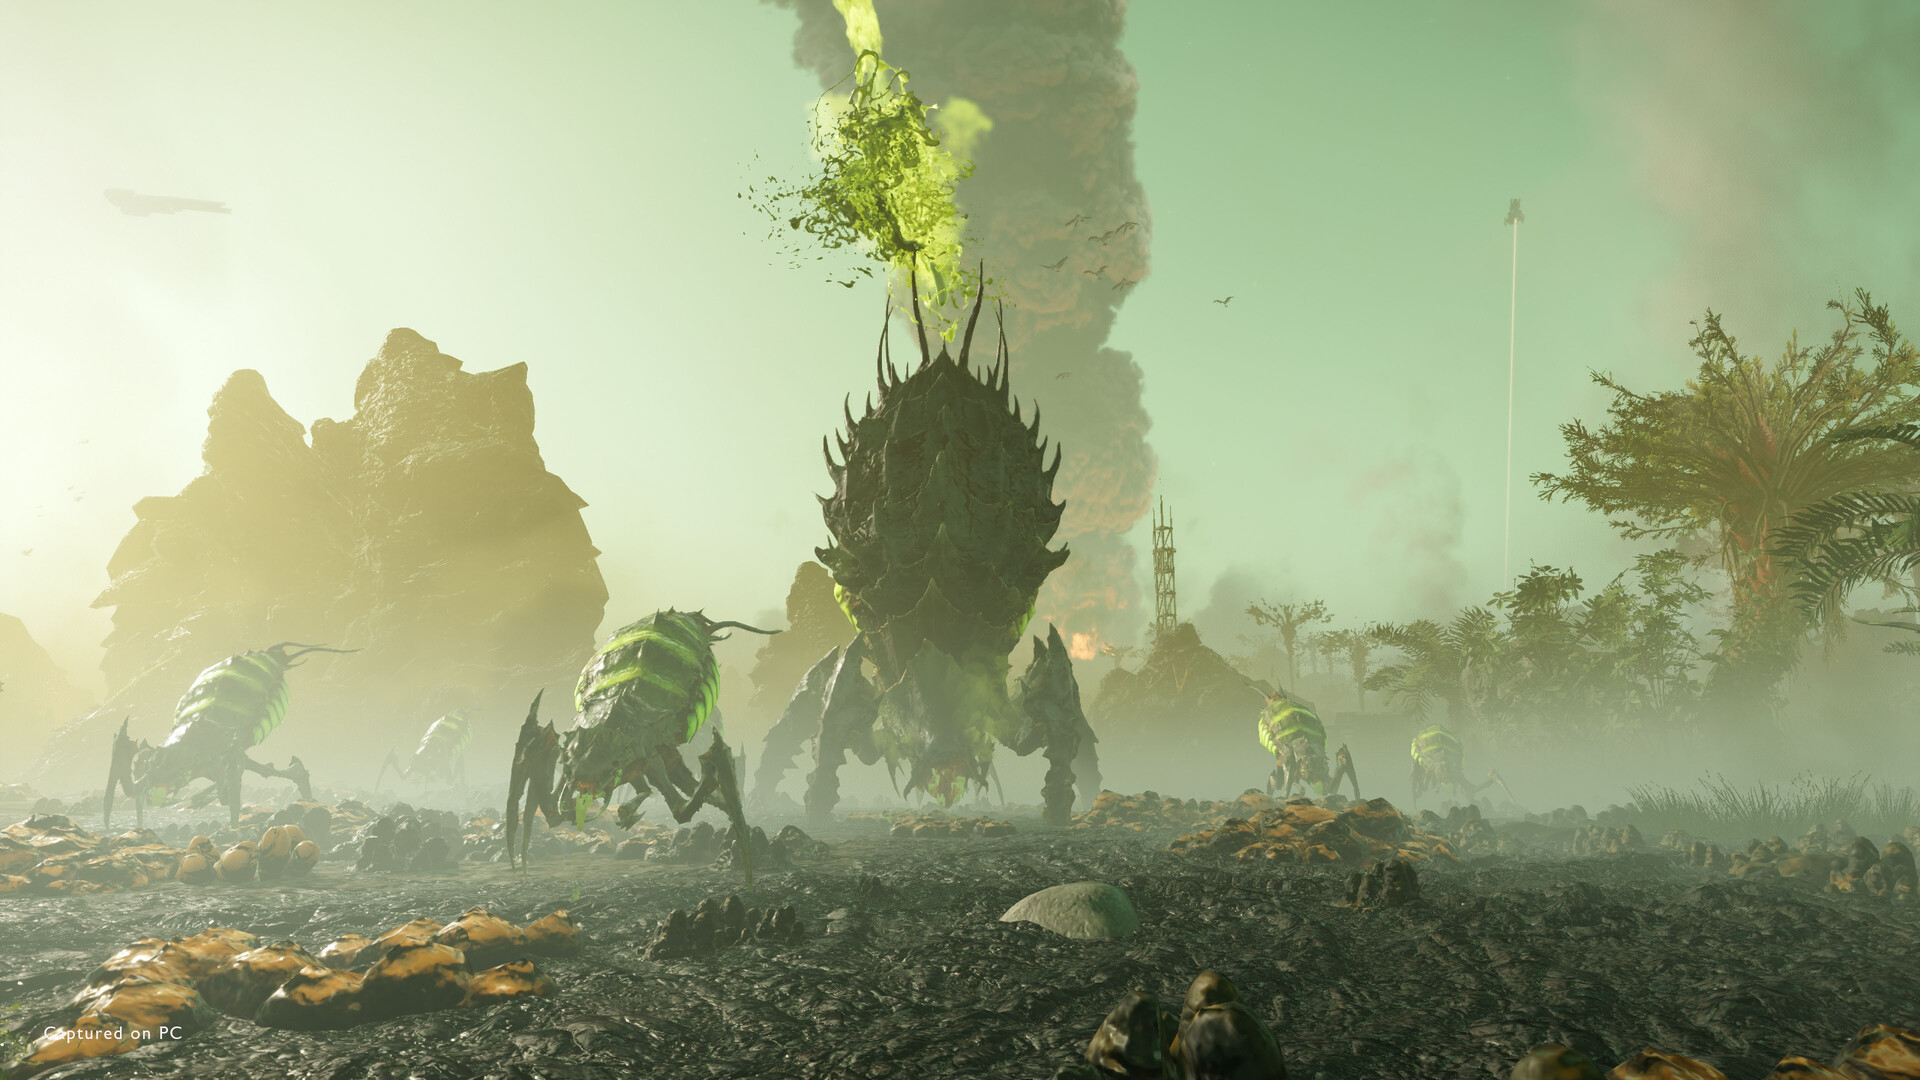
When you face a Charger, the first instinct may be to shoot its backside until it blows up, weakening but not outright killing it, then finish it off. Kite it or have a teammate act as bait, and voila. Right? As it turns out, there’s a far better and faster method. Carry an EAT, Autocannon or a Railgun and shoot it in a front leg until the flesh is exposed. Unload with a shotgun like the Breaker, and it’s dead. You encounter multiple Chargers in higher-difficulty missions, so this strategy is essential for success.


