The Krypt in Mortal Kombat 11 is unlike any seen in the series till now. Along with sporting tons of chests that require a variety of currencies to open, it’s full of hidden paths, traps, special items and even clever references to past titles. Let’s take a look at the key items that you need to gather along with how to solve the different puzzles within.
Key Items
Key Items are kind of like equipment items for the Krypt. They each provide different gameplay purposes like opening doors, seeing invisible chests and so on. All of the important Key Items and their locations in the Krypt can be seen below:
Gem of the Living
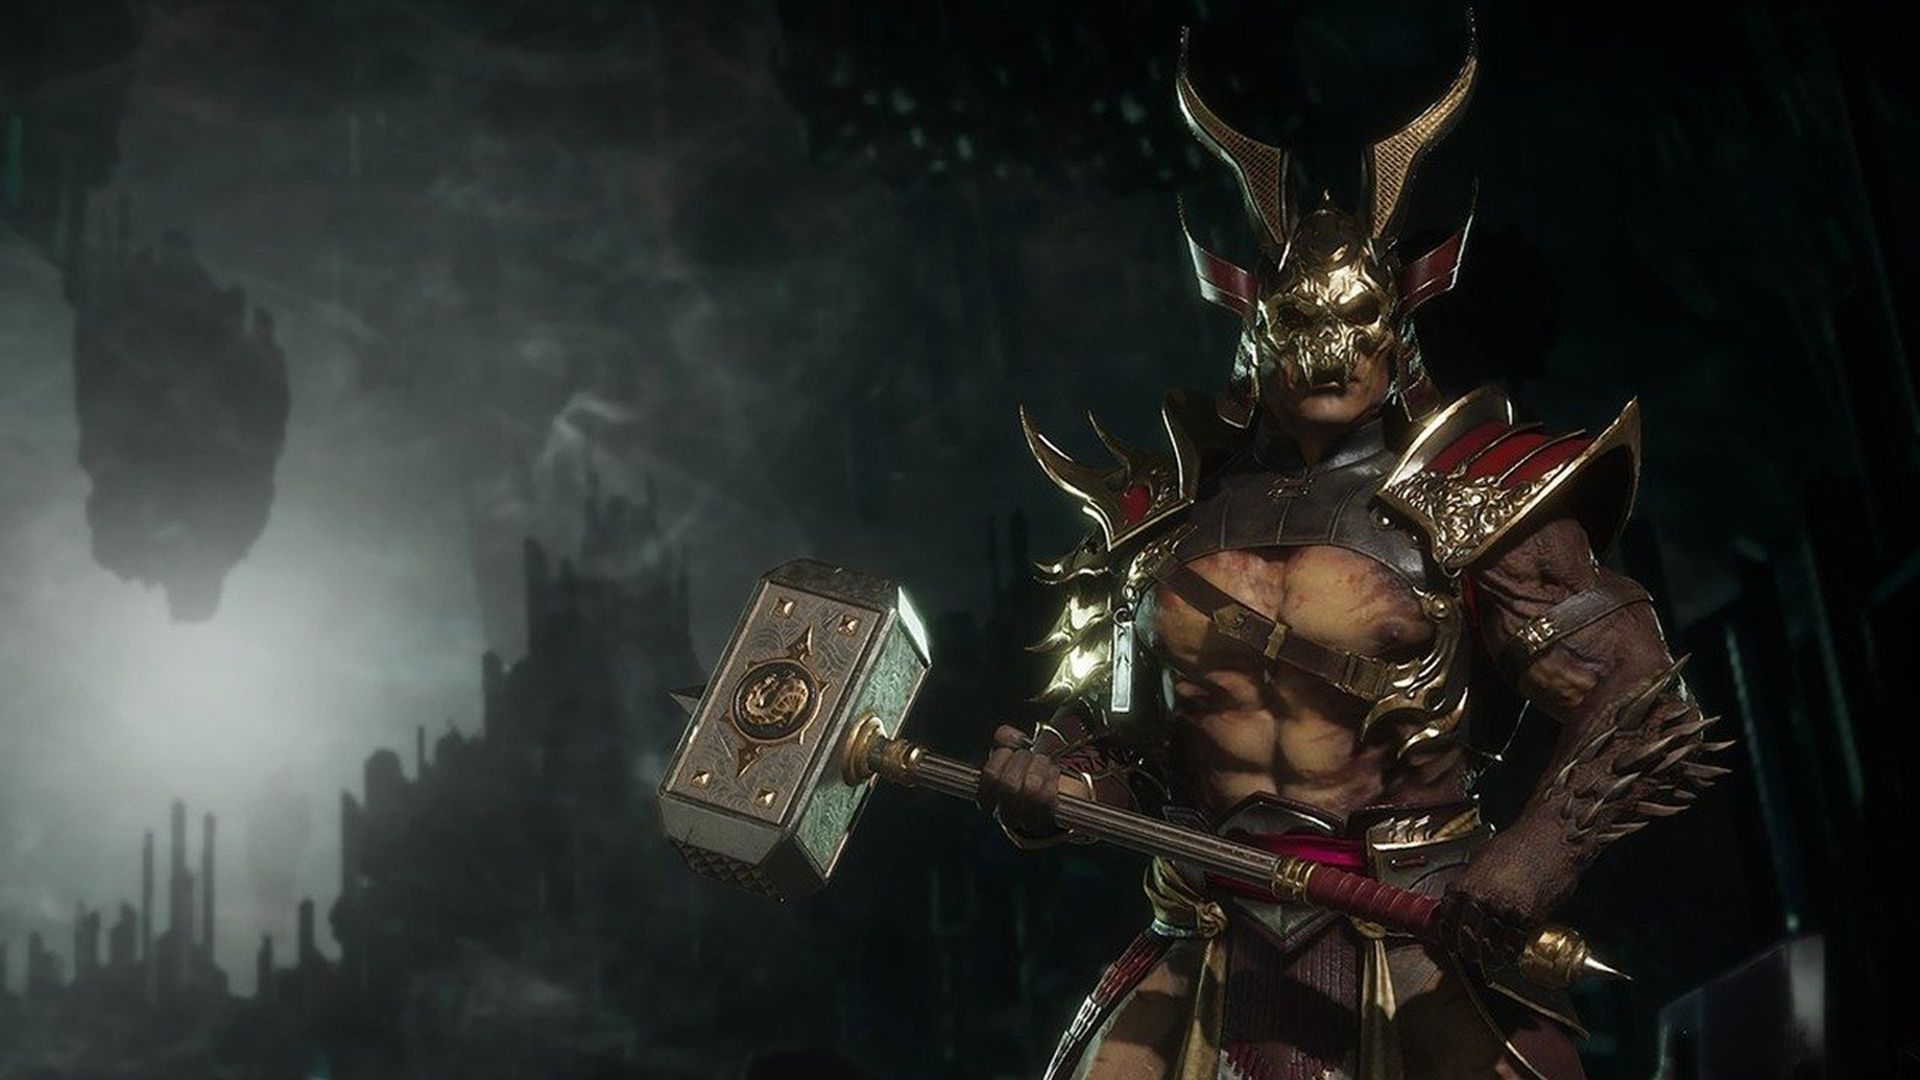
When heading to the door for Goro’s Lair, a cutscene will play for The Warrior’s Shrine. It sees a meteor raining down and beheading Raiden’s statue. Break this meteor open with Shao Kahn’s Hammer (which is obtained from the outset) and you’ll receive the Gem of the Living.
Cracked Horn of Motaro
Use the Gem of the Living to open a door in the Courtyard leading to the Vault. Here, you’ll find the Cracked Horn of Motaro. This is your ticket for opening the door to Goro’s Lair.
Scorpion’s Spear (coordinates: -7086, -5242)
You’ll find Scorpion’s Spear in the Armory but must open Goro’s Lair first. Use the Cracked Horn of Motaro while above ground and then head into a small tunnel on the ride side while in Goro’s Lair. The Spear should be on a pillar in front of you.
Scorpion’s Spear is used for pulling down bodies (such as those hanging in the Courtyard), which can net you Hearts. It’s also used for pulling down platforms and opening new paths.
Ermac’s Amulet (coordinates: -7769,-3861)
Those Soul Fragments you’re carrying are useless without Ermac’s Amulet. It’s used to open Soul Vaults, clear barriers and open up new pathways. Fortunately, finding it is very easy. Head to the Lower Pit by the elevator in Goro’s Lair (via the left tunnel) and watch poor Ermac plummet to his death. Pluck the amulet from his corpse. Profit.
Kenshi’s Blindfold (coordinates: -6894, -12709)
Kenshi’s Blindfold is required for properly seeing invisible walls and chests (just beware – it consumes Soul Fragments while active). Head to Goro’s Lair and take the tunnel on the right to access the Jails where Kenshi’s Blindfold should be.
Kung Lao’s Hat (coordinates: 6565, -1257)
Though you can find Kung Lao’s Razor-Rimmed Hat in Goro’s Lair on a table, it doesn’t currently have a purpose. Still, it looks cool so why not add it to your Kollection?
Reptile (coordinates: start at 3090, 6406)
The Reptile statue from the first Mortal Kombat film makes a neat appearance in the Krypt. First, head to the Torture Halls from Goro’s Lair and open the gate at the above coordinates. There’s a secret wall in the cell – use Kenshi’s Blindfold to find it and smash through. Interact with the statue in the room. Reptile will suddenly appear out of hiding and run away.
His location after this is actually randomized but if you hear a clapping sound, put on Kenshi’s Blindfold and look around. When spotting Reptile, hit him with the hammer for possible rewards like a Scorpion skin, some Koins and Soul Fragments. Possible locations that Reptile can appear include Goro’s Lair, Dead Woods and next to Ermac’s body at the bottom of The Pit.
Shattered Staff (coordinates: 958, -6811)
This staff actually belonged to Raiden and is now used as a key for opening the door in the Torture Rooms of Goro’s Lair. Said door can be found in a passage en route to the spider-filled room in the Kytinn Hive. To find the staff, you first need the Amulet of Earthrealm’s Protector. After that, go to the Raiden statue at The Warrior’s Shrine right next to The Courtyard. This is the same statue that was smashed by a meteor earlier. Insert the amulet and restore it to obtain the staff.
Amulet of Earthrealm’s Protector
Speaking of the Amulet of Earthrealm’s Protector, you actually can’t find it in the Krypt. You need to complete the four Tutorial Towers in Towers of Time. It’s an Objective Reward along with other Konsumables and the Scorpion “Cold Fusion” skin. If you’re feeling particularly lazy about doing so, try setting an AI Fighter to the task.
Mind of the One Being
The Mind of the One Being is one of three gems needed to open a door in Goro’s Lair (coordinates: 3540, -6174). To get it, you need to complete 10 Fatalities in either Towers of Time or Klassic Towers.
Soul of the One Being
Similarly, to earn the Soul of the One Being, you need to complete 10 Brutalities in either Towers of Time or Klassic Towers.
Heart of the One Being
The Heart of the One Being gem requires you complete 10 Mercies in either Towers of Time or Klassic Towers. Mercy is actually fairly easy to perform – simply hold down L2 or Left Trigger when prompted to finish an opponent. Press down three times while holding down the button and your opponent will be granted Mercy. Keep in mind that they’ll be given a second chance to fight so avoid doing this during tougher battles.
Heart of Blaze
After collecting all of the One Being gems, head to 3540, -6174 in Goro’s Lair. Open the door and you’ll find a chest that requires 80,000 Koins. This contains the Heart of Blaze which is required for completing The Sacrifice puzzle. It also grants 1,000 Soul Fragments so it might be worth completing this first and then heading to The Pit to rebuild the bridge (which requires 2,000 Soul Fragments).
Dragon Amulet Keystone (coordinates: 7436, 3102)
Remember that locked door in the Mountain Passage which requires the Dragon’s Amulet Keystone? After obtaining the Shattered Staff, head to Goro’s Lair and locate Raiden’s door (coordinates: 5277,4920). Unlock it using the staff and take the first left pathway – there are two swinging pendulum traps that have to be avoided. Reach the chest at the end and use 20,000 Koins to open it. This will net you the Dragon Amulet Keystone.
Shinnok’s Amulet
There’s a special puzzle in the Kytinn Hive that is unlocked using three amulets. Shinnok’s Amulet is one and requires crafting in the Forge. You’ll need the Ensorcelled Demon’s Heart, Ensorcelled Gem of Trapped Souls and the Ensorcelled Eye of a Dragon.
Unlocking these can be a doozy. There’s a tree in the Dead Woods (coordinates: 3090, -2948) that requires 10,000 Soul Fragments. Unlock it to earn the Ensorcelled Gem of Trapped Souls. The Ensorcelled Demon’s Heart is a random reward while the Ensorcelled Eye of the Dragon is randomly obtained by killing the Kytinn Hive’s spiders (and yes, the issue preventing it from properly being awarded to players have been fixed).
Cetrion’s Amulet
The second piece of the Kytinn Hive puzzle also requires some work. You need to perform 50 Fatalities against Cetrion in either Klassic Towers or Towers of Time. The best way to do this is by heading into the Klassic Survivor Tower. Quit until Cetrion is the first fight and then keep replaying this fight to farm Fatalities. You could also set your AI Fighter to task, especially since they’ll perform Fatalities more often than not.
Kronika’s Amulet
The final piece of the puzzle – Kronika’s Amulet – is actually very easy to get. Simply head to the Naamkaran Shrine and donate some money (1,000 Koins should do it). You’ll receive Kronika’s Amulet as a reward.
Puzzle Solutions
Throughout the Krypt, you’ll find a number of different fake walls, lever puzzles, and places to use different items. The benefit? More chests to unlock, among other things. Check out all the different puzzle solutions below:
Dead Woods Entrance (coordinates: 4879, -692)
To access the Dead Woods, head to the above coordinates. Use Shao Kahn’s Hammer and smash through the wall. The entrance should lead to the Dead Woods.
The Dead Woods Lever Puzzle (coordinates: 8603, -4467)
One of many lever puzzles that requires rotating pieces, this one is found in The Dead Woods and requires aligning the right body parts. There are three part types here – avoid aligning the skeleton’s parts since that will activate a trap. Align Sektor or the NetherRealm body and you’ll open the gates nearby for some chests.
Courtyard Gong (coordinates: 951, 3875)
To reach the gong in the Courtyard, head to above coordinates. There’s a fake wall here so use the hammer to break through. Upon reaching the gong, hit it – this will open a path to the Forge.
Courtyard Invisible Chains (coordinates: -1362, -9679)
In The Courtyard, there’s a pillar that has four chains attached to it. Use Kenshi’s Blindfold to reveal the chains and proceed to pull them. This will unlock a chest that requires Hearts.
Lower Courtyard Dragon Puzzle (coordinates: -5074, -7432)
This puzzle can be found in the Lower Courtyard. Form the iconic Mortal Kombat logo in this puzzle (simply use the right lever and then the left lever – avoid the middle lever altogether) to unlock the Wooden Bridge.
Wooden Bridge (coordinates: -4003, -6479)
You’ll need to lower the bridge here, which can be done with Scorpion’s Spear. Aim at the chains on the ceiling and hit them to open up a new path. A number of chests await as your reward.
The Sacrifice (coordinates: -690, -13383)
First, lower the cage by pulling the lever. Put the Heart of Blaze in the cage and raise it by hitting the lever again. Proceed to hit the cage with Scorpion’s Spear. This will cause chests close by to open with a Shao Kahn skin as one of the rewards.
Lower Pit Rubble (coordinates: -6662, -5072)
If you picked up Ermac’s Amulet earlier while at the bottom of the pit, then you’re in luck. Simply use it to lift the rocks here and clear the way forward
Lower Pit Chest (coordinates: -8944, -3342)
To extinguish the fire surrounding this chest, simply use Scorpion’s Spear to pull down the water from above.
The Jail Invisible Wall
After picking up Kenshi’s Blindfold, head back to Goro’s Dining Room and proceed to The Jail. You’ll find a fake wall that can only be seen with the Blindfold. Put it on and proceed to smash the wall. This provides access to an elevator that takes you to The Courtyard.
Kytinn Hive Amulet Puzzle (coordinates: -4097, -1576)
As noted above, you need three Amulets to solve the puzzle in Kytinn Hive. Before that, you need to rotate the three pillars with levers at the above coordinates. Once you see the correct empty slots, just insert each amulet into their respective pillars.


