






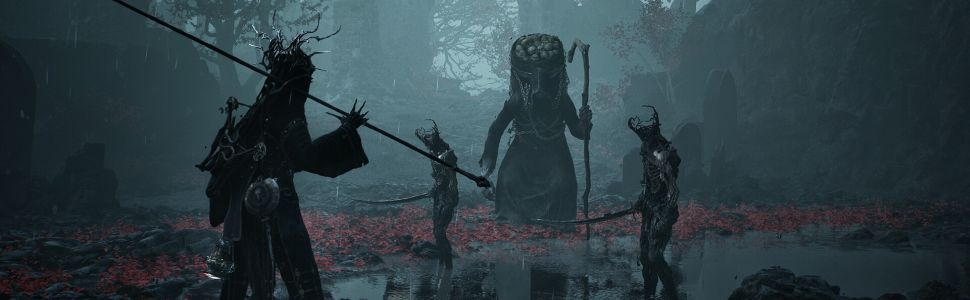
Mortal Shell 2 is less than a day away at this point (live right now if you purchased Advance Access), and while most of you might be waiting to dive into the game’s world, we’ve had some time with the game for our review. During our time with the review build, we found that there are plenty of things the game doesn’t really explain, things we think are well worth knowing before you take your first steps in the game.
Well, that’s why we’re here, so let’s dive right in.
1. Find The Slayer Seal Early
Early on in the game, you’re going to find yourself at Marrow’s Keep, which is Mortal Shell 2’s version of the Roundtable Hold. One specific red throne in the Keep has the Slayer Seal waiting for you to pick it up, and its Gloomslayer passive is more than capable of carrying you through to the end of the game. Not only does it restore Health and Resolve on a riposte, but it allows your Sidearm to deal Break damage, which in turn staggers enemies more often to make said ripostes much easier to pull off consistently.
We’re not going to call it the game’s Easy mode, but it does make things significantly more manageable since you’re going to be using Resolve anyway, and having it deal Break damage for you is very useful in a variety of situations. Just know that Achievements/Trophies are disabled when it’s active, but you do have a few more that require it equipped.
2. Night Mode Isn’t Just Cosmetic
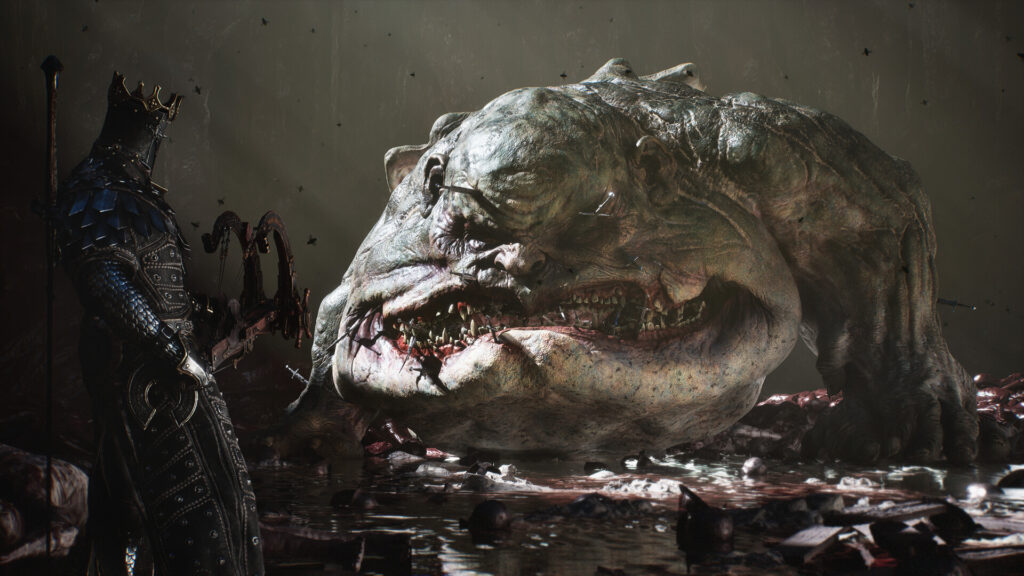
Remember how the original Mortal Shell made things considerably more dangerous when you were returning to your base after defeating one of the main bosses. The sequel’s got something similar, although it’s now tied to an NPC called Thestus. It’s a bit of work though, requiring that you find the Gloombound Flame near the Great Arbitrer of Flesh, use it to resurrect Thestus, and then talk to him to summon the night.
Head out, and you’re going to find that enemies are harder to take down and inflict more damage, but all of the rewards you get from them are increased in accordance with that bump in difficulty. Use this well to ensure you’re keeping all your gear topped off level-wise, as well as to farm resources when you need them. You could also choose to tackle the entire game at night if you’re a sucker for punishment.
It’s worth checking out since you can always revert things back to normal by asking Thestus to do the needful.
3. Stay on The Offensive
You’ve probably heard by now that there’s no stamina bar, but what that means in actual combat is that you’re going to want to stay on the move, and always stay within attacking range of your enemies. Button-mashing isn’t going to win you any prizes, but if you’re learning enemy animations and responding accordingly, you’re soon going to be tearing through the ranks of your foes, painting the world like a bloody canvas that exists for you to display your art.
If you’re a Soulslike veteran trying this one out, you’re better off holding your ground and attempting to parry your enemies, hitting them with your firearms, or dodging through a counterattack so you’re well placed to begin your next offensive.
Combat’s faster and more aggressive in this one, and the protagonist is going to need you firing on all cylinders to guide them through.
4. Enemy Posture Matters
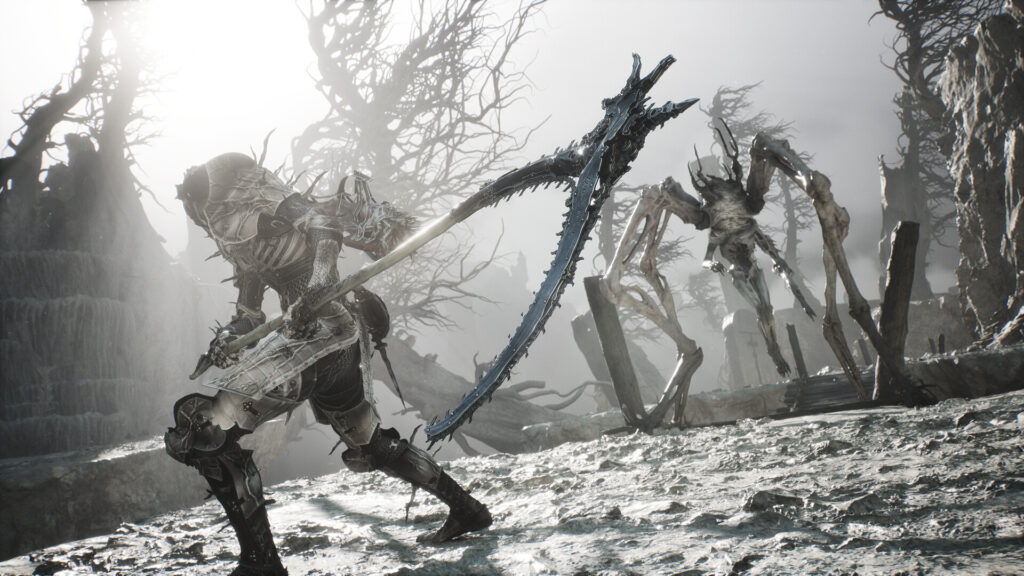
While we’re on the subject of aggression, one of the reasons you’re better served staying on the offensive is a posture system that’s going to be very familiar to all you Sekiro veterans out there. Attacking your enemies, parrying their attacks, and dealing Break damage to them fills up a yellow meter below their health bar that staggers them when it’s full, allowing you to step in for a riposte and serious damage.
It’s important for you to remember that chipping away at the HP of tough foes is certainly viable, but isn’t how the game wants you to take them on. Instead, getting right up in their business and proving yourself the superior warrior by standing tall against their most ferocious attacks is why the protagonist is feared as the ultimate warrior.
With the right setup of Seals, Tarstones, attacks, and weapons, you’re going to be defeating enemies, left and right, quite often no matter how imposing a threat they may seem.
5. Keep Resolve Topped Off
While Mortal Shell 2 might have done away with the stamina bar, the Resolve meter acts as a superb alternative. You generate Resolve by attacking enemies and parrying their attacks, and it powers your firearms, special attacks, and spells along with some Tarstone effects such as elemental weapon imbuements like Poison and Burn.
While you might think you can get away with starting a fight with Low resolve and filling it up with a few attacks, things might not always unfold the way you expect in this game. Every opportunity you can find to maximize your Resolve can and should be taken lest you find yourself low at a time when you really need it.
Those golden tendrils you find all around the world are a good place to start if you’re looking to top it off before a tough fight or boss.
6. Your Sidearm Is An Important Part Of Your Arsenal
You’ve probably figured out that combat is all about aggression in Mortal Shell 2. Your sidearms are an important part of keeping up the pressure you need to keep your foes on the back foot. They are ranged weapons that you pull out in a pinch and also serve as a valuable tool that you must consider if you’re looking to specialize your build.
That’s not even considering changes that Tarstones could bring to their functionality, such as elemental infusions, while others come with specialized effects at range. All of this makes your sidearm a part of your build, and a crucial pillar of any strategy you’re formulating against enemies that are going to force you to seek out every advantage you can right off the bat.
7. Build For Tarstone Synergies
When putting different combinations of Tarstone effects together, it’s going to be tempting to slot in ones that come with a big buff to a specific part of your toolkit. However, you might be better served with ones that work with your Shell, choice of weapon, sidearm, and other Tarstones.
Essentially, a synergy between your equipped Tarstones and gear is a whole lot more valuable than straight up buffs, as it’s those synergies that can truly let your protagonist shine when the going gets tough. And considering how often that happens in Fallgrim, using those synergies to boost the crux of your combat strategy, such as status effects, posture breaking, or others, is a very important part of staying alive.
8. Pick A Favorite Shell
The Shells are the obvious flavor of the experience in Mortal Shell 2, and you should totally try each one out once you manage to find it. However, you should ideally pick a favorite and focus on maximising its utility instead of trying to spread your attention across all of the ones you find.
That helps you keep a constant upward trajectory in terms of your overall progress, while letting you get used to the Shell in question to make wielding it a matter of muscle memory. In our case, Tiel was the one who filled that role as his Shadow Strike ability let us take the fight to our opponents from the shadows where we thrived.
Essentially, you’re looking for a Shell that fits naturally with your playstyle, and taking full advantage of that in a world that’s quite unforgiving towards mistakes.
9. Shell Bonding Is A Priority
Another reason we recommend sticking to one Shell is to ensure you’re consistently using Shell Bonding to deepen your Bond with it. That not only gives you a glimpse into the person that Shell used to be, but also keeps new abilities and upgrades open for whenever you have the means to collect them.
Improvements to core stats are another part of it, and having a single Shell setup ensures that you’re maximizing your output in the field instead of being stretched too thin. Of course, the more determined among you might choose to farm out enough to keep multiple Shells going as options depending on the situation, but for with others trying to find your footing in Fallgrim, taking it one at a time is definitely a better approach.
10. Merrick’s Maps Are Worth It
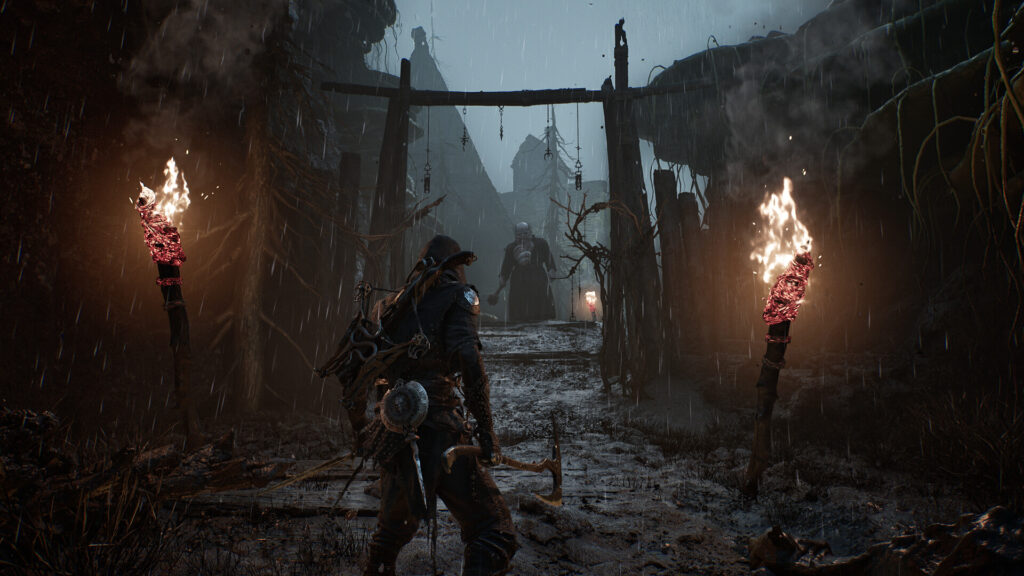
You already probably know who Merrick is and what he does, but what you might not realize is that he sells maps with the locations of weapons and sidearms for you to pick up. They’re quite inexpensive considering the value they offer, and you should make buying them a priority in your early hours in the game.
Of course, one of the things we really like about Mortal Shell 2 is that even those locations you get from maps aren’t accurate, but rather search areas that you then have to explore before you uncover the weapon, sidearm, or Shell in question. Getting as many weapons and sidearms as you can early on is going to let you experiment even more, and that’s a huge part of what makes this game as fun as it is.
11. Franz and the Tarforge
There’s a Tarforge in Marrow’s Keep, operated by an NPC named Franz who requires you to bring him specific materials that he uses to upgrade the forge. This one’s quite important since the forge’s functionality is dependent on upgrading it.
To that end, remember to take the Muradean Actuator, Obsidian Lathe, and Etching Needles back to Franz as soon as you can after you pick them up. It took us a while to figure out what to do with those items, but it’s what unlocks weapons and Tarstone upgrades at the forge.
12. Spend Your Currencies Wisely
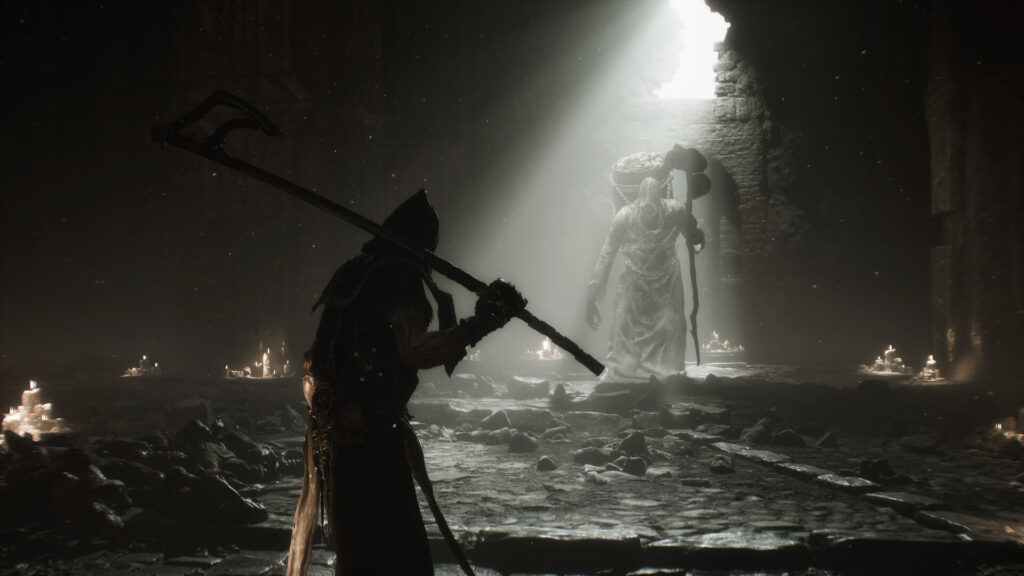
Coin and Gloom are your main currencies in Mortal Shell 2, and they’re fairly easy to come by as they’re both dropped by normal enemies frequently enough to ensure you have a generous amount at hand most of the time. However, Glimpses, which you use for Shell Bonding, are quite rare and are scattered all around the world.
You’re going to want to make finding as many of them as you can a priority, knowing full well that the search is going to net you a fair bit of Coin and Gloom to spend on other upgrades in the process. It’s great that progression never feels too grindy in this game, but that doesn’t mean you should be quite deliberate about where you’re spending your rewards for a job well done.
13. Cleanse Those Beacons Sooner Rather Than Later
Yeah, Beacons are valuable as fast-travel points, but they’re so much more than that. Cleansing one usually puts you on a collision course with some challenging fights, with great rewards waiting for you at the end of them. They’re also great places to spend any Gloom you’ve gathered up while exploring, letting you safely square it away in upgrades instead of risking it to a sudden death.
You should be cleansing any Beacons you find as soon as you do instead of saving them for later. It’s quite easy to forget given how distracting this game’s world can be, and you’re almost always missing out on something cool if you do.
14. Go Away From The Main Objective
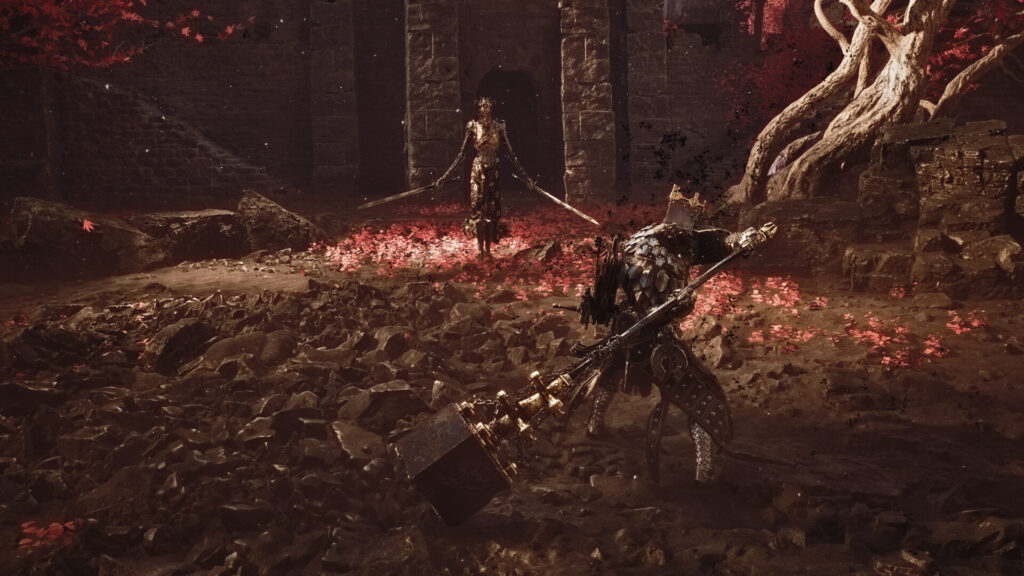
It’s something we do quite often when we’re left to our own devices in a world like this one, but it definitely bears mentioning that wandering without a goal in mind is a great way to enjoy everything this game has to offer. It’s how you improve every aspect of your toolkit before taking on whatever the main story objective is going to throw at you.
Remember that Merrick’s maps only point you in the direction of some of the cool stuff that’s waiting out there for you, and you should be heading in every other direction other than the one the main story points you in as much as possible. Fallgrim’s a brilliantly designed world, and it’s where the best of Mortal Shell 2’s offerings reside.
15. Mark Completed Dungeons
We really wish we’d known about this one long before we figured it out, but the game doesn’t really help you by marking a dungeon you’ve cleared. It’s one of the few complaints we have with the game, and we’re already hearing chatter from players too.
Whether you’re a completionist or somebody just looking to enjoy as much of the world as they can find, immediately marking completed dungeons is going to save you a lot of time spent poring over your map as you try to jog your memory long after you’ve moved on from a region.
And that’s about it for this one. We can’t wait for you to experience a Soulsborne that’s quite good at making you feel powerful yet hunted in a world whose dark fantasy setting makes you feel right at home. We’ll be seeing you in Fallgrim!