


OD Existed As a Concept Since Death Stranding 1, New Screenshot Reveals Ominous Details
"I can't reveal much detail, but it's something that no one has ever seen before. A new game system," says director Hideo Kojima.
"I can't reveal much detail, but it's something that no one has ever seen before. A new game system," says director Hideo Kojima.
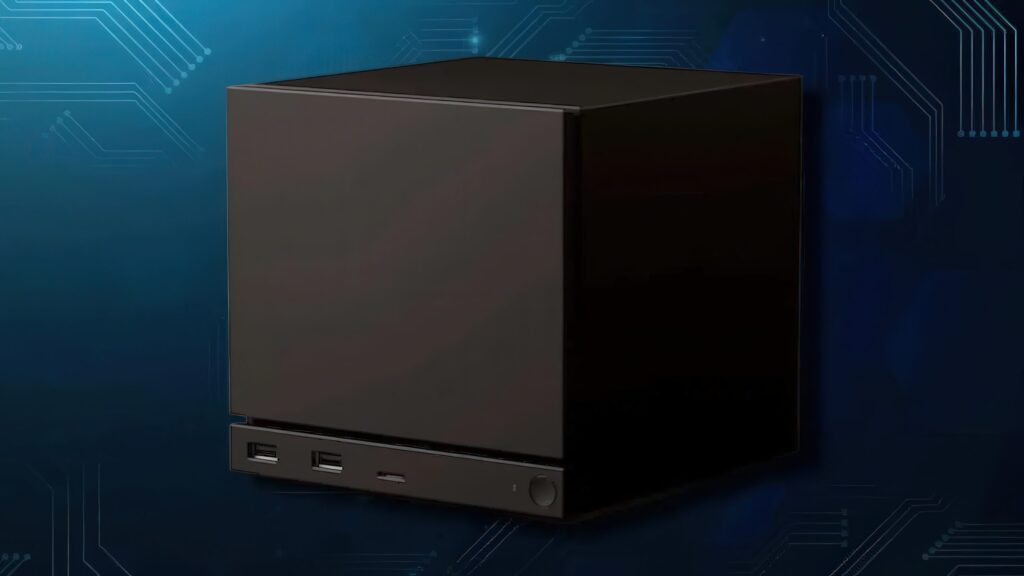
The 2 TB version costs $1349 without a controller, but purchasing either will require entering a randomized reservation queue.
It’s been a weird couple of years that saw fairly good concepts fail quite spectacularly, and the gaming industry is now heading in an interesting, yet familiar direction.
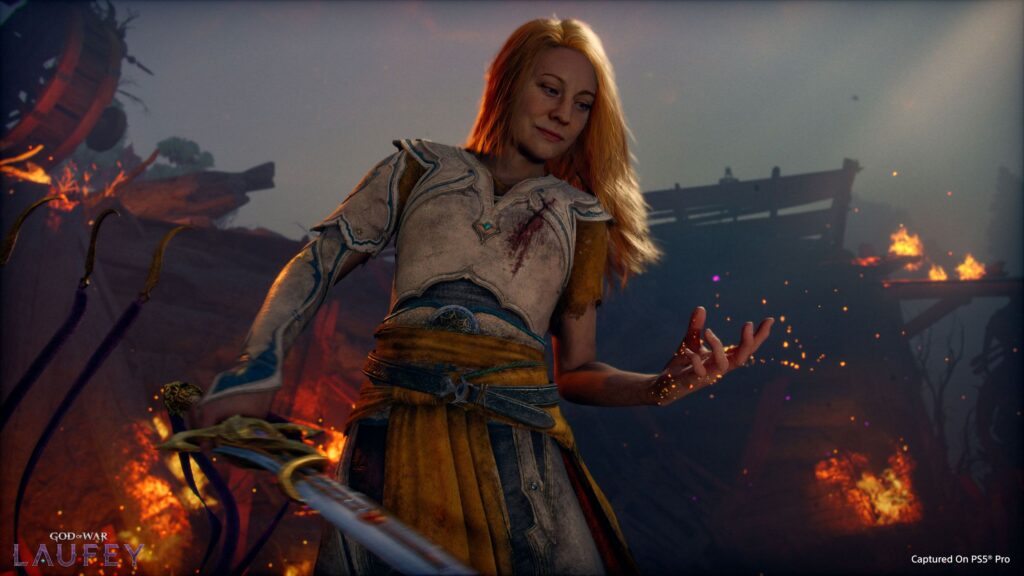
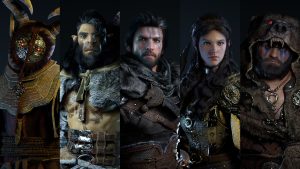
Deborah Ann Woll, who plays Faye, says that Cory Barlog already had a poster for the game featuring Phranque, the cosmic cube.

"We build to make sure the game plays great in single-player, in two-player co-op, and then in three- and four-player co-op as well."

Is YouTube itself simply joining in with the upcoming pre-order hype, or does it know something that everyone else doesn't?
Another update joins a very long list, and this time, Crimson Desert has moved past pets and visited areas that needed some attention.
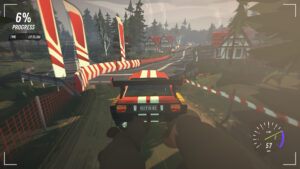
Pixel Perfect Dude’s 90s-styled arcade racer is fun, to be sure, but is that enough to make this one a must-have?

"I can't reveal much detail, but it's something that no one has ever seen before. A new game system," says director Hideo Kojima.

The 2 TB version costs $1349 without a controller, but purchasing either will require entering a randomized reservation queue.

With high-profile studios going entire generations without a meaningful release, we’re beginning to wonder what the hold up is.

EA Sports was kind enough to answer many of the questions we've had about the latest entry in its MMA series, EA Sports UFC 6.
It’s been a weird couple of years that saw fairly good concepts fail quite spectacularly, and the gaming industry is now heading in an interesting, yet familiar direction.
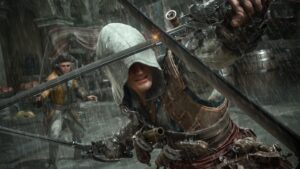
Black Flag’s remake arrives at a moment when Assassin's Creed needs to reconnect with what made it resonant in the first place.
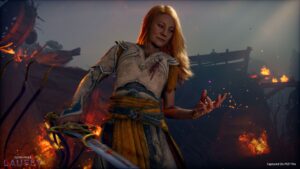
Deborah Ann Woll, who plays Faye, says that Cory Barlog already had a poster for the game featuring Phranque, the cosmic cube.
"We want the action to be fun, even amidst the nightmare...It’s all about striking a perfect balance between survival horror and action."

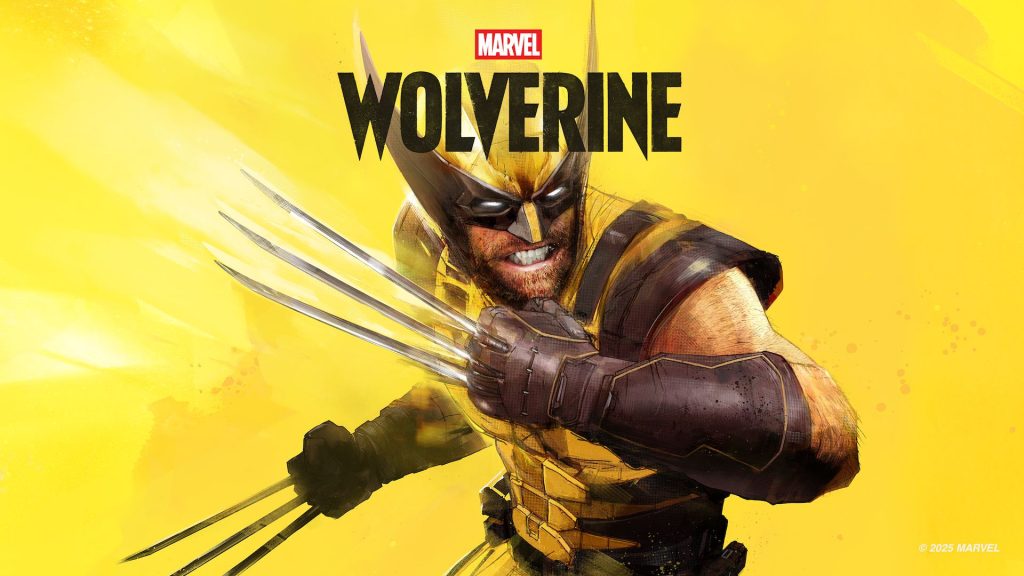
Actor Brett Gipson revealed that he was involved in two major AAA releases that happen to be coming out in 2026 through his resume.

The Gnasher reloads shells one at a time, and the player can interrupt the process to fire immediately, discarding the Active Reload bonus.

Kenshiro's english voice acting will be handled by Clayton Alexander, and his Japanese voice will be done by Shunsuke Takeuchi.

A few leaked assets of popped up of the game, dubbed Project Comet, showcasing its character designs and mobile-centric UI.
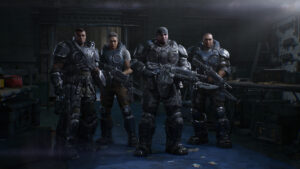
"We build to make sure the game plays great in single-player, in two-player co-op, and then in three- and four-player co-op as well."

Thomas Mahler also said how a concept like "Skyrim in space" should have been better than what we got in Bethesda Starfield.
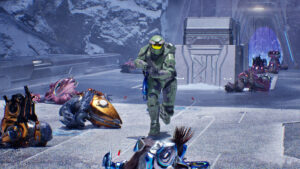
Sgt Johnson's M99 Stanchion isn't usable in the Prologue or Campaign, but at least LASO and the backpack glitch somewhat return.

The lawsuit alleges that the company has been late in paying wages and separation pay that it owes, and that it denied workers their breaks.
Michał Nowakowski had already discussed his thoughts on generative AI back in December, noting that it can't "sit down and make games".
