






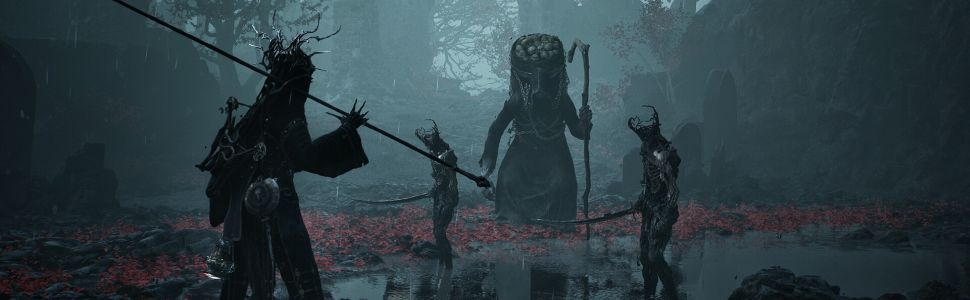
You probably already know that the combat in Mortal Shell 2 absolutely slaps, and that it’s a very interesting take on the Soulslike formula. Yes, the Shells are varied enough to encourage a variety of playstyles, while the world is set up to sustain its mystery, allure, and a brutal level of difficulty for you to take on. Doing so is definitely a pleasure thanks to combat mechanics that are balanced, nuanced, and capable of becoming a power trip without comparison once you get some momentum going.
But how does that come about? The answer is in Tarstones, a layer of customization that we believe lends the entire experience a very unique and addictive flavor. With only a limited selection of melee weapons and sidearms available to you, the variety has to come from somewhere if exploring a grim world where everything could send you packing to the nearest beacon has to be justified. Thankfully, there’s enough to Tarstones to make them a facet of the experience that constantly has you feeling like your next exciting discovery is just out of reach.
It makes experimentation and build crafting into an addictive part of your time in Fallgrim and brings exploration and combat full circle into one interconnected gameplay loop. That you keep coming back for more is simply an after-effect of the cohesion that Tarstones bring to anything your character decides to do. Here’s why we think that’s the case.
The Potential of Possibilities
For those of you who haven’t dived into the game, Tarstones essentially work similarly to Elden Ring’s Talismans, conferring specific buffs on your character. However, those effects are nuanced, often coming with upgradeable levels, with each tier expanding on the stone’s functionality. They could alter attacks, let you imbue elemental effects on your weapons, boost your survivability, improve your offensive potential via your weapon or sidearm, and so much more.
Their utility is such that finding one is going to have you diving into its description almost immediately, the curiosity to see what you could do with it overpowering enough to pull you out of a new and improved take on Fallgrim, and that’s saying something. Even one that doesn’t look too powerful at first might work well with one that you find later down the line. It helps that the UI itself is designed to help you identify ones that work well with what you’ve got equipped, as it makes each new discovery come with the same excitement.
It means that every optional dungeon, side path, world location or even a random point of interest could have a Tarstone that changes up the way you play, or even send you to the nearest Beacon to use it with another of your Shells to see how its effects can play out. With the way effects are presented, along with how each Shell’s specific strengths become evident as soon as you begin unlocking its tiered skill trees, experimenting with new Tarstones becomes an essential part of keeping your character powerful enough to take on a variety of situations.
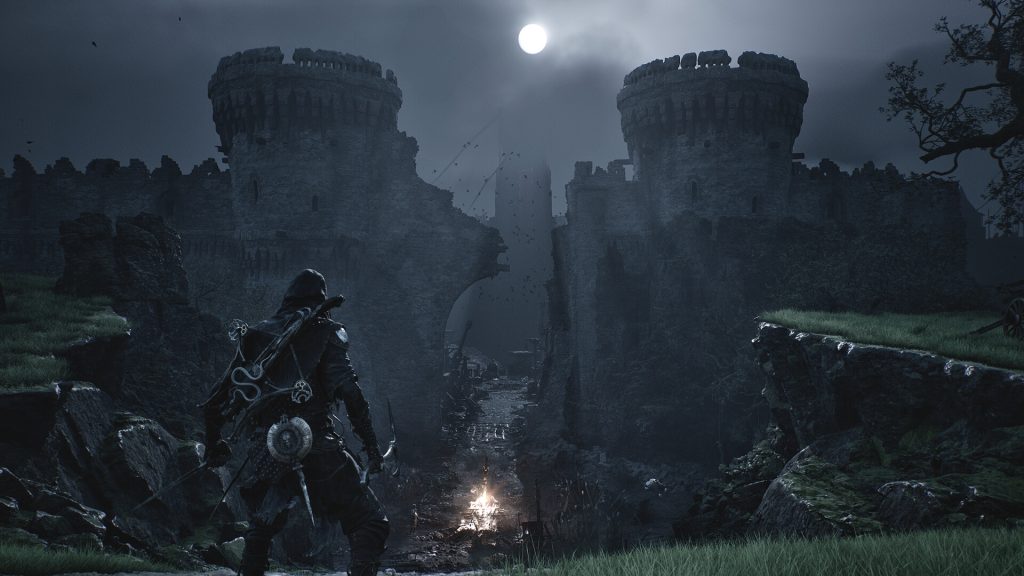
It’s in testing out that potential where you begin to find that Fallgrim is on your mind even when you’re having a busy day at work, or in the middle of a workout. You begin to think about specific Tarstones, lining up what they can do with the rest of what you’ve discovered in-game to see if any of your Shells, weapons, or sidearms could benefit from having one equipped. Every failed experiment is simply a reason to try something else, as there’s always something that could use what you just found. The lack of that simply means that you’ve got more exploring and experimenting to do.
But it’s when your Tarstones begin to work together where a habit begins to emerge.
Steps Towards Synergies
While an individual Tarstone could certainly change things up enough to warrant experimenting with it, that potential for trial and error becomes exponentially increased when you consider potential synergies between ones you find. Multiple effects feeding into each other can mean that your character is an absolute wrecking ball once they begin working together, and seeing your build in action becomes a reward for meticulously putting it together.
It’s a real pleasure when you spend hours discovering seemingly unrelated effects on multiple Tarstones across the four available categories, only to find that they work together across your weapon, Shell, and sidearm to feed into a playstyle that has you feeling nigh on unstoppable until one enemy exposes a fatal flaw that has you back to the drawing board at the nearest Beacon. Perhaps you’re going to swap out one Tarstone for another. Perhaps you’re going to see how a different weapon, sidearm, infusion, or perhaps a different strategy can help. Perhaps you’re going to switch Shells and your entire loadout altogether.
We’re suckers for games that encourage putting builds together on this level, and it’s clear that it was an intended part of the experience on offer in Mortal Shell 2. Even the Beta had us using Tiel’s potential for striking from the Shadows to coat enemies with Poison stacks, each Shadow Strike generating resolve while Tiel’s own passives boosted my damage. The full release had us expanding on that build until I laid my hands on a couple of other late-game Shells that we know still have plenty of potential to uncover as we explore more of Fallgrim.
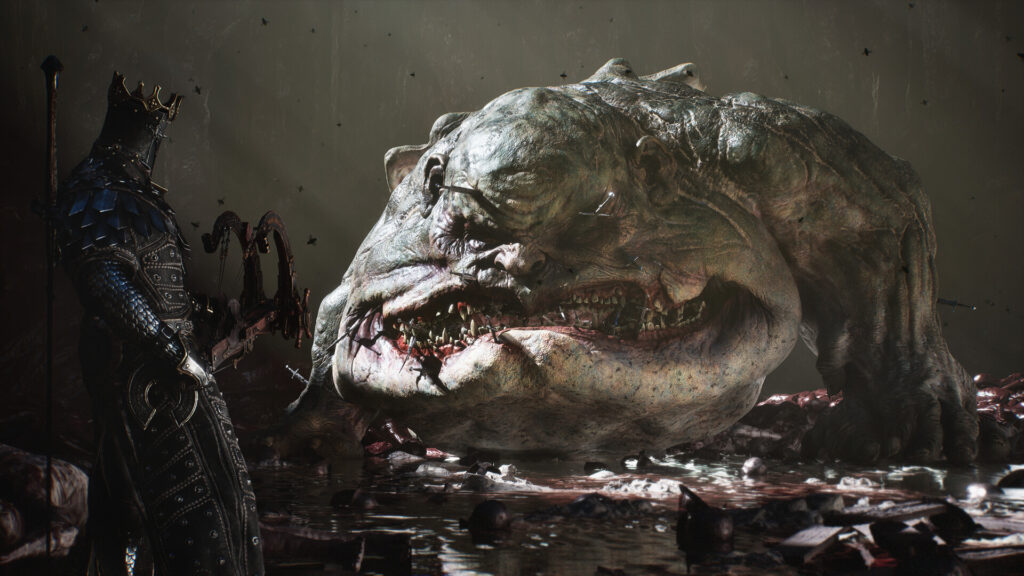
We know that all it’s going to take is one interesting Tarstone to have us reconsidering all of our plans for the rest of Fallgrim, a place that’s going to have us coming back to it even as other games vie for our attention over the rest of the year. That potential for discovery and constant rebuilding makes each weapon, sidearm, status effect, and Shell a part of a complex puzzle that Tarstones transform into a question that doesn’t really have any wrong answers.
It helps that every new build or idea is an excuse to go back into the world to track down more Tarstones, and become one with a loop that feeds into itself in your head as much as your hands. We found ourselves thinking about our Shells and builds even when we were away from our systems, an obsession that’s fuelled by the potential of one new change shaking the very foundations of our existing setups. That potential is an undercurrent that makes navigating the darkness and desolation of Fallgrim even more enjoyable, the positivity it brings being an intangible contrast to the melancholy that is displayed in its subdued hues and grotesque monsters.
But perhaps our favorite facet of how Tarstones shape the experience is in how they never let you settle into a playstyle even beyond your first playthrough. You only get enough Glimpses to fully upgrade a couple of Shells and perhaps dabble with another. Which means that there are entire skill trees of different effects just waiting for you to try out with your collection of Tarstones. Maintaining a tried and tested setup often clashes with the desire to just experiment with something else entirely.
It’s time to talk a little about how it all comes together in the game.
Building The Best Version Of You
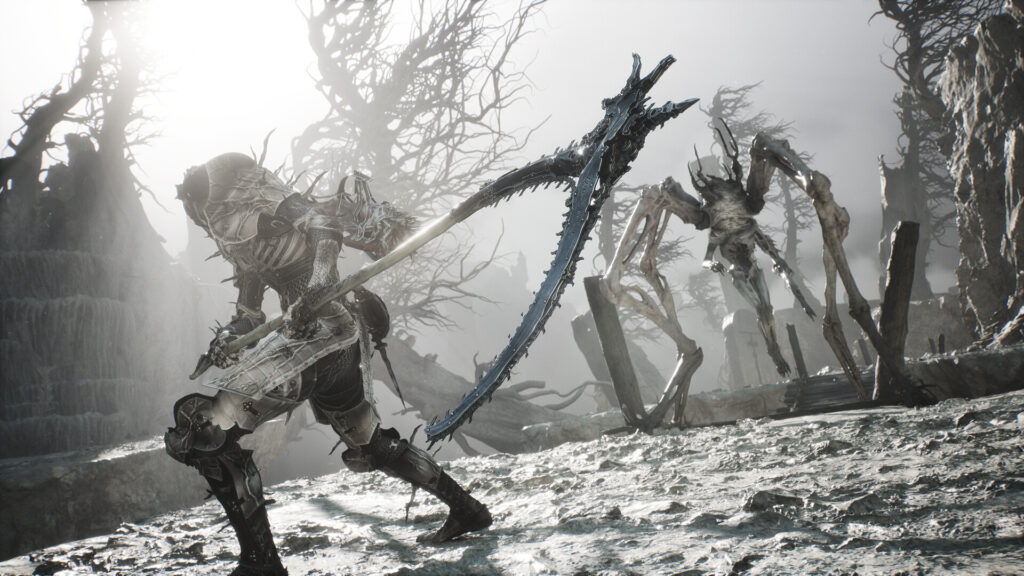
A build you put together through painstaking exploration is so satisfying when it does what you thought it would do. It makes Tarstones an excellent layer of player progression that exists outside of the conventional upgrade system where you trade in Gloom for stats. The depth that exists within your Tarstones is a layer unto itself, as you earn Tarcores by leveling and tempering Tarstones, which you can then use to strengthen others.
That means getting the ones you want working requires using a few others you find alongside them, perhaps sacrificing on one aspect of your build to boost another until you’ve got everything you need in place. You earn your power in a way that makes it worthwhile, and for a reward that justifies all the effort sunk into procuring it. It’s a better approach than the endless loot of something like Nioh 3, an amazing Soulslike on its own with equally viable build potential, but with an approach that’s far more tedious.
There’s a cohesion to Mortal Shell 2’s gameplay loop that has Tarstones as a pillar that props the whole thing up. They’re how the combat, exploration, and Shells come together in a way that has you playing the game as it was intended. It’s what makes builds as fun as they are to use, while the constant expectation that your next big discovery is only a few steps away in any given direction makes the game one that’s very hard to put down.
Well, we know you’re inching ever closer to discovering that all we’ve said is true now that the year’s next big Soulslike is almost here. Now excuse us while we dip back into Fallgrim to investigate what could be our next way to have even more fun in an already enjoyable game.
Note: The views expressed in this article are those of the author and do not necessarily represent the views of, and should not be attributed to, GamingBolt as an organization.