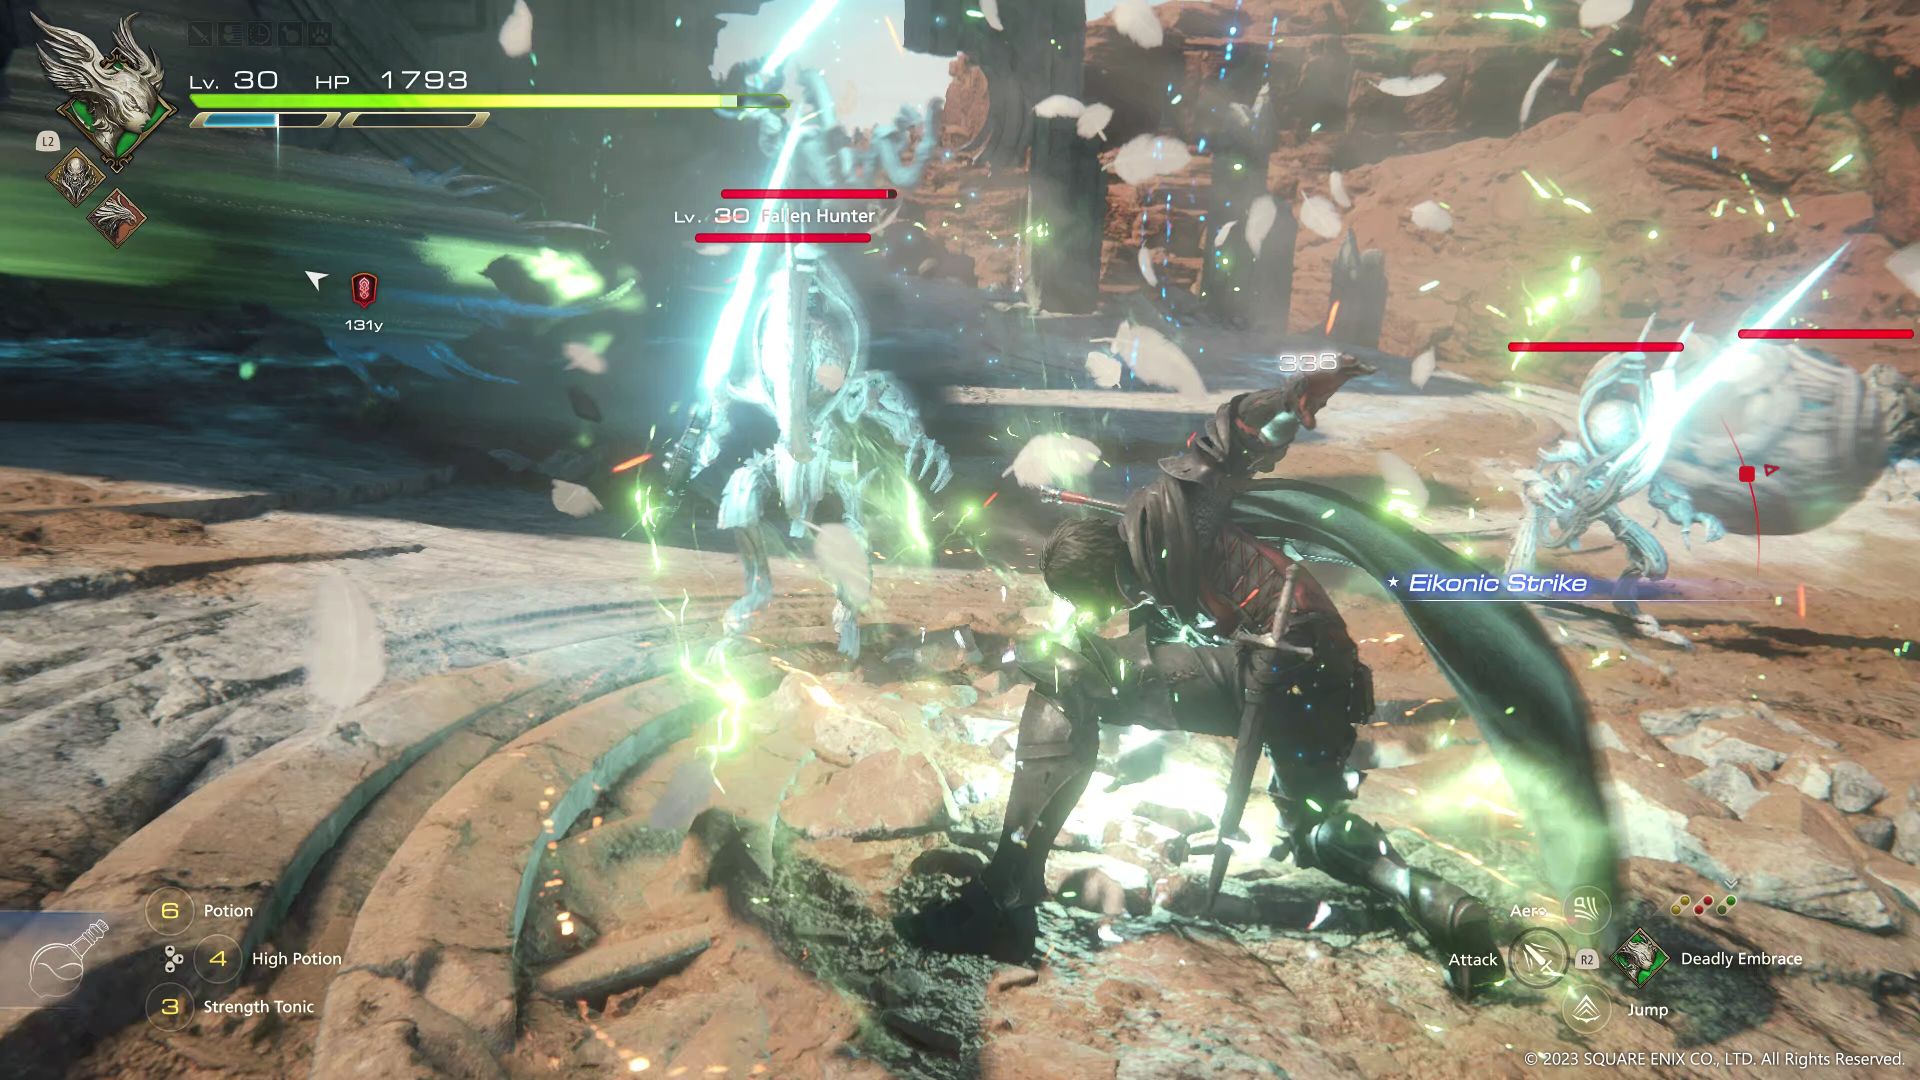
Final Fantasy 16 is a massive game but lays out its various mechanics and systems in an easily understandable manner. Whether combat or exploration, you’ll quickly get the hang of which Skill does what and how to explore the world of Valisthea. However, there are a few things to remember, especially during combat.
You’ll likely pick up on these as you get into more battles and find a proper flow and rhythm. The most important thing is to try out different Skills freely – after all, they can be refunded and reassigned without penalties.
Without further ado, here are 15 tips and tricks you should know when playing Final Fantasy 16.
Animal Instinct
As seen in the demo, you can hold L3 to activate Animal Instinct which points you towards an objective. Once you get Torgal, pressing L3 (which doesn’t work while moving, so you’ll need to stop) will see him move towards objectives. There will also be a helpful little marker indicating his location.
However, sometimes, it may not happen immediately. So hold down L3 and wait a few seconds for Torgal to get his bearings and guide you. It may seem trivial, but given how dark some areas can get, Animal Instinct is good for spotting that one door.
Another use for it is in the more story-focused stages. Found a path that splits off, but you don’t want to miss out on items or materials? Use Animal Instinct to find out which direction your objective is, and then explore everywhere else for loot.
Check for Gear Before Crafting
Charon is a merchant in the Hideaway who supplies you with weapons, armor, accessories and potions. Blackthorne is the blacksmith, who will craft or enhance items if you have the requisite materials. You’ll be informed when Charon has new goods or if a new crafting recipe is available at Blackthorne as you progress through the game.
However, before going straight to Blackthorne for better weapons and equipment, check if Charon has them first. You can purchase them with Gil and then enhance the same weapons and armor at the blacksmith to save any materials necessary for crafting them in the first place.
Of course, Charon won’t have everything, so it’s best to check them both before crafting or enhancing anything. Also, don’t sell your weapons. Some serve as materials for crafting better swords as you progress through the story.
Enable Target Follow
As anyone who played the demo will tell you, enable Target Follow. Go into your Settings and navigate over to the Camera tab. Scroll down in the menu and turn it on. Target Follow will essentially track a locked-on target when it goes offscreen, so you don’t have to reorient your view with the right stick each time that happens.
Also, as a general tip: If an enemy is charging and you get the Precision Dodge, sometimes a melee counter-attack isn’t the best option since there’s a chance of missing. In these circumstances, use a ranged attack by hitting Triangle. Of course, this also applies when dodging ranged attacks and allows for counter-attacking at range to inflict Stagger damage.
Mixing Eikonic Skills
Each Eikonic Skill has different ratings for Attack and Stagger damage. Some are better suited for damaging health while others aren’t but can reduce the enemy’s Will gauge faster thanks to their Stagger damage. However, there’s more to it than that.
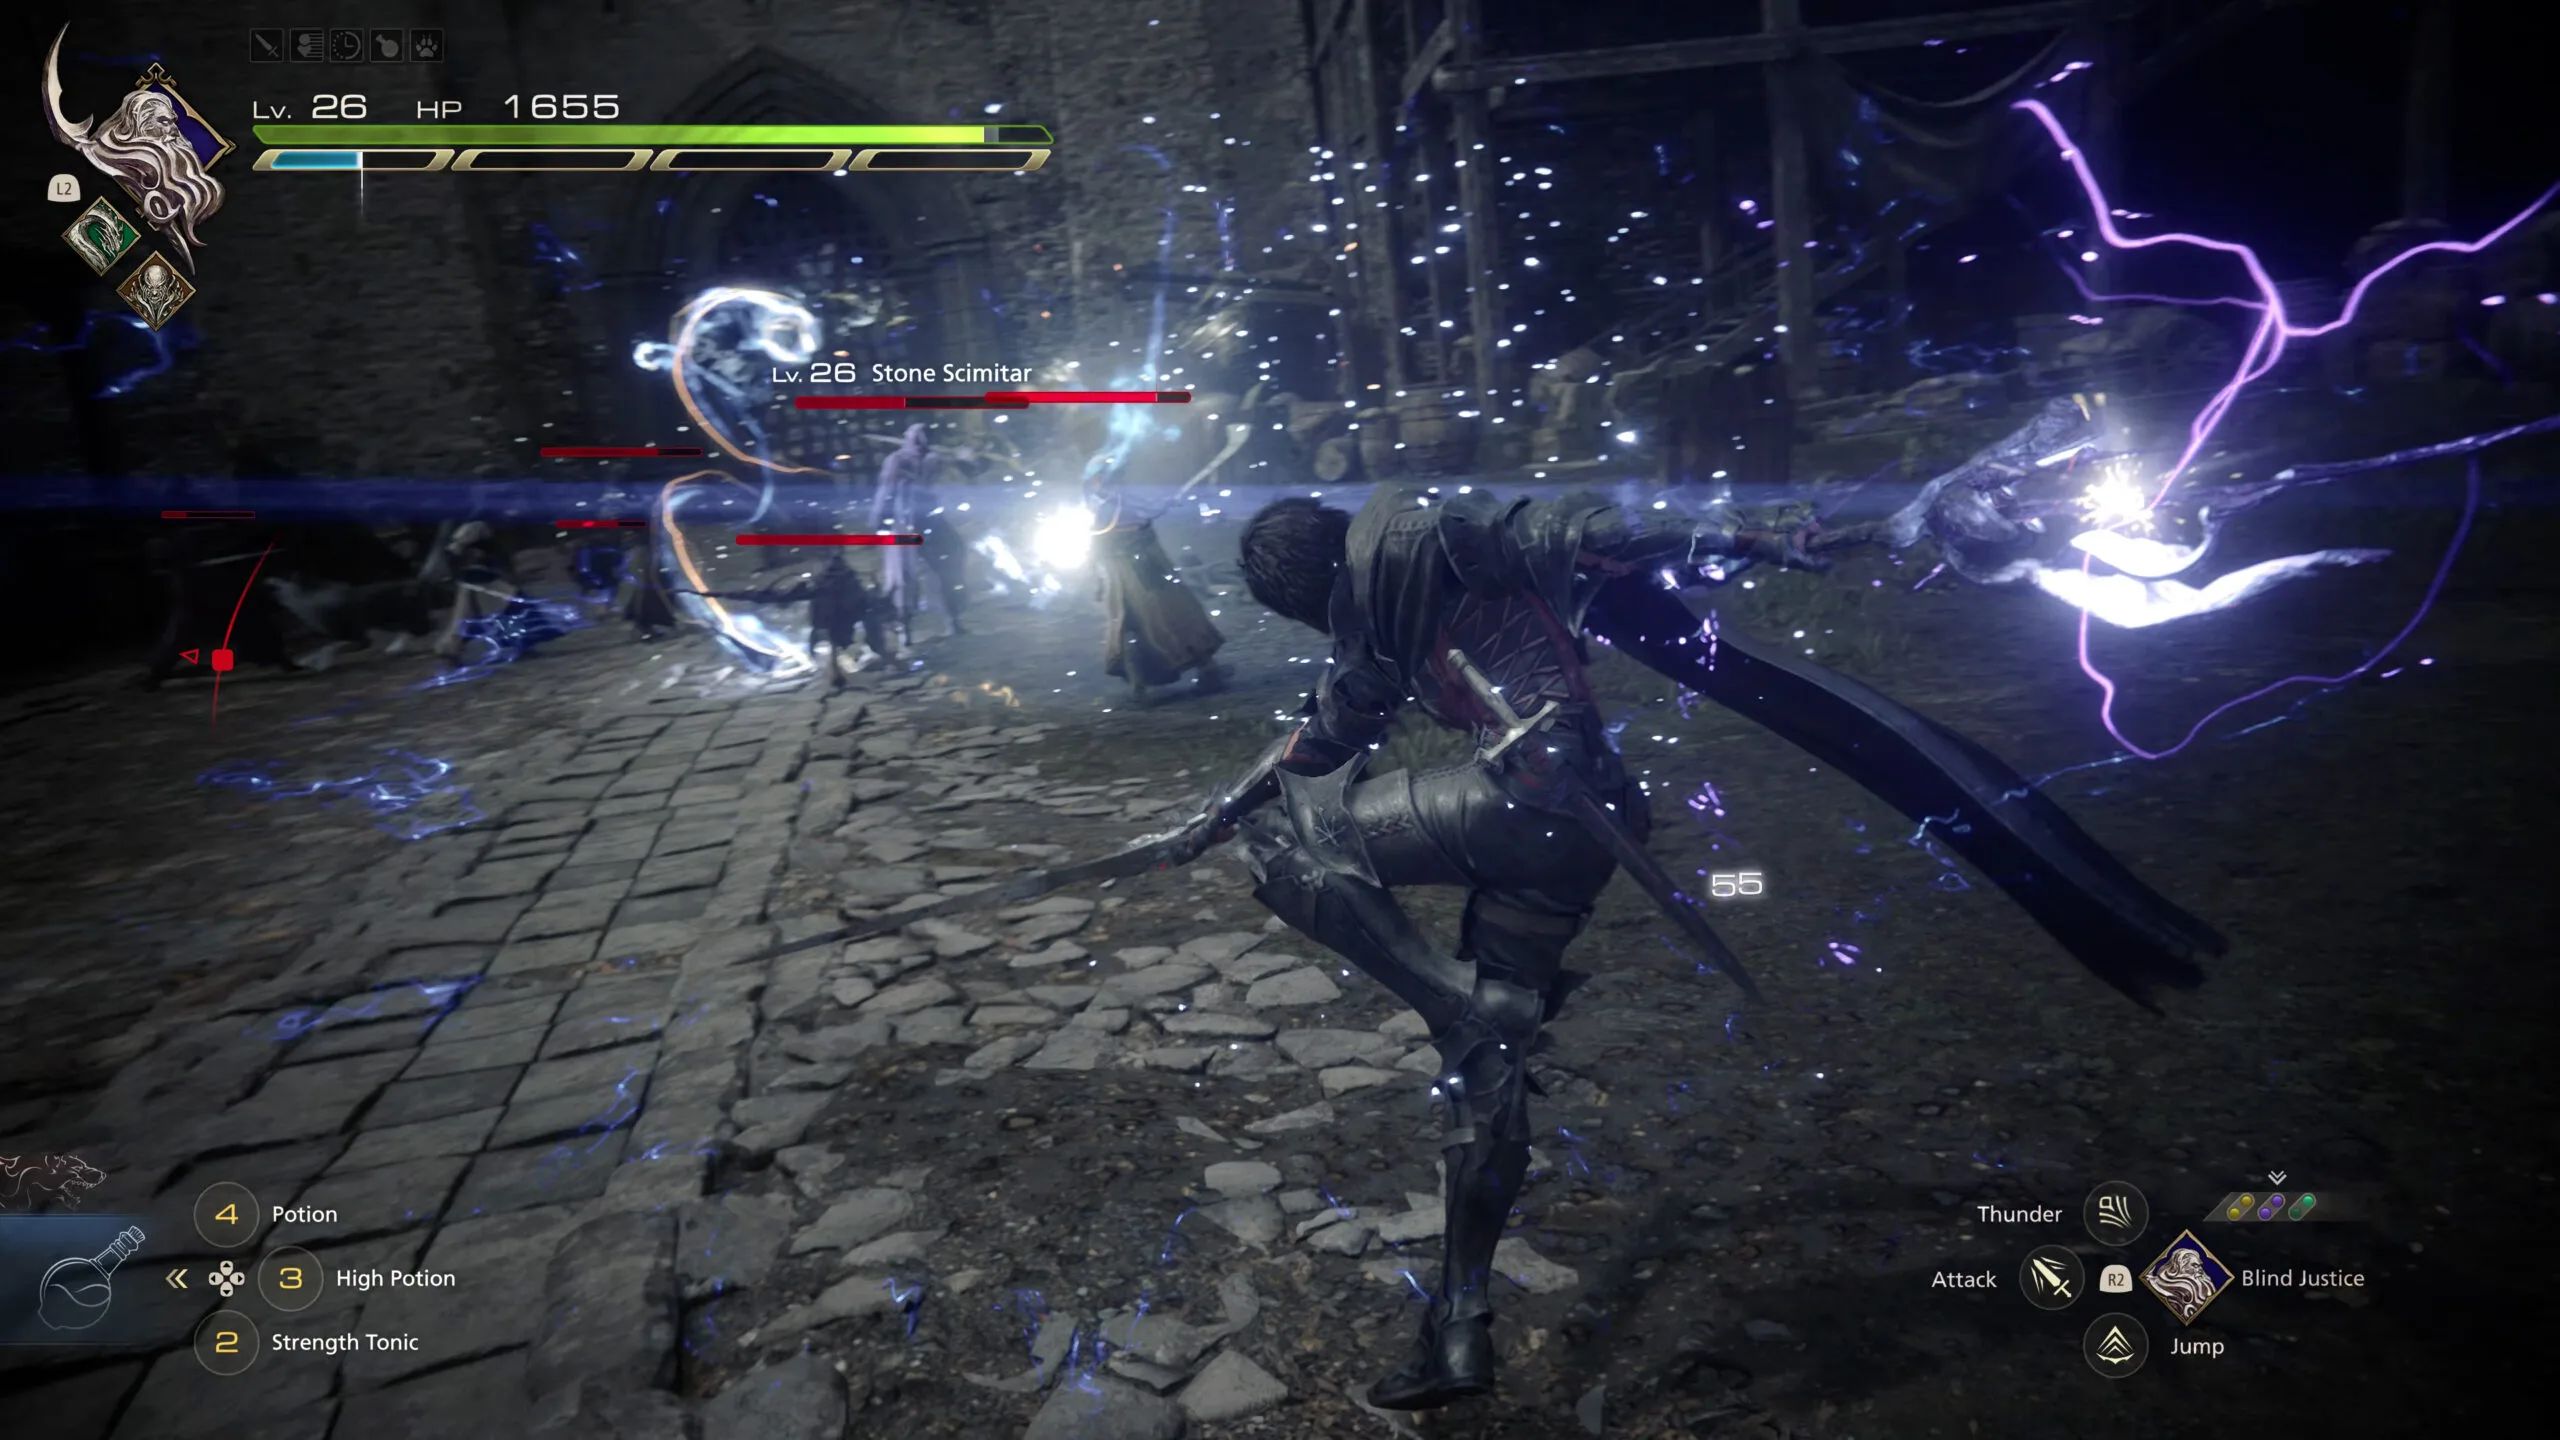
You’ll also want a healthy mix of Skills for clearing out groups of enemies and single-target damage. Some Skills also have unique properties, like Heatwave. It unleashes a wave of energy at an enemy, but use it when intercepting an enemy projectile, and you’ll unleash more energy waves, dealing even more Stagger damage. It’s good but not as ideal as Rising Flames or Scarlet Cyclone when dealing with melee attackers.
It may seem tough to juggle all this, but there are multiple attack options, so you’ll find something that suits your playstyle.
Accessories
In addition to equipping a sword, vest and buckler, Clive has three Accessory slots. These can increase your Attack, Defense and Health initially. However, you’ll soon find Accessories which increase Skill damage, reduce their cooldowns, etc. While increasing the potency of Skills is great, you’ll eventually find Accessories which can increase Gil, XP and Ability Points earned.
Grinding isn’t necessarily something you have to worry about, especially if you do the odd side quest here and there. However, if you want more AP or Gil, especially when clearing up side quests, balancing the damage increases with the other benefits Accessories can provide is important.
Don’t Worry About Side Quests
Side quests offer many things, like XP, Gil and Renown (which can be redeemed later for various bonuses). They’re not particularly difficult either, so you can get many done quickly. However, you don’t need to feel obligated – instead, pursue them to learn more about each region and Valisthea overall. There are some genuinely interesting events happening and characters to meet.
The amount of grinding in Final Fantasy 16 is also low, and if you want to focus on the main quest without being distracted, that’s perfectly fine. There are some points of no return in the story (which it warns you about). If you’re a completionist, take the time to tie up any loose ends before proceeding.
Ultimate Skills
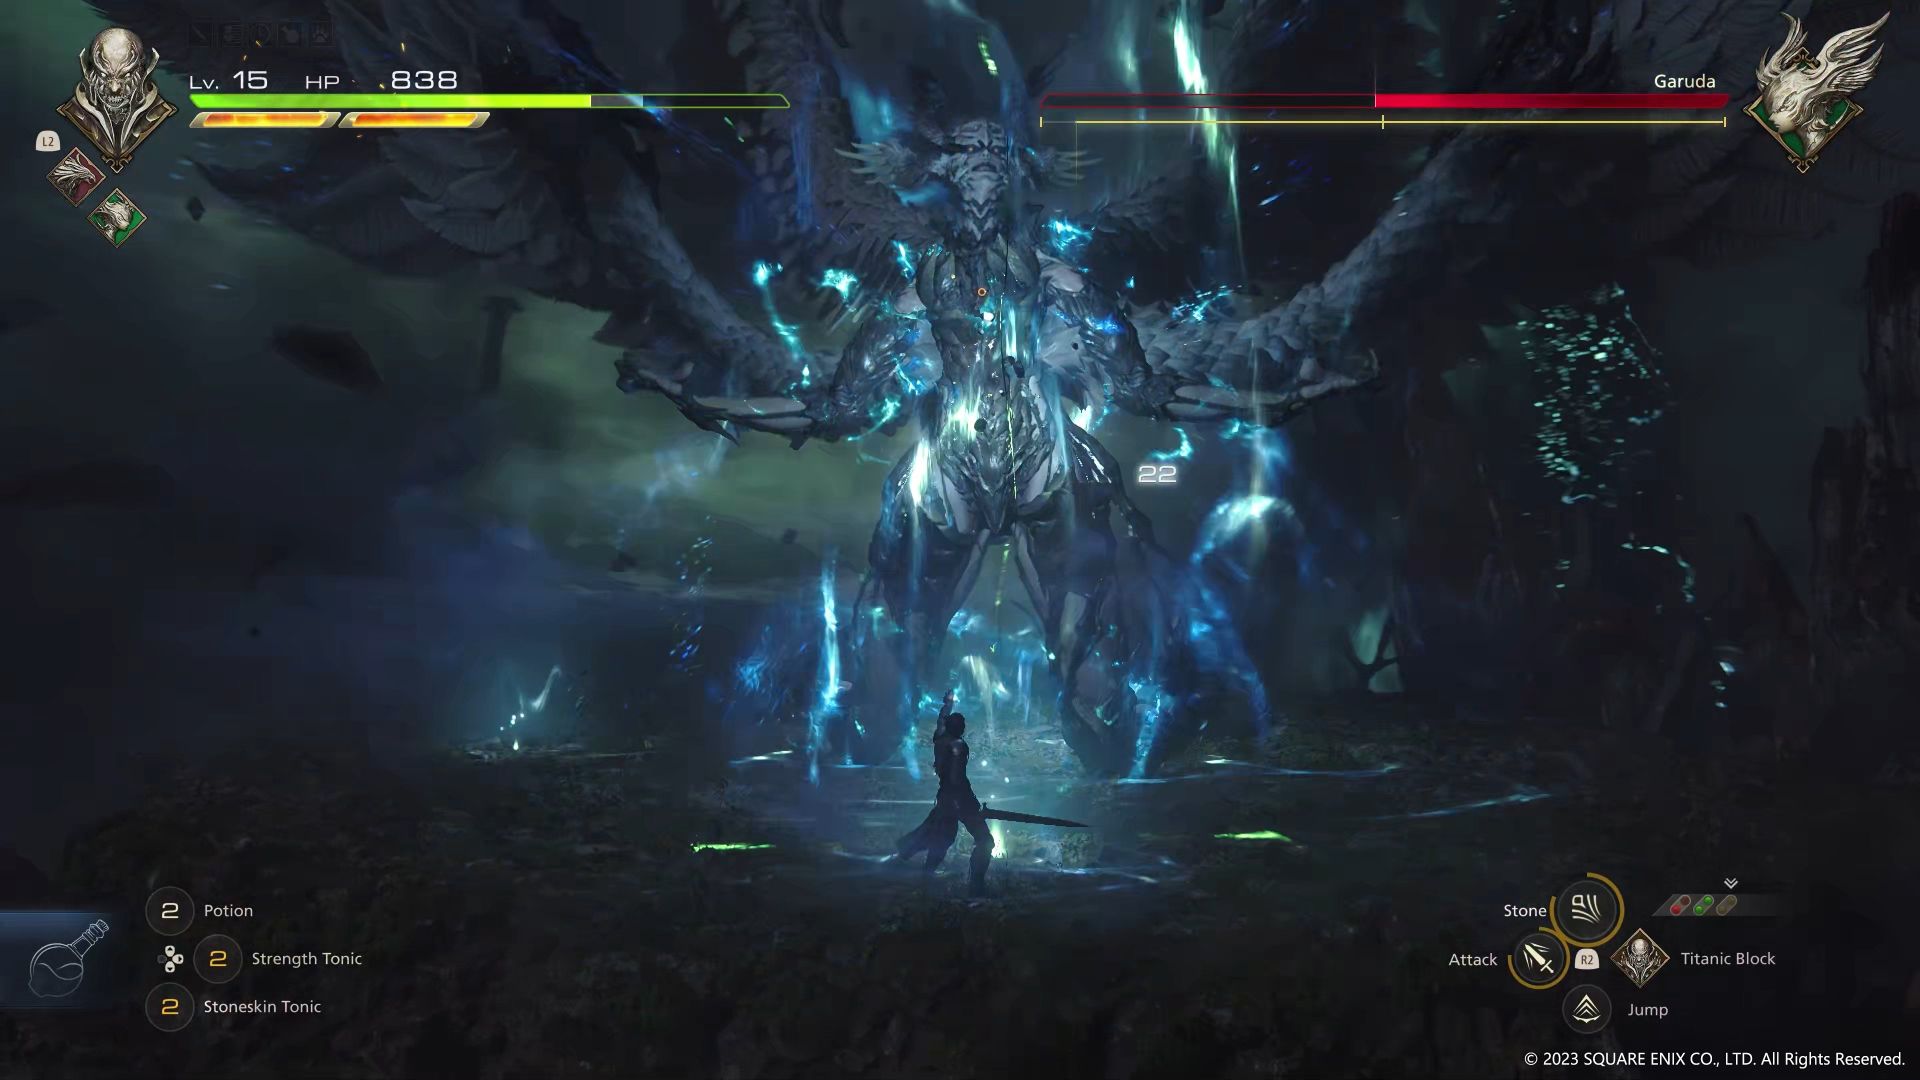
Each Eikon confers a different set of Skills to Clive. While you’re only starting with the Phoenix, you eventually get Skills for Garuda, Ramuh, Titan and more. These Skill trees also come with what I’d like to call Ultimates – powerful attacks with long cooldowns.
Each has unique properties, like the Phoenix’s Flames of Rebirth dealing damage while also restoring some of Clive’s health, but the amount of Attack and Stagger damage is roughly equal. By contrast, Garuda’s Ultimate – which generates a massive tornado – is very good at inflicting Stagger damage, much like her Skills. Once again, balancing them out and choosing the right mix of Skills and Ultimates is the key to success.
Hunt Target Locations
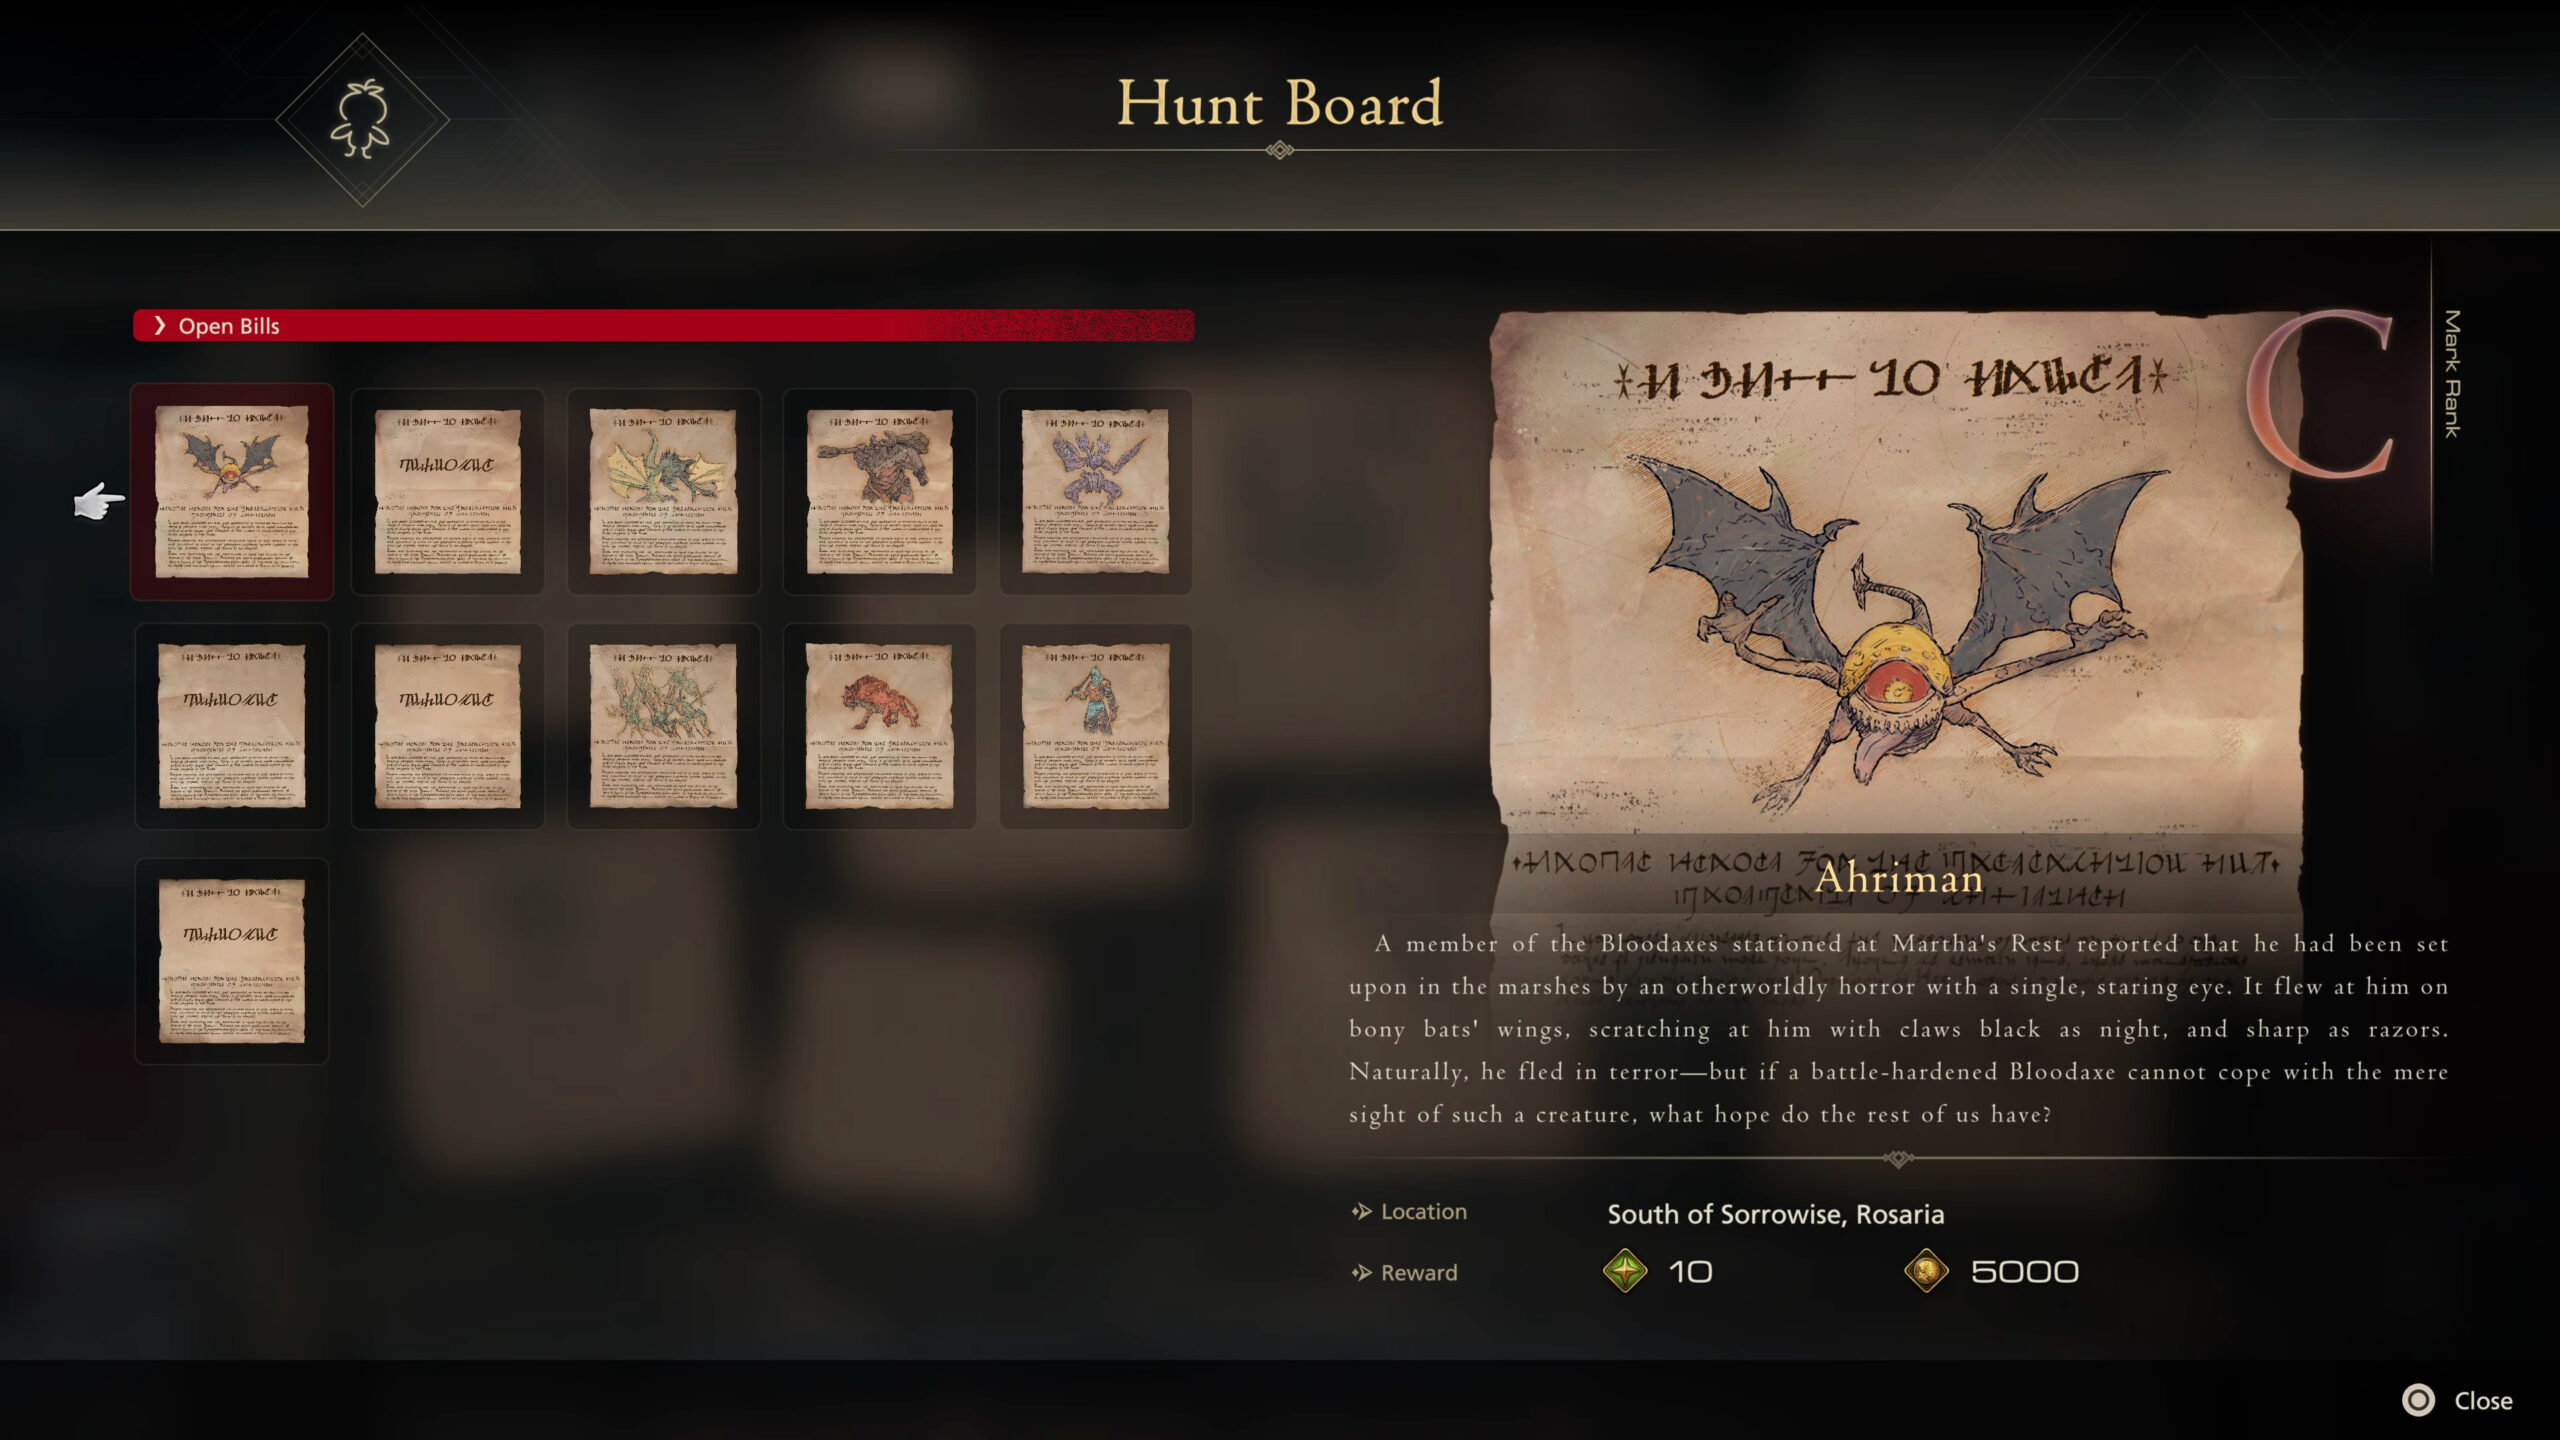
When the Hunt Board opens up, you’ll probably notice that you can’t pick up any of the bounties and keep them in your journal to look up later. There’s also no waypoint provided if you see them. Check the location at the bottom of the bounty, then read the description for some hints of where to go. Again, this won’t provide the exact location, but it at least narrows things down.
Hunt targets aren’t always in isolated areas on the map or locations marked as inaccessible. While it may be tempting to completely ignore the bounty’s information and go somewhere that looks remote, it won’t always work out (no, I’m not speaking from experience). Use the Share button to screenshot the bounty’s details and work from there if you need something to refer to while out in the world.
Notorious Marks
Aside from Hunt targets, you’ll eventually encounter Notorious Marks. These function roughly the same – kill them and get Gil, XP and Renown – but they’re encountered as you explore the Zones. Best way to find a Notorious Mark? Examine your surroundings for enemies you may not have fought in that Zone, as they’ll stick out like a sore thumb. Upon closer investigation, they’ll reveal themselves as Notorious Marks.
Level Differences
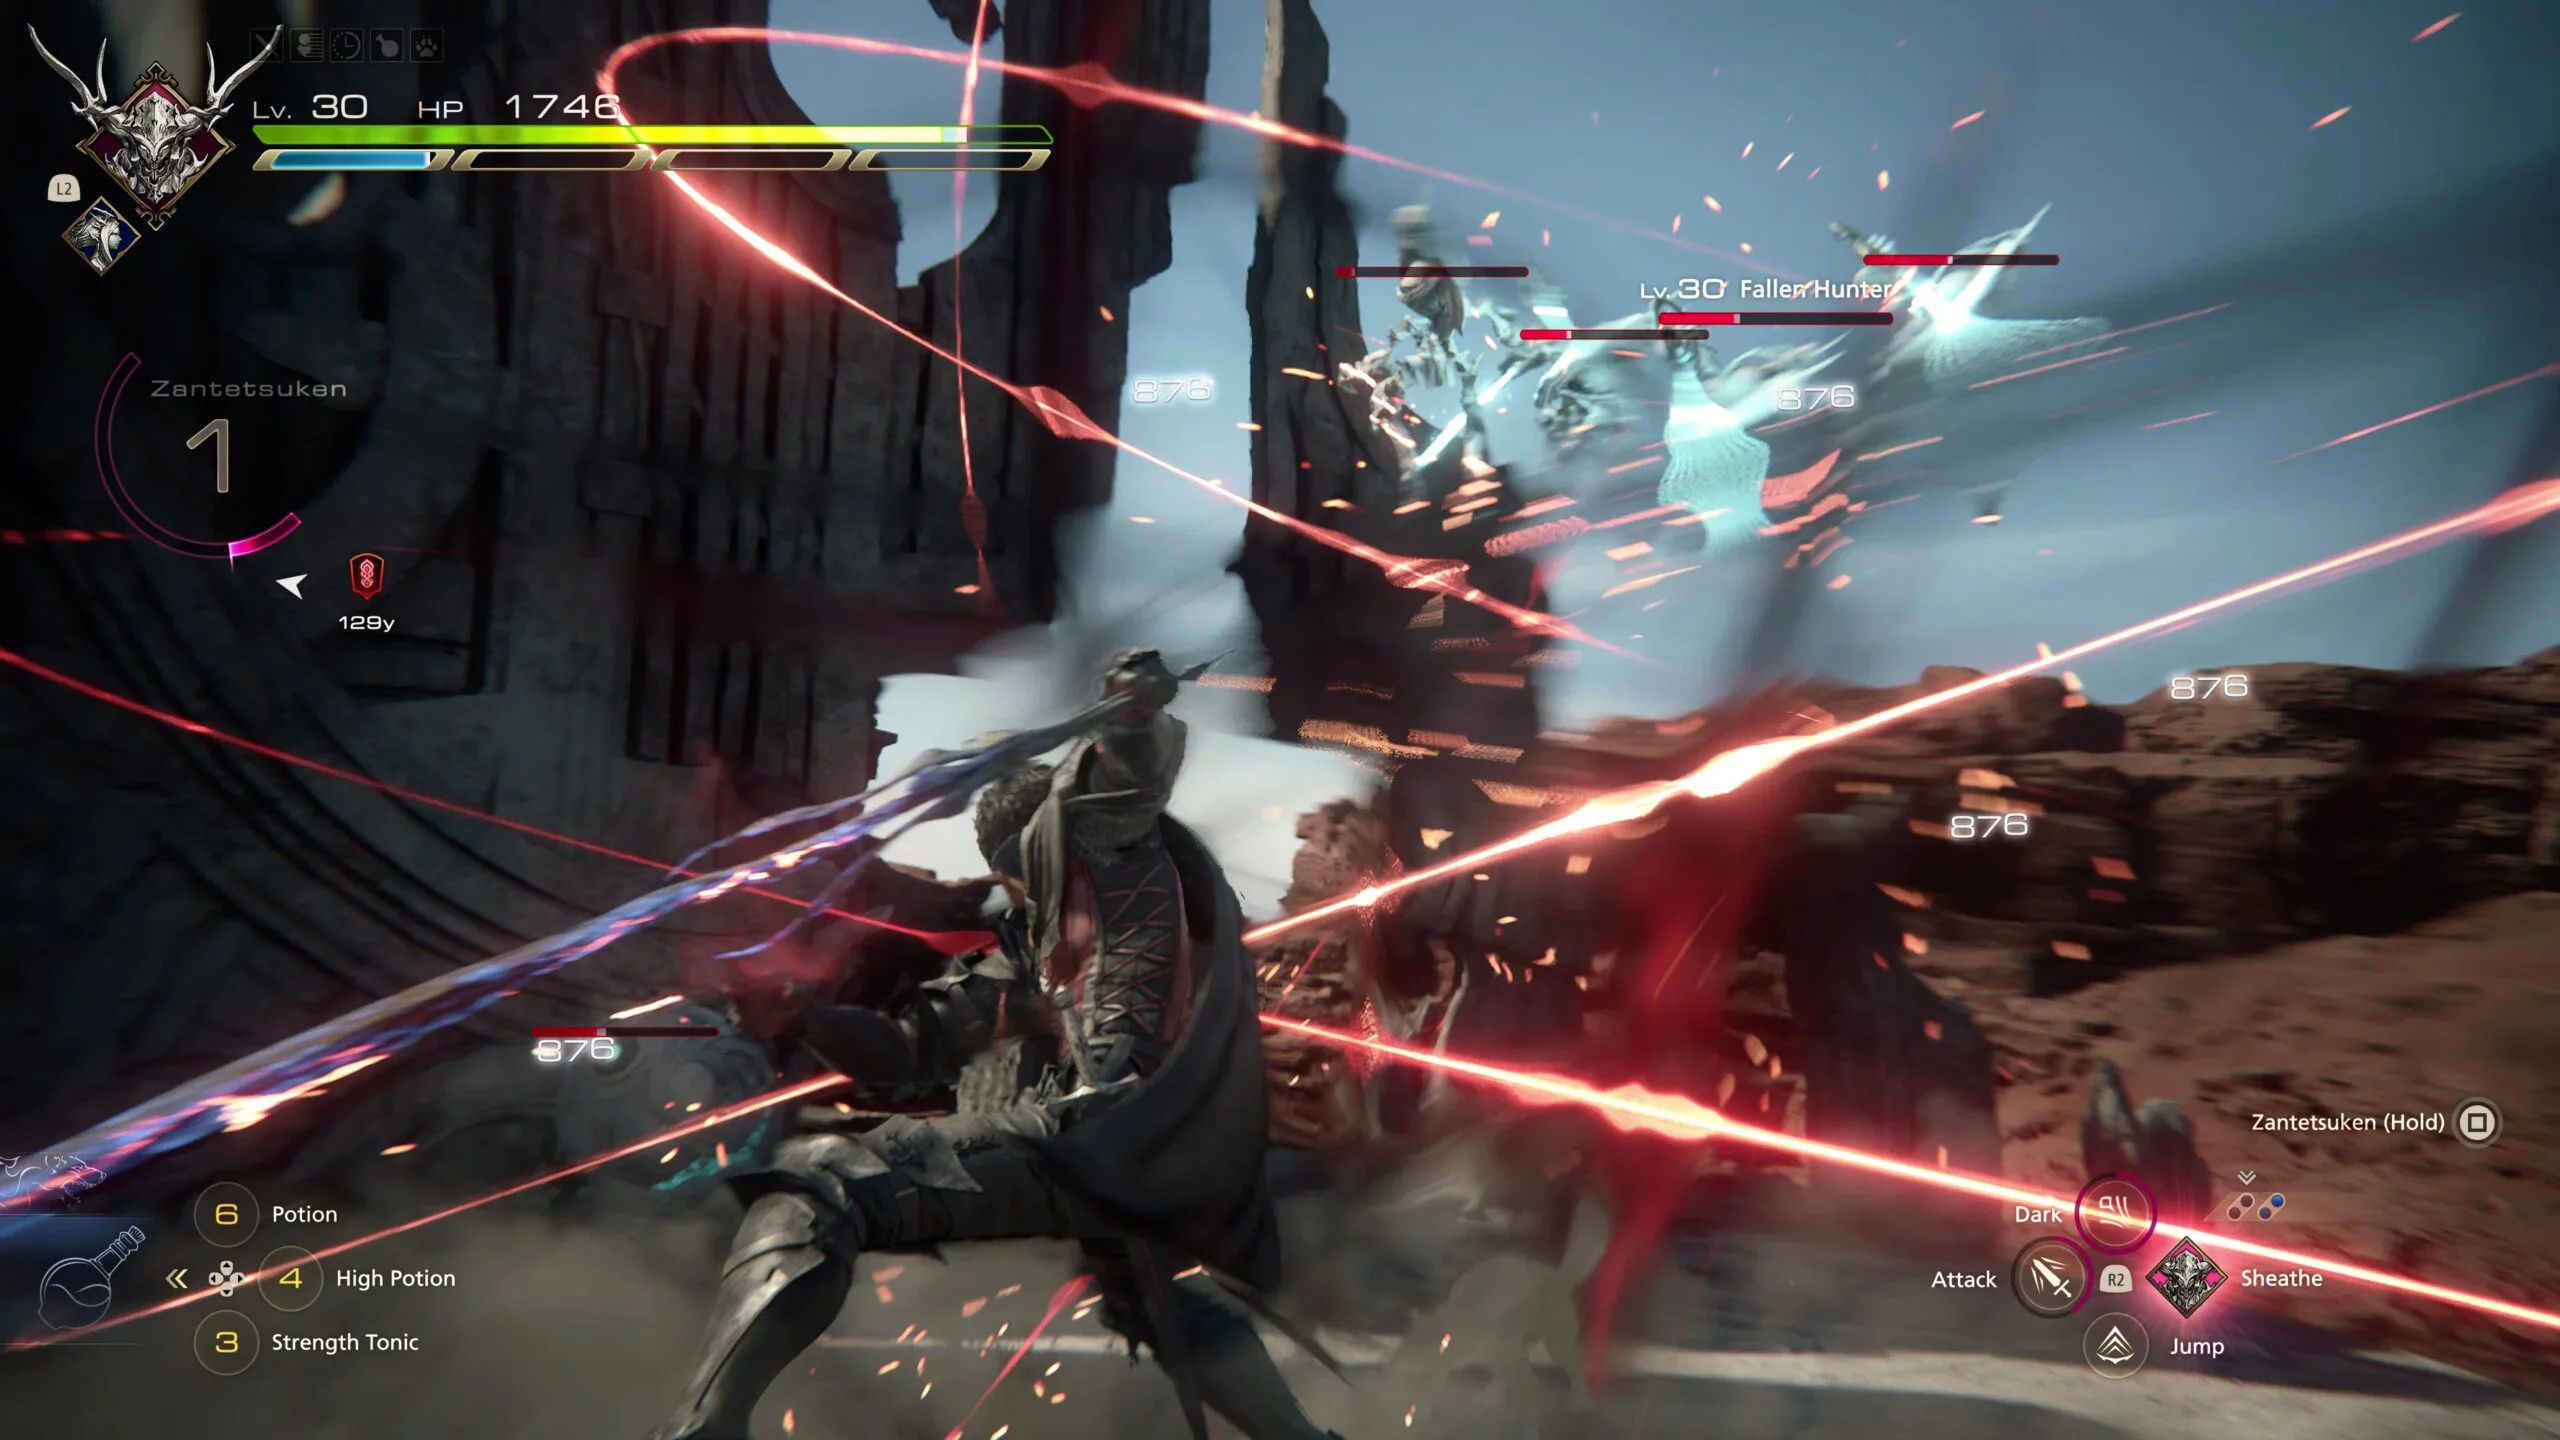
Speaking of Hunts and Notorious Marks, there are times when they may be several levels higher than you. Based on my experience fighting a Hunt target about five levels higher, it did a decent amount of damage but nothing ridiculous (like half of Clive’s HP in a single hit). Their health and defenses also weren’t ridiculously bloated.
However, they were a B Rank target, which is not the toughest in the game. Also, how you’ve built your character, which Skills you’re using, and so on may result in different damage outputs. I didn’t find the level difference to be that punishing, but your mileage may vary.
Eikon Switching
In combat, switching Eikon skills is done by pressing L2. As you equip more than two Eikons, you’ll quickly notice that some combos and abilities become a little tricky, because you can only cycle forward in the sequence of Eikons equipped and not back.
You also can’t immediately choose the Eikon’s abilities to use – so if you’re on Phoenix’s Skills and need immediate access to Titan (who is positioned third in the sequence), you need to hit L2 twice. There’s no delay, and it’s pretty seamless. However, if you’re using Torgal to launch an enemy, Phoenix Shifting to them in the air to continue a combo, switching to Garuda for an aerial Skill, and then to Titan for a ground-slam finish, it can take some practice.
When to Use Limit Break
Eventually, Clive can use Limit Break by pressing L3 + R3. It’s represented by a bar beneath your health, with segments that turn orange when filled. Instead of unleashing a single powerful attack, Clive will enter a powered-up state, which adds more hits to basic attacks and, based on my limited testing, increases the damage of other Eikonic Skills. When the meter depletes, Clive returns to Normal, but you can cancel it by pressing L3 + R3 again.
While Limit Break can be good in an emergency for regaining health, it’s best unleashed on a staggered opponent. When they’re staggered, activate it and use a technique like Flames of Rebirth or Rising Heat (followed by any other strong single-target skills) for massive damage. Another strategy is to activate Limit Break and then a powerful Skill on a partial stagger. Once the enemy recovers, deactivate Limit Break and keep damaging them until they’re fully staggered.
Abuse Stagger Timers
When enemies are staggered, they’ll be stunned and take increased damage from attacks for a set period. The amount of time is denoted by their Will or stagger gauge, which you can see slowly recovering over time. However, there is a way to abuse this.
Activating an Ultimate Skill like Flames of Rebirth will cause the enemy’s stagger recovery to pause, letting you deliver massive amounts of damage for free. It also works with partial Staggers – even though there’s no visible gauge, there’s still a recovery period, which also gets paused when unleashing an Ultimate Skill. Activate Limit Break and then use the Ultimate Skill for even more damage. The Limit Break meter won’t pause during this, so keep an eye on it and the cooldown of other Skills when planning to unleash a barrage of attacks.
Easy Mortal Blows
Mortal Blows are finishers that Clive will automatically execute on regular foes when they’re down. Knocking them down is easy – using a basic combo, followed by a Magic Burst at the end, or even commanding Torgal to launch an enemy does the trick. If you use a Skill like Heatwave, hitting everyone in a line, you can then Phoenix Shift over and inflict Mortal Blows on at least two nearby enemies before they get back up. Note that depending on the enemy type and their health, a Mortal Blow may not always kill them, but it will inflict a respectable amount of damage.
When to Use Tonics
It seems obvious – use the Strength Tonic for increased damage and the Stoneskin Tonic to take less damage, right? It’s a bit more complex than that, but thankfully, not by much.
The Strength Tonic increases your damage by 10 percent for 60 seconds. It doesn’t seem like much, but if you use it while an enemy is staggered and taking increased damage, combined with Limit Break, you’ll output even more damage within a critical window.
As for Stoneskin Tonic, it’s good when an enemy or a boss is using an attack with multiple hits. If you’re not confident in dodging or avoiding them all, a quick Stoneskin Tonic grants 30 percent reduced damage for 90 seconds. Have Torgal activate healing for good measure.
You can carry a limited supply of both Tonics, so try not to abuse them (or activate them accidentally because you think Torgal’s command menu is open instead).


