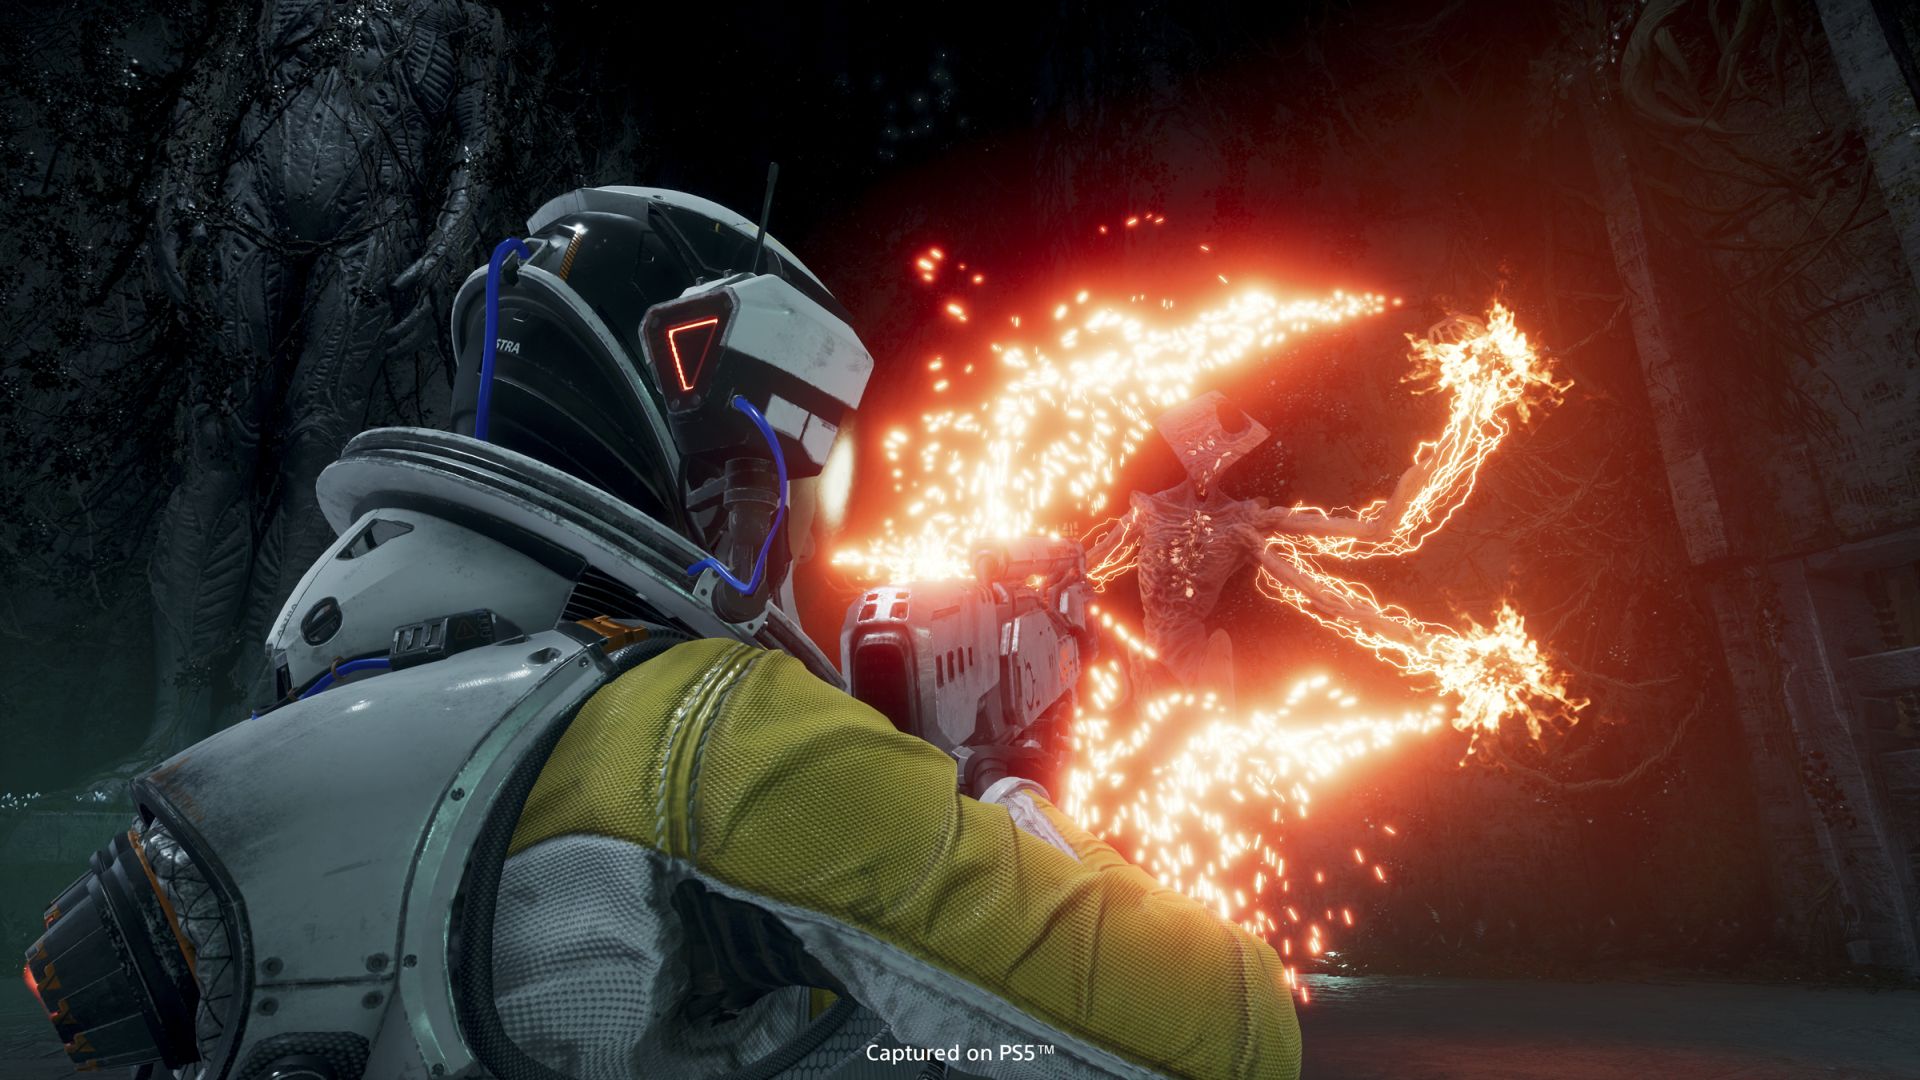
Returnal’s bosses are a special kind of hell, one reserved exclusively for bullets. Considering how long it can take to fully explore a biome and reach a boss, dying to them can be fairly demoralizing. Let’s take a look at what to watch out for in each fight and effectively defeat each boss. Spoilers for all of them, along with footage of the ending, follow so be warned.
The first boss is Phrike, located in the Overgrown Ruins. Its first phase involves homing projectiles, alternating between its left and right side to shoot more projectiles and a laser that fires straight at you. It will also unleash several smaller projectiles that fall slowly from above. Overall, this first phase is easy enough as you can dodge all of its attacks without much issue.
From the second phase onwards, Phrike will create a laser circle that slowly expands before dashing and attacking you. Dashing back is recommended since it allows for avoiding the attack and having time to jump over the circle. Jumping and dashing forward is possible to clear both in one motion but make sure you’re in decent range, lest you fall just short of the circle. As the fight progresses, Phrike will start sweeping left or right with its laser – dash through to avoid it.
On the final phase, it will start dashing more and using melee attacks. It will also introduce a swirl of projectiles on the ground – jumping over these and carefully maneuvering is the best way to avoid them. Go with the Tachyomatic Carbine for sustained fire throughout. If you can find one with a Shieldbreaker alt-fire, this can deal some great damage to Phrike’s head.
How to Defeat Ixion
Located at the peak of Crimson Wastes, Ixion’s main gimmick is flying. It will start the battle flapping above you, either firing off projectiles in spiral patterns or shotgun-like spreads while moving quickly around the arena. At times, it will launch a stream of projectiles at the player but these can be avoided by sprinting to either side. This first phase is pretty easy – just keep track of Ixion’s location and keep up the fire.
Things quickly pick up in the second phase though. Ixion will fly up and eventually land in the middle of the arena with force, sending out a fast laser circle in the process. It will then raise its arm and fire a steady beam into the sky but that’s not your main concern – it’s the expanding blue laser circles and multitudes of projectiles that are. Jump over or dash through the circles to avoid them. Ixion will then take off into the sky and soar past the player, firing a spiral of projectiles along with two expanding laser walls. Make sure you’re off to the side and then dash through the laser walls to efficiently avoid any damage. Ixion can repeat this move several times so be careful.
Once it’s done, it will return to flying above and firing off spirals, spreads and streams of projectiles like the first phase. Dodge these as before, though be wary of a new type of pattern where it fires its projectiles in a wide spread, sweeping left to right. Back away from the spread to avoid it. Ixion will also briefly charge and fire a laser which sweeps up vertically. This is followed by several small projectiles that will home in on the player. Avoiding the laser is easy enough but make sure you sprint to avoid the projectiles.
Deplete enough of its health and the third phase begins. Like before, Ixion will fly up and land in the center – avoid the laser circle that emanates. And again, like before, it will fire off expanding blue laser circles. The difference this time is that it will also release projectiles in diagonal as well as horizontal patterns. These are easy to dodge but you’ll need to be more mindful of where you’re jumping at times. Ixion will also pull out a sword, leaping and slamming to wherever you’re standing. It unleashes smaller projectiles on impact but also fires off a laser circle suddenly – dash through this to best avoid it. Also beware of Ixion suddenly charging at you.
At one point, it will begin slamming the ground repeatedly, releasing projectiles and red laser circles (which can be easily jumped over). Be careful of its left hand unleashing projectiles in bursts – the red projectiles travel slow enough but the blue projectiles are fairly quick. The Spitmaw Blaster, ideally with Trackerswarm and Slugshot (the latter providing some strong additional damage) is recommended here.
How to Defeat Nemesis
Encountered in the Derelict Citadel, Nemesis towers over Selene. The fight starts with the player on a platform as the boss rains down projectiles, from slow moving blue projectiles to homing red projectiles. Pay attention to the two floating creatures on either side – they can suddenly come forward and fire off their own vertically and horizontally sweeping lasers.
After its first bar of health is depleted, Nemesis will disappear and the platform begins to split into several pieces. Eventually, these will settle down into three big platforms with smaller platforms connecting to the middle.
Nemesis can appear near any of these big platforms. Look for where the other creatures – which are now four – show up and quickly grapple over. If you’re not on the center platform, some more platforming will be required. When it materializes, Nemesis will be standing with its arms crossed – the red glowing portion on its wrists is the weak point. Much like before, it will fire off heaps of blue and red projectiles while its minions move forward and shoot sweeping lasers. Be careful when both minions hover overhead and fire off two lasers that paint the platform. Stick close to the center while avoiding Nemesis’s barrage.
In its third phase, Nemesis will destroy the platform you’re standing on, causing Selene to fall. However, you’ll begin to see numerous platforms rising up – grapple to them for safety. In the midst of this, Nemesis will fire off spiral patterns of blue projectiles while its minions unleash vertically sweeping lasers on the current platform. Keep grappling to a new platform, making sure to avoid the giant glowing red laser that its minions can fire (especially since these will destroy the current platform). Instead of trying to fire at Nemesis from this range, focus on dodging and grappling.
After getting close enough, target its glowing red weak point. It will mix things up by firing homing red projectiles and blue projectiles in columns on top of the usual blue projectiles. Be very careful when falling off the platform – it may provide a better line of sight on the weak point but leaves very little room to avoid projectiles. At some point, Nemesis will destroy all of the platforms again and push Selene back, repeating the process. Be wary of its homing red projectiles, especially since it will send them out in droves this time.
While the fight can seem incredibly difficult, the Thermogenic Launcher can make things easier especially with how big the boss’s weak point is. Critical Rockets offer a big boost to damage as well.
How to Defeat Hyperion
Of the many bosses encountered thus far, Hyperion is certainly the strangest. It’s playing some kind of organ and emanating music throughout the Echoing Ruins to Selene’s torment. The first phase is the very definition of bullet hell with homing blue projectiles, a red laser circle that expands outwards, red projectiles slowly falling from above, green projectiles, and so on. Hyperion will also fire a purple laser that sweeps vertically in the midst of all this. Eventually, red, green and blue projectiles will begin emanating from the organ – the blue ones will track the player while the red ones are arranged in slow-moving columns. The green projectiles fall normally but add to the confusion all the same.
After receiving enough damage, Hyperion detaches itself from the organ and begin shooting out the same colored projectiles. The difference is in their patterns – the green projectiles travel out slowly in all directions while the blue projectiles form a row with a cross in the center. Hyperion also slams the ground, sending out three expanding circles of red projectiles – dash forward to evade all of them but don’t get too close to the boss since it will raise spikes around itself. Also be careful not to get ensnared – when an area starts lighting up, move away quickly.
Hyperion will return to the organ and begin playing it again, causing projectiles to emanate forth. Along with the previously mentioned patterns, it can also fire out large clumps of red projectiles. It will tear itself off from the organ again for the third phase.
This is perhaps its craziest phase yet. Expanding circles of red projectiles, a cascade of falling blue projectiles, cross-shaped patterns of blue projectiles, and numerous green projectiles must be evaded. The cross patterns of blue projectiles are the toughest since they travel fast so dodge forward or to the side as soon as you see one coming. Back on the organ, Hyperion will begin raining down even more projectiles than before but should be about dead by this point.
In terms of weapons, there’s a lot that can work here from the Hollowseeker with Waves, Serrated Projectiles and Split Stream to the Thermogenic Launcher with Critical Rockets and Replicating Hits. Dodging and identifying its patterns is the key more than anything else.
How to Defeat Ophion
Ophion is the final boss, located in the Abyssal Scar and has many, many attacks. Some things to note are that it fires projectiles in fairly large spreads, which can be avoided easily enough, and tracking green projectiles which you must sprint to avoid. The expanding purple laser circles it creates cannot be dashed through – you must jump over them. It will also fire these purple lasers in straight lines but again, these can be avoided without issue. Make sure to stay out of reach when it slams its appendages down.
Ophion’s main gimmick is that its weak points are hidden. You need to shoot the orbs – which are the same orbs that revealed hidden platforms leading up to the fight – in order to see them. Once you do, concentrate all fire on destroying them.
In the second phase, Ophion will transform and slam its hand down to create the same expanding purple laser circles – jump over them as before. It will also fire the same kinds of projectiles as before with non-tracking green projectiles and lasers that immediately lock on to your current position instead of moving vertically. Ophion may also casually smack you with its hand so pay attention when it’s arm begins to slightly shift. Otherwise, like before, shoot the orbs to reveal its weak points and focus on those.
The third phase sees another transformation and this time, the orbs that reveal the weak points will disappear some time after shooting them. All of the attacks from before will be used here, including a spiral pattern of green projectiles along with the usual seekers. Keep focusing on its weak points and Ophion should eventually fall. The Tachyomatic Carbine, Hollowseeker and Thermogenic Launcher are all good here, though you could probably clear this with the Sidearm if you’re looking for a challenge.
Ophion’s death isn’t the end though so keep hunting for clues and other logs to end the cycle.


